How To Make Sports Camera Filters ?
To make sports camera filters, you will need to gather the necessary materials such as filter frames, filter material, and adhesive. Cut the filter material to fit the size of the frames and attach it securely using the adhesive. Ensure that the filters are properly aligned and free from any wrinkles or bubbles. Once the filters are ready, you can attach them to your sports camera lens using the appropriate mounting mechanism. It is important to choose filter material that is suitable for sports photography, such as those that reduce glare or enhance colors. Experiment with different filter types and combinations to achieve the desired effects for your sports photography.
1、 Types of Sports Camera Filters: Polarizing, ND, UV, Color Correction
Sports camera filters are essential accessories for capturing high-quality and visually appealing footage in various sporting activities. These filters help enhance the image quality, reduce glare, and correct color imbalances. There are several types of sports camera filters available in the market, each serving a specific purpose.
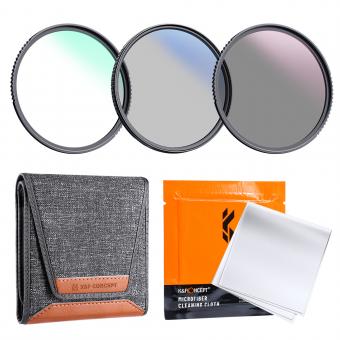
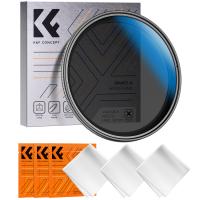
One of the most popular types of sports camera filters is the polarizing filter. It helps reduce reflections and glare from non-metallic surfaces such as water or glass, resulting in clearer and more vibrant images. This filter is particularly useful for outdoor sports like skiing, snowboarding, or water sports.
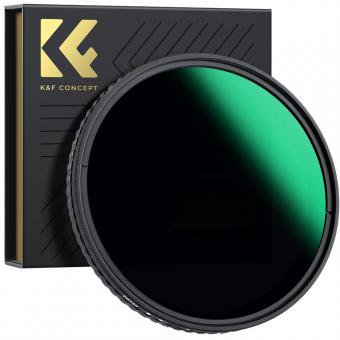
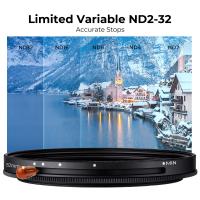
Another commonly used filter is the neutral density (ND) filter. It reduces the amount of light entering the camera, allowing for longer exposure times. This is beneficial in sports where fast-moving objects need to be captured with a motion blur effect, such as cycling or motor racing.
UV filters are also widely used in sports photography. They block ultraviolet light, which can cause hazy or washed-out images. UV filters help improve image clarity and protect the camera lens from scratches or dust.
Color correction filters are essential for sports photography in different lighting conditions. These filters help adjust the color temperature and balance, ensuring accurate and natural-looking colors in the final footage. They are particularly useful when shooting sports events that take place under artificial lighting or in challenging weather conditions.
To make sports camera filters, you will need specific materials such as optical glass, filter frames, and coatings. The process involves cutting the glass into the desired shape, attaching it to the filter frame, and applying the necessary coatings for desired effects. However, it is recommended to purchase ready-made filters from reputable manufacturers, as they ensure high-quality materials and precise manufacturing processes.
In conclusion, sports camera filters play a crucial role in enhancing image quality and capturing stunning footage in various sporting activities. Polarizing, ND, UV, and color correction filters are among the most commonly used types. While it is possible to make filters, it is advisable to purchase them from trusted manufacturers to ensure optimal performance and durability.
2、 Choosing the Right Filter Size for Your Sports Camera
Choosing the Right Filter Size for Your Sports Camera
When it comes to capturing action-packed moments with your sports camera, having the right filters can greatly enhance the quality of your footage. Filters are essential accessories that can help you achieve better color accuracy, reduce glare, and protect your lens from scratches and dust. However, choosing the right filter size for your sports camera can be a bit confusing, especially with the wide range of options available in the market today. Here are some tips to help you make the right choice.
1. Check your camera's lens diameter: The first step in choosing the right filter size is to determine the diameter of your camera's lens. This information is usually printed on the front of the lens or can be found in the camera's user manual. Once you know the lens diameter, you can easily find filters that are compatible with your camera.
2. Consider your shooting needs: Different sports require different types of filters. For example, if you're shooting in bright sunlight, a polarizing filter can help reduce glare and improve color saturation. On the other hand, if you're shooting in low light conditions, a neutral density filter can help you achieve a slower shutter speed without overexposing the image. Consider the specific conditions in which you'll be shooting and choose filters accordingly.
3. Invest in high-quality filters: While it may be tempting to opt for cheaper filters, investing in high-quality ones can make a significant difference in the quality of your footage. High-quality filters are made from premium materials that minimize distortion and maintain color accuracy. They also have multi-coatings that reduce reflections and flare.
4. Consider the latest advancements: The field of camera filters is constantly evolving, with new technologies and advancements being introduced regularly. Keep an eye out for the latest developments, such as anti-reflective coatings or filters specifically designed for sports photography. These advancements can further enhance the quality of your footage and provide better protection for your lens.
In conclusion, choosing the right filter size for your sports camera is crucial for capturing high-quality footage. By considering your camera's lens diameter, your shooting needs, investing in high-quality filters, and staying updated with the latest advancements, you can ensure that you have the right filters to enhance your sports photography experience.

3、 Step-by-Step Guide to Attaching Filters to Your Sports Camera
Step-by-Step Guide to Attaching Filters to Your Sports Camera
Sports cameras have become an essential tool for capturing action-packed moments during various outdoor activities. However, to enhance the quality of your footage and add creative effects, attaching filters to your sports camera can make a significant difference. Here is a step-by-step guide on how to make sports camera filters:
1. Determine the filter size: Measure the diameter of your camera lens to determine the appropriate filter size. This information is usually indicated on the lens or can be found in the camera's manual.
2. Choose the right filter: There are various types of filters available, each serving a specific purpose. For sports photography, consider using a polarizing filter to reduce glare and enhance colors, or a neutral density filter to control the amount of light entering the lens.
3. Purchase or create a filter holder: Depending on your camera model, you may need to purchase a filter holder that attaches to the lens. Alternatively, you can create a DIY filter holder using a step-up ring and a filter holder adapter.
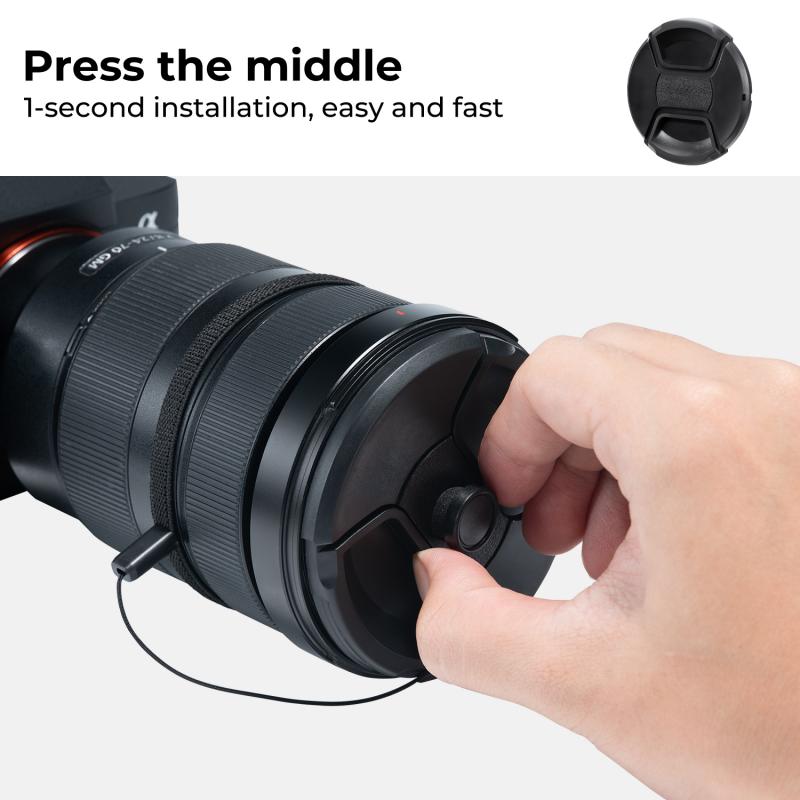
4. Attach the filter holder: Screw the filter holder onto the lens using the appropriate size adapter ring. Ensure it is securely attached to prevent any movement during shooting.
5. Insert the filter: Slide the desired filter into the filter holder. Make sure it is properly aligned and seated securely.
6. Test and adjust: Before heading out to capture your sports footage, test the filter's effect by taking a few test shots. Adjust the filter as needed to achieve the desired results.
It is important to note that the latest advancements in sports camera technology have led to the development of built-in filters and effects. Some sports cameras now offer in-camera filter options, allowing users to apply various effects directly without the need for physical filters. However, for those who prefer the flexibility and control of physical filters, the above guide provides a step-by-step approach to attaching filters to your sports camera.
4、 Understanding the Effects of Different Filters on Sports Photography
Understanding the Effects of Different Filters on Sports Photography
Sports photography is a dynamic and fast-paced genre that requires capturing action-packed moments with precision and clarity. To enhance the visual impact of sports images, photographers often use filters to manipulate light and add creative effects. Here, we will discuss how to make sports camera filters and explore the effects they can have on sports photography.
To make sports camera filters, you will need a few basic materials such as filter sheets, scissors, and adhesive tape. Start by cutting the filter sheets to fit the size of your camera lens. Then, carefully attach the filter sheets to the lens using adhesive tape, ensuring they are securely in place.
Different filters can produce various effects in sports photography. For instance, a polarizing filter can reduce glare and reflections from shiny surfaces, making it ideal for outdoor sports like soccer or baseball. This filter can also enhance color saturation and contrast, resulting in more vibrant and impactful images.
Neutral density (ND) filters are another popular choice for sports photography. These filters reduce the amount of light entering the camera, allowing photographers to use slower shutter speeds even in bright conditions. This can be beneficial for capturing motion blur, such as a cyclist speeding by or a basketball player in mid-air.
In recent years, the use of graduated neutral density (GND) filters has gained popularity in sports photography. These filters have a gradient effect, with one half being darker than the other. GND filters are particularly useful when shooting sports events with a significant difference in lighting between the sky and the ground. By balancing the exposure, GND filters help retain details in both the bright sky and the darker ground.
It is important to note that while filters can enhance sports photography, they should be used judiciously and in accordance with the specific requirements of each situation. Experimenting with different filters and understanding their effects will allow photographers to capture stunning sports images that stand out from the crowd.
