How To Meter For Reverse Graduated Nd Filter ?
To meter for a reverse graduated ND filter, you would need to follow these steps:
1. Set up your camera on a tripod and compose your shot.
2. Attach the reverse graduated ND filter to your lens.
3. Use a light meter or the built-in metering system of your camera to measure the exposure of the brightest part of the scene, which is usually the sky.
4. Adjust the camera settings (shutter speed, aperture, or ISO) based on the meter reading to properly expose the brightest part of the scene.
5. Take a test shot and review the histogram to ensure that the highlights are not overexposed.
6. If necessary, make further adjustments to the camera settings until you achieve the desired exposure balance between the bright and dark areas of the scene.
7. Once you have determined the correct exposure settings, capture the final image.
Metering for a reverse graduated ND filter requires careful attention to the exposure of the brightest part of the scene, as this filter is specifically designed to darken the sky while maintaining proper exposure for the foreground.
1、 Understanding reverse graduated ND filters and their purpose
To meter for a reverse graduated ND filter, you need to follow a specific process to ensure accurate exposure. Here's a step-by-step guide:
1. Set up your camera on a tripod and compose your shot.
2. Determine the area of the scene that requires the most exposure reduction. This is typically the brightest part of the sky near the horizon.
3. Use your camera's spot metering mode to meter the brightest part of the sky. This will give you the correct exposure for that area.
4. Take note of the exposure settings provided by the spot metering mode.
5. Attach the reverse graduated ND filter to your lens, making sure the dark portion is aligned with the brightest part of the sky.
6. Adjust your camera's exposure settings to match the settings obtained from the spot metering mode. This will ensure that the brightest part of the sky is properly exposed.
7. Take the shot.
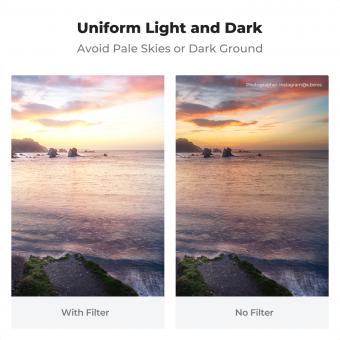
Understanding reverse graduated ND filters is essential for their effective use. These filters are specifically designed to darken the brightest part of the sky near the horizon, allowing for a more balanced exposure between the sky and the foreground. They are particularly useful during sunrise or sunset when the sky near the horizon tends to be much brighter than the rest of the scene.
The reverse graduated ND filter has a dark portion in the center that gradually transitions to clear towards the top. This design helps to prevent overexposure in the sky while maintaining proper exposure in the foreground. By metering for the brightest part of the sky and adjusting the exposure accordingly, you can achieve a well-balanced image with a natural-looking sky and properly exposed foreground.
It's important to note that different cameras and metering systems may vary in their accuracy, so it's always a good idea to bracket your exposures and review the histogram to ensure optimal results. Additionally, experimenting with different filter strengths and positioning can help you achieve the desired effect for your specific scene.
2、 Selecting the appropriate reverse graduated ND filter for your needs
When it comes to metering for a reverse graduated ND filter, there are a few key steps to follow in order to achieve the best results.
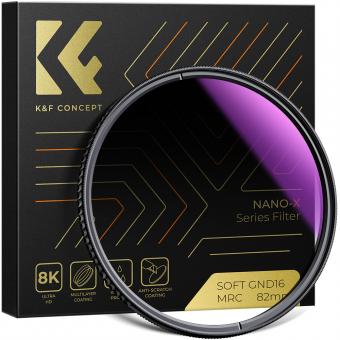
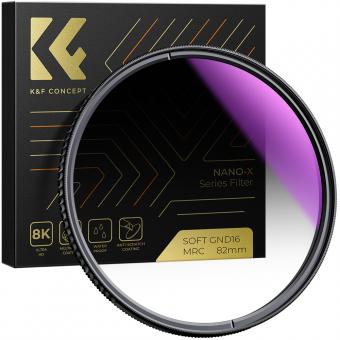
Firstly, it is important to understand the purpose of a reverse graduated ND filter. This type of filter is specifically designed to darken the sky near the horizon line, making it ideal for sunrise or sunset photography. The darkest part of the filter is in the center, gradually becoming lighter towards the top.
To meter for a reverse graduated ND filter, start by setting up your camera on a tripod and composing your shot. Once you have determined the desired exposure for the foreground, use your camera's spot metering mode to meter the brightest part of the sky near the horizon line. This will ensure that the filter is properly exposed for the sky.
It is worth noting that some photographers prefer to slightly overexpose the sky when using a reverse graduated ND filter, as it can help to retain more detail in the shadows. This is a matter of personal preference and experimentation, so feel free to adjust your exposure settings accordingly.
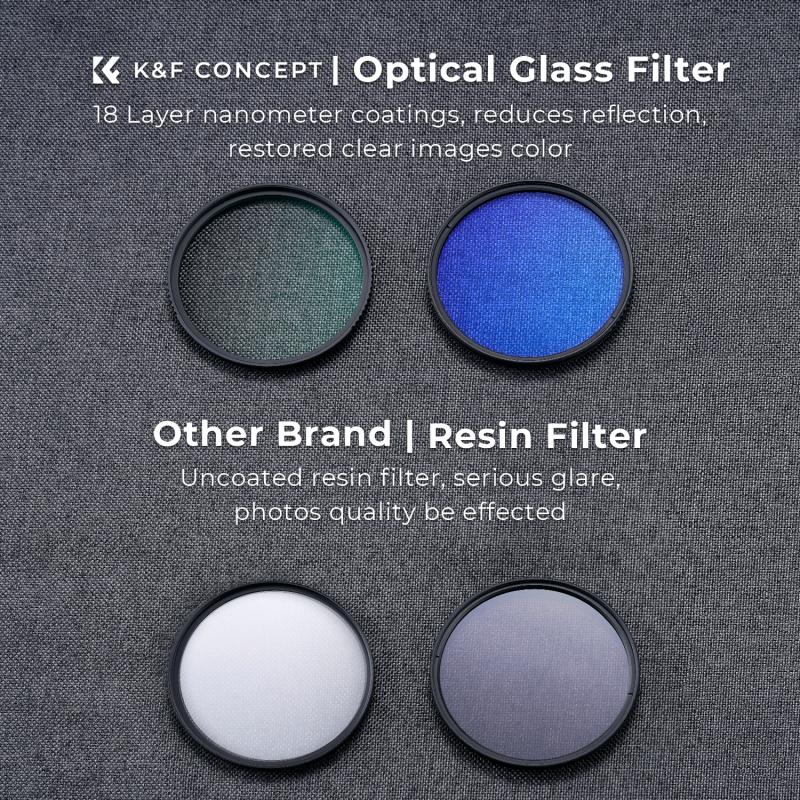
Additionally, it is important to select the appropriate reverse graduated ND filter for your needs. Consider factors such as the strength of the filter (measured in stops), the size of the filter (to fit your lens), and the quality of the filter (to minimize any potential color cast or loss of sharpness).
In conclusion, metering for a reverse graduated ND filter involves properly exposing the sky near the horizon line while considering personal preferences and the specific characteristics of the filter being used. Experimentation and practice will help you achieve the desired results in your photography.
3、 Metering techniques for accurate exposure with reverse graduated ND filters
Metering for reverse graduated ND filters requires a slightly different approach compared to regular ND filters. Reverse graduated ND filters are designed to darken the brightest part of the scene, typically the horizon during sunrise or sunset, while keeping the foreground properly exposed. Here are some metering techniques to achieve accurate exposure with reverse graduated ND filters:
1. Spot Metering: Use spot metering mode to meter the brightest part of the scene, which is usually the horizon. This will ensure that the filter is properly positioned to darken that area while maintaining proper exposure in the foreground.
2. Bracketing: Since reverse graduated ND filters are often used in challenging lighting conditions, it can be helpful to bracket your exposures. Take multiple shots at different exposure settings to ensure you capture the full dynamic range of the scene.
3. Histogram: Utilize the histogram on your camera to check the distribution of tones in the image. This will help you determine if any adjustments need to be made to the exposure settings.
4. Manual Mode: Consider using manual mode to have full control over the exposure settings. Start by metering the brightest part of the scene and adjust the shutter speed and aperture accordingly.
5. Experience and Experimentation: Metering for reverse graduated ND filters may require some trial and error. It is important to gain experience and experiment with different techniques to achieve the desired exposure.
It is worth noting that the latest point of view on metering techniques for reverse graduated ND filters may vary depending on individual preferences and advancements in camera technology. Therefore, it is always recommended to stay updated with the latest techniques and adapt them to your specific shooting conditions.
4、 Adjusting exposure settings based on the filter's strength and positioning
When using a reverse graduated ND filter, it is important to adjust your exposure settings based on the filter's strength and positioning. The purpose of a reverse graduated ND filter is to balance the exposure between the bright sky and the darker foreground, typically during sunrise or sunset when the sun is near the horizon.
To meter for a reverse graduated ND filter, follow these steps:
1. Set up your camera on a tripod and compose your shot.
2. Without the filter, meter for the brightest part of the sky using your camera's spot metering mode. This will give you the correct exposure for the sky.
3. Once you have the correct exposure for the sky, attach the reverse graduated ND filter to your lens.
4. Position the filter so that the darkest part of the filter is aligned with the horizon line in your composition.
5. Adjust your exposure settings based on the filter's strength and positioning. The filter will darken the sky above the horizon line, so you may need to increase your exposure to compensate for this.
6. Take a test shot and review the histogram to ensure that the exposure is balanced between the sky and the foreground. Make any necessary adjustments to your exposure settings.
7. Once you have achieved the desired exposure, capture your final image.
It is important to note that the strength of the reverse graduated ND filter and the positioning of the horizon line will affect the exposure settings. Experimentation and practice are key to mastering the use of reverse graduated ND filters.
In recent years, some photographers have also started using exposure blending techniques in post-processing to achieve similar results without the need for physical filters. This involves capturing multiple exposures with different settings and blending them together using software. This technique provides more control over the final result and allows for greater flexibility in balancing the exposure between the sky and the foreground.


