How To Mount Camera To Tripod ?
To mount a camera to a tripod, first, ensure that the tripod is set up on a stable surface. Then, locate the mounting plate on the tripod head and attach it to the bottom of the camera using the screw provided. Make sure the plate is securely attached to the camera. Next, align the plate with the tripod head and slide it into place. Tighten the screw on the tripod head to secure the camera in place. Finally, adjust the tripod head to the desired angle and tighten any necessary knobs or locks to keep the camera steady.
1、 Choosing the Right Tripod Mount
How to Mount Camera to Tripod:
Mounting your camera to a tripod is a simple process that can greatly improve the quality of your photos and videos. Here are the steps to follow:
1. Locate the tripod mount on your camera. This is usually located on the bottom of the camera body.
2. Align the mount on the tripod head with the mount on your camera.
3. Screw the mount on the tripod head into the mount on your camera.
4. Tighten the screw to ensure that your camera is securely attached to the tripod.
5. Adjust the tripod legs and head to the desired position.
6. Use the tripod to stabilize your camera and take your photos or videos.
Choosing the Right Tripod Mount:
When choosing a tripod mount, it is important to consider the weight and size of your camera, as well as the type of photography you will be doing. Here are some factors to consider:
1. Weight Capacity: Make sure the mount can support the weight of your camera and any accessories you may be using.
2. Compatibility: Ensure that the mount is compatible with your camera model.
3. Type of Photography: Consider the type of photography you will be doing. If you will be shooting in low light conditions, look for a mount with a quick release plate for easy camera attachment and detachment.
4. Material: Choose a mount made of durable materials such as aluminum or carbon fiber.
5. Price: Tripod mounts can range in price from budget-friendly to high-end. Consider your budget and choose a mount that meets your needs.
In conclusion, mounting your camera to a tripod is a simple process that can greatly improve the quality of your photos and videos. When choosing a tripod mount, consider the weight and size of your camera, the type of photography you will be doing, and your budget.
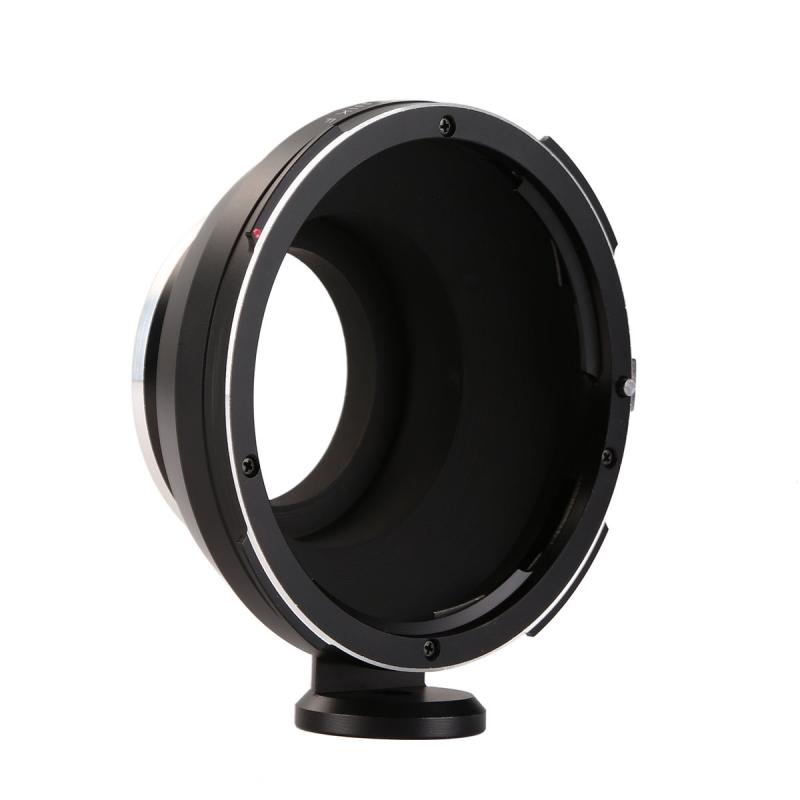
2、 Attaching the Tripod Plate to the Camera
Attaching a camera to a tripod is a crucial step in achieving stable and sharp images. There are two main steps to mounting a camera to a tripod: attaching the tripod plate to the camera and then attaching the plate to the tripod.
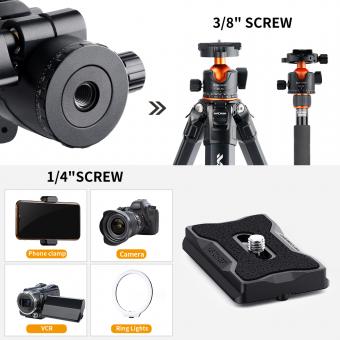
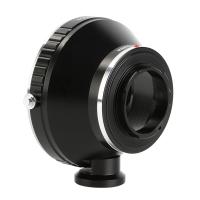
The first step is to attach the tripod plate to the camera. Most cameras have a threaded hole on the bottom that is used for mounting to a tripod. The tripod plate has a screw that fits into this hole. To attach the plate, simply align the screw with the hole and turn it clockwise until it is snug. Some cameras may require an adapter to fit the screw properly.
The second step is to attach the plate to the tripod. Most tripods have a quick-release system that allows you to attach and detach the plate quickly and easily. To attach the plate, simply slide it into the quick-release mechanism and tighten the locking mechanism. Make sure the plate is secure before using the tripod.
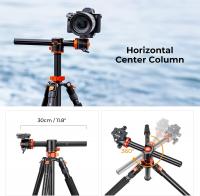
It is important to note that different cameras and tripods may have different mounting systems, so it is important to read the instructions for your specific equipment. Additionally, it is important to make sure the camera is balanced on the tripod to prevent it from tipping over. Adjust the tripod legs and center column as needed to achieve balance.
In recent years, some tripods and cameras have introduced new mounting systems, such as Arca-Swiss compatible plates and L-brackets. These systems offer more flexibility and convenience in mounting and switching between portrait and landscape orientations. However, they may require additional accessories and adapters to work with your existing equipment.
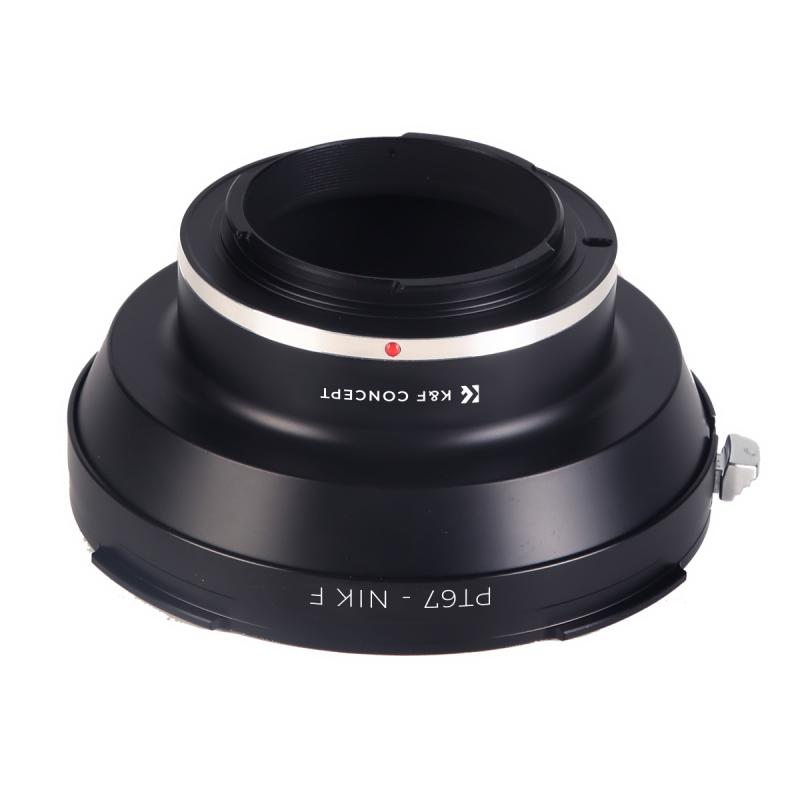
3、 Aligning the Camera with the Tripod Head
How to mount camera to tripod:
Mounting your camera to a tripod is a simple process that can greatly improve the quality of your photos and videos. Here are the steps to follow:
1. Locate the mounting plate on your tripod. This is usually a small metal plate with a screw in the center.
2. Attach the mounting plate to the bottom of your camera. Most cameras have a threaded hole on the bottom for this purpose.
3. Align the mounting plate with the tripod head. The tripod head is the part of the tripod that allows you to adjust the angle and orientation of your camera.
4. Screw the mounting plate onto the tripod head. Make sure it is securely fastened.
5. Adjust the tripod legs to the desired height and angle.
6. Attach any additional accessories, such as a remote shutter release or external flash.
7. Test the stability of the tripod by gently pushing on the camera. If it wobbles or moves, adjust the legs or tighten the mounting plate.
Aligning the Camera with the Tripod Head:
Once your camera is mounted to the tripod, it's important to align it properly with the tripod head. This will ensure that your photos and videos are level and straight.
1. Use the tripod head controls to adjust the angle and orientation of your camera.
2. Look through the viewfinder or LCD screen to check the alignment.
3. Use a bubble level to ensure that the camera is level. Many tripods come with a built-in bubble level, or you can purchase a separate one.
4. Fine-tune the alignment by adjusting the tripod head controls.
5. Take a test shot to check the alignment. If necessary, make further adjustments until you are satisfied with the results.
It's important to note that some tripods may have different mounting systems or controls, so be sure to consult the manufacturer's instructions for specific guidance. Additionally, always make sure your tripod is on a stable surface and never leave your camera unattended on the tripod.
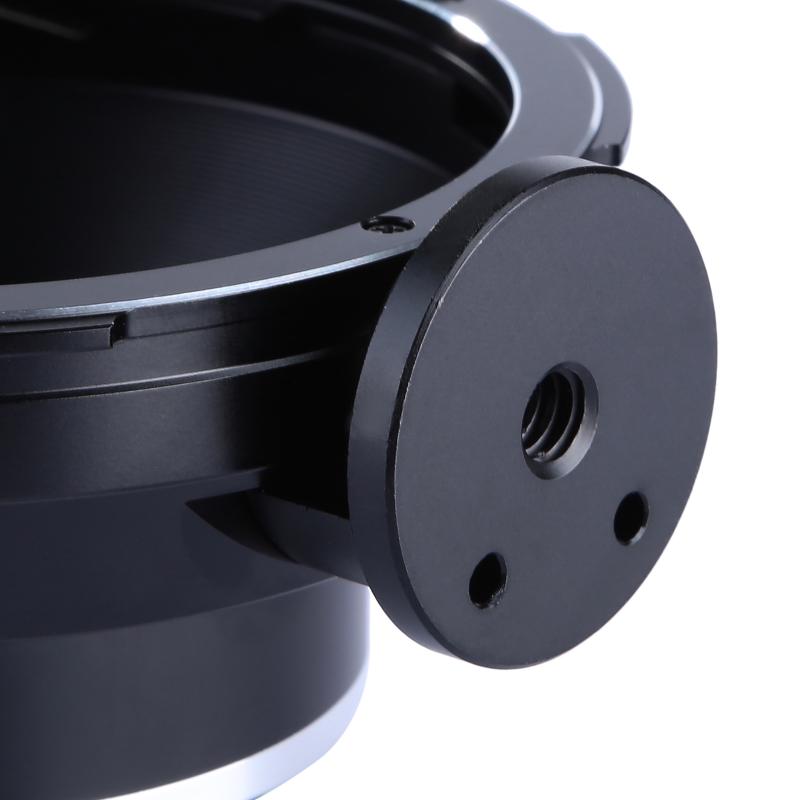
4、 Securing the Camera to the Tripod
Securing the Camera to the Tripod
Mounting a camera to a tripod is a simple process that can greatly improve the quality of your photos and videos. Here are the steps to follow:
1. Choose the right tripod: Make sure the tripod you choose is compatible with your camera and lens. Check the weight capacity of the tripod to ensure it can support your equipment.
2. Attach the tripod plate: Most tripods come with a plate that attaches to the bottom of your camera. Screw the plate onto the bottom of your camera using the provided screw.
3. Attach the plate to the tripod: Once the plate is attached to your camera, slide it into the tripod head and tighten the screw to secure it in place.
4. Adjust the tripod: Adjust the height and angle of the tripod to get the desired composition for your shot.
5. Secure the camera: Double-check that the camera is securely attached to the tripod and won't fall off.
It's important to note that some cameras may have different mounting options, such as a quick-release system or a different type of plate. Always refer to your camera's manual for specific instructions.
In recent years, some tripods have also incorporated features such as built-in levels and quick-release mechanisms for easier and faster mounting. Additionally, some cameras now have built-in stabilization systems that can work in conjunction with a tripod to further improve image stability.
