How To Photograph Through A Microscope ?
To photograph through a microscope, you will need a few essential tools and techniques. First, ensure that your microscope is equipped with a camera port or an adapter that allows you to attach a camera. Next, mount your camera onto the microscope using the appropriate adapter. Adjust the camera settings to manual mode, as this will give you more control over the exposure. Set a low ISO to minimize noise and select a small aperture for a greater depth of field. Use a remote shutter release or a timer to avoid camera shake. Adjust the focus on the microscope to get a clear image and use the camera's focus assist or manual focus to fine-tune the focus. Experiment with different lighting techniques, such as using the microscope's built-in light source or adding external lighting, to enhance the image quality. Finally, take multiple shots at different magnifications and angles to capture the desired details.
1、 Microscope Photography Techniques: Tips and Tricks for Capturing Images
Microscope photography is a fascinating way to capture the intricate details of microscopic subjects. Whether you are a scientist, a hobbyist, or a photographer looking to explore new realms, here are some tips and tricks to help you master the art of microscope photography.
1. Choose the right microscope: Select a microscope that is compatible with photography attachments. Look for a trinocular microscope that has a dedicated port for attaching a camera.
2. Use a camera adapter: Attach a camera adapter to connect your camera to the microscope. This adapter ensures a stable connection and allows you to align the camera lens with the microscope's eyepiece.
3. Adjust the lighting: Proper lighting is crucial for capturing clear and detailed images. Use the microscope's built-in lighting or add external light sources to enhance the subject's visibility. Experiment with different lighting angles and intensities to achieve the desired effect.
4. Set the focus: Use the microscope's focus knobs to bring the subject into sharp focus. Fine-tune the focus until you achieve the desired level of clarity. Consider using the microscope's depth of field adjustment to capture multiple focal planes.
5. Control exposure: Adjust the camera's exposure settings to ensure proper lighting and avoid overexposure or underexposure. Use manual mode to have full control over the aperture, shutter speed, and ISO settings.
6. Stabilize the camera: Microscope photography requires stability to avoid blurry images. Use a tripod or a stable surface to keep the camera steady during the capture process.
7. Experiment with magnification: Microscopes offer various levels of magnification. Start with lower magnifications to get a broader view of the subject, then gradually increase the magnification to capture finer details.
8. Post-processing: After capturing the images, use photo editing software to enhance the colors, contrast, and sharpness. Adjusting these parameters can help bring out the hidden details and improve the overall quality of the image.
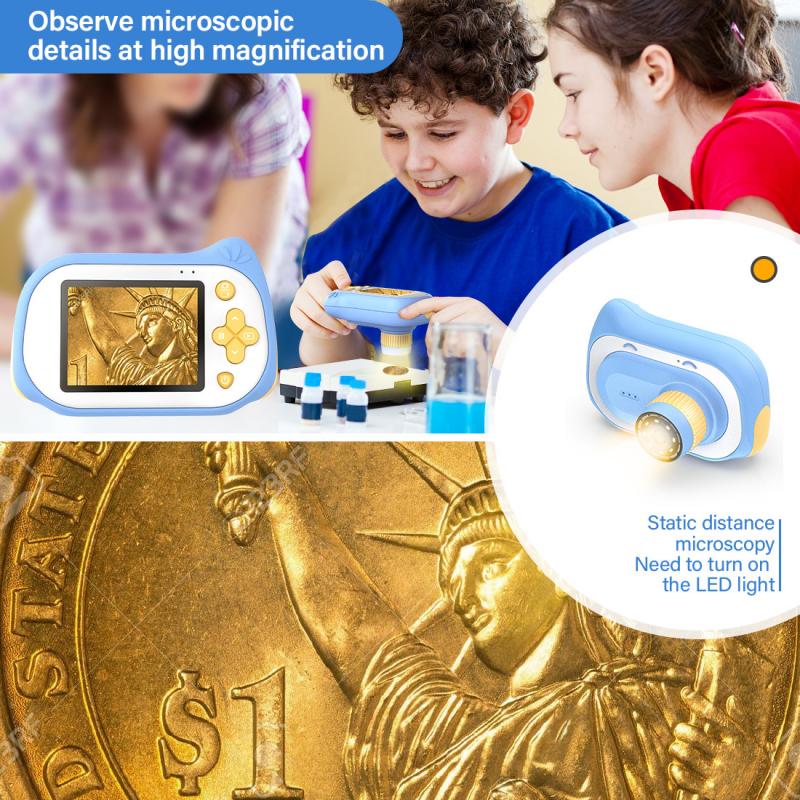
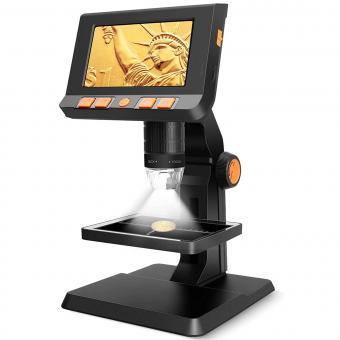
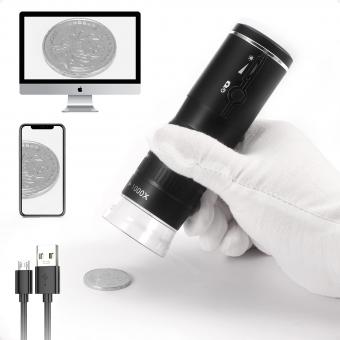
In recent years, advancements in technology have made microscope photography more accessible. Some microscopes now come with built-in cameras or have the ability to connect wirelessly to smartphones or tablets, allowing for easier image capture and sharing. Additionally, there are specialized smartphone adapters available that can be used to attach your phone directly to the microscope eyepiece, eliminating the need for a separate camera. These advancements have opened up new possibilities for amateur photographers and educators to explore the microscopic world.
Remember, practice makes perfect. Experiment with different techniques, subjects, and lighting conditions to develop your own unique style in microscope photography. With patience and persistence, you can capture stunning images that reveal the hidden beauty of the microscopic world.
2、 Equipment and Setup: Essential Tools for Microscope Photography
Equipment and Setup: Essential Tools for Microscope Photography
Photographing through a microscope can be a fascinating way to capture the intricate details of microscopic subjects. To achieve high-quality images, it is important to have the right equipment and set up. Here are some essential tools and tips for microscope photography:
1. Microscope: Choose a microscope with a camera port or a trinocular head that allows you to attach a camera. This will enable you to directly capture images through the microscope.
2. Camera: Use a digital camera with manual settings and the ability to attach to the microscope. A DSLR or mirrorless camera with interchangeable lenses is ideal for flexibility and image quality.
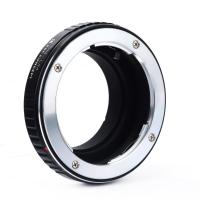
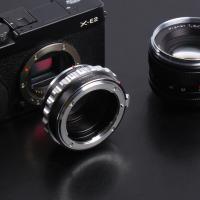
3. Adapter: Depending on the camera and microscope models, you may need an adapter to connect the camera to the microscope. This ensures a secure and stable connection.
4. Lighting: Proper lighting is crucial for microscope photography. Use the microscope's built-in illumination or consider adding external light sources such as LED ring lights or fiber optic illuminators. Experiment with different lighting angles and intensities to achieve the desired effect.
5. Stabilization: Microscope photography requires stability to avoid blurry images. Use a sturdy tripod or a specialized microscope stand to keep the camera steady during the shooting process.
6. Focus and Depth of Field: Achieving sharp focus and sufficient depth of field can be challenging in microscope photography. Use the microscope's fine focus adjustment and experiment with different aperture settings to control depth of field.
7. Post-processing: After capturing the images, post-processing can enhance the final results. Use photo editing software to adjust brightness, contrast, and color balance. Additionally, stacking software can be used to combine multiple images with different focus points to increase overall sharpness.
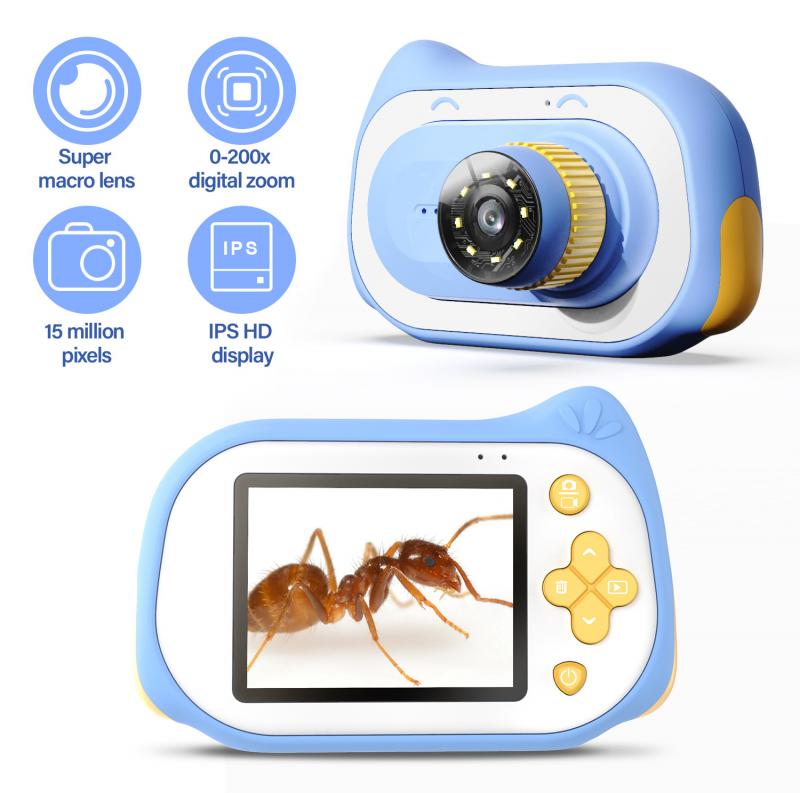
In recent years, advancements in technology have made microscope photography more accessible. Some microscopes now come with built-in cameras or have Wi-Fi capabilities, allowing for direct image transfer to a computer or smartphone. Additionally, smartphone adapters are available to attach your phone to the microscope, enabling easy and convenient photography.
Remember, practice and experimentation are key to mastering microscope photography. With the right equipment and setup, you can capture stunning images of the microscopic world.
3、 Lighting and Illumination: Enhancing Visibility in Microscope Images
Photographing through a microscope can be a challenging task, but with the right techniques and equipment, it is possible to capture high-quality images. One of the key factors in achieving good microscope photography is lighting and illumination. Proper lighting not only enhances visibility but also brings out the details and colors of the specimen being observed.
To start, it is important to ensure that the microscope is properly illuminated. This can be achieved by using a bright and even light source, such as an LED ring light or a fiber optic illuminator. These light sources provide uniform illumination across the field of view, reducing shadows and enhancing visibility.
In addition to the overall illumination, it is also crucial to consider the angle and direction of the light. Adjusting the angle of the light can help highlight specific features of the specimen, while changing the direction can minimize glare and reflections. Experimenting with different lighting angles and directions can help achieve the desired effect.
Another important aspect of lighting in microscope photography is the use of filters. Filters can be used to enhance contrast, reduce glare, or even add color to the image. For example, a polarizing filter can help reduce reflections, while a color filter can be used to highlight specific structures or stains in the specimen.
Lastly, it is worth mentioning the latest point of view in microscope lighting and illumination. Advances in technology have led to the development of new lighting techniques, such as darkfield and fluorescence microscopy. Darkfield microscopy uses oblique lighting to create a bright specimen against a dark background, while fluorescence microscopy uses specific wavelengths of light to excite fluorescent molecules in the specimen, resulting in highly detailed and colorful images.
In conclusion, lighting and illumination play a crucial role in photographing through a microscope. By using a bright and even light source, adjusting the angle and direction of the light, and utilizing filters, it is possible to enhance visibility and capture stunning microscope images. Additionally, exploring new lighting techniques can further expand the possibilities in microscope photography.
4、 Focus and Depth of Field: Achieving Sharpness and Clarity
How to photograph through a microscope: Focus and Depth of Field: Achieving Sharpness and Clarity
Photographing through a microscope can be a challenging yet rewarding endeavor. To capture sharp and clear images, it is crucial to understand the concepts of focus and depth of field. Here are some tips to help you achieve the best results:
1. Prepare the microscope: Ensure that the microscope is clean and properly aligned. Adjust the lighting to eliminate glare and shadows that could affect the image quality.
2. Choose the right magnification: Select the appropriate objective lens for the level of detail you want to capture. Higher magnifications may require more precise focusing techniques.
3. Use a tripod or stable surface: To minimize camera shake, mount your camera on a tripod or place it on a stable surface. This will help maintain sharpness during the exposure.
4. Adjust the focus: Use the microscope's focusing knobs to bring the subject into focus. Fine-tune the focus by looking through the eyepiece and adjusting the focus until the image appears sharp.
5. Control the depth of field: Depth of field refers to the range of distance that appears acceptably sharp in an image. To increase depth of field, use a smaller aperture (higher f-stop number) on your camera. However, be aware that smaller apertures reduce the amount of light entering the camera, so you may need to compensate with longer exposure times or increased ISO.
6. Experiment with lighting: Different lighting techniques, such as using diffusers or polarizers, can enhance the clarity and contrast of your microscope images. Adjust the lighting to highlight specific details or minimize unwanted reflections.
7. Post-processing: After capturing the image, you can further enhance sharpness and clarity through post-processing software. Adjusting contrast, sharpness, and noise reduction can help bring out the finer details.
It is important to note that the latest advancements in technology, such as digital microscopy and specialized microscope cameras, have made it easier to capture high-quality images through a microscope. These advancements often offer features like live view, focus stacking, and image stitching, which can greatly enhance the overall image quality and ease of use.
In conclusion, achieving sharpness and clarity when photographing through a microscope requires attention to focus and depth of field. By following these tips and utilizing the latest technological advancements, you can capture stunning images that reveal the intricate details of the microscopic world.

















There are no comments for this blog.