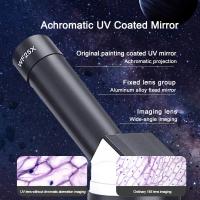
How To Prepare An Electron Microscope Slide ?
To prepare an electron microscope slide, the following steps can be followed:
1. Collect the sample: The sample can be collected from the desired source and should be small enough to fit on the slide.
2. Fixation: The sample needs to be fixed to preserve its structure. This can be done by using a fixative such as glutaraldehyde or formaldehyde.
3. Dehydration: The sample needs to be dehydrated to remove any water content. This can be done by using a series of alcohol solutions of increasing concentration.
4. Embedding: The sample needs to be embedded in a resin to provide support and stability. This can be done by using epoxy resin.
5. Sectioning: The embedded sample needs to be cut into thin sections using an ultramicrotome.
6. Mounting: The sections need to be mounted onto a copper grid using a carbon film.
7. Staining: The sections can be stained using heavy metals such as lead or uranium to enhance contrast.
8. Drying: The slide needs to be dried before it can be viewed under the electron microscope.
By following these steps, a high-quality electron microscope slide can be prepared for analysis.
1、 Sample Preparation
Sample preparation is a crucial step in electron microscopy as it determines the quality of the images obtained. Here are the steps to prepare an electron microscope slide:
1. Fixation: The sample needs to be fixed to preserve its structure. This can be done by using chemical fixatives such as glutaraldehyde or formaldehyde.
2. Dehydration: The sample needs to be dehydrated to remove water and prevent artifacts. This is done by using a series of alcohol solutions of increasing concentration.
3. Infiltration: The sample needs to be infiltrated with a resin to provide support and stability. This is done by using a resin such as epoxy or acrylic.
4. Embedding: The sample is embedded in the resin and allowed to harden. This is done by placing the sample in a mold and adding the resin.
5. Sectioning: The embedded sample is cut into thin sections using an ultramicrotome. The sections are then placed on a grid or slide.
6. Staining: The sections are stained with heavy metals such as lead or uranium to increase contrast and improve image quality.
7. Viewing: The slide is then ready to be viewed under the electron microscope.
Recent advancements in sample preparation techniques have led to the development of cryo-electron microscopy, which allows for the imaging of samples in their native state without the need for fixation, dehydration, or staining. This technique has revolutionized the field of structural biology and has led to the determination of high-resolution structures of large macromolecular complexes.
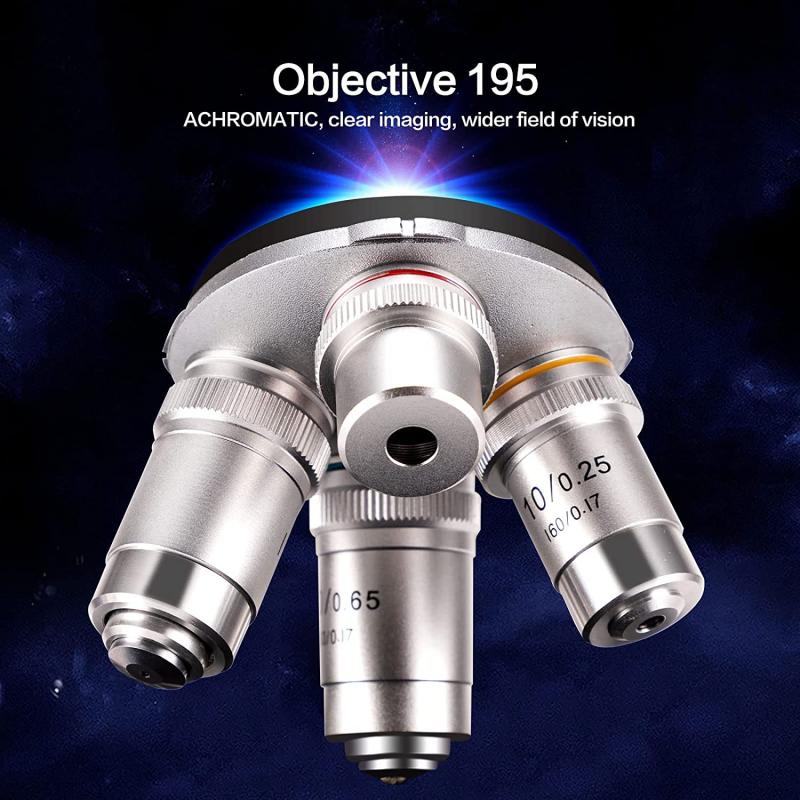
2、 Fixation
One of the most important steps in preparing an electron microscope slide is fixation. Fixation is the process of preserving the structure and integrity of the sample by preventing any further changes or degradation. This is done by using a fixative solution that can crosslink the proteins and other molecules in the sample.
The most commonly used fixative solution for electron microscopy is glutaraldehyde. This solution is a strong crosslinking agent that can preserve the sample's structure and prevent any further changes. The sample is usually immersed in the fixative solution for a few hours to overnight, depending on the size and type of the sample.
After fixation, the sample is washed with a buffer solution to remove any excess fixative and then dehydrated using a series of alcohol solutions. This is done to remove any water from the sample, which can interfere with the electron beam and cause artifacts.
The next step is embedding the sample in a resin, which provides support and stability to the sample during sectioning. The resin is usually a plastic material that can be polymerized to form a hard block. The sample is then cut into thin sections using an ultramicrotome and mounted onto a copper grid.
Recent advances in electron microscopy have led to the development of cryo-electron microscopy, which allows the sample to be imaged in its native state without the need for fixation or embedding. This technique has revolutionized the field of structural biology and has led to the determination of high-resolution structures of many biological macromolecules.
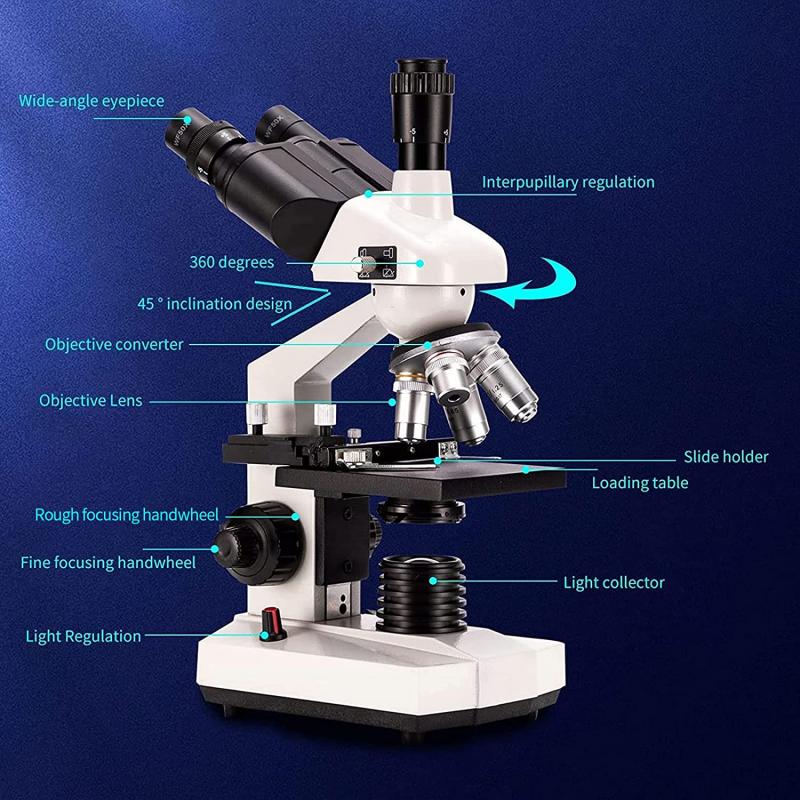
3、 Dehydration
Dehydration is an essential step in preparing an electron microscope slide. It involves removing water from the sample to prevent artifacts and distortion during imaging. Here are the steps to prepare an electron microscope slide through dehydration:
1. Fixation: The sample is first fixed with a chemical fixative such as glutaraldehyde or formaldehyde to preserve its structure.
2. Wash: The sample is washed with a buffer solution to remove any excess fixative.
3. Dehydration: The sample is dehydrated by gradually replacing water with a series of alcohol solutions of increasing concentration. The most commonly used alcohols are ethanol and acetone.
4. Infiltration: The sample is then infiltrated with a resin such as epoxy or acrylic to provide structural support and stability during imaging.
5. Embedding: The sample is embedded in the resin and cured at a high temperature to form a solid block.
6. Sectioning: The block is then sectioned with an ultramicrotome to obtain thin slices of the sample.
7. Staining: The sections are stained with heavy metals such as lead or uranium to enhance contrast and improve imaging.
Recent advancements in electron microscopy have led to the development of cryo-electron microscopy, which allows for imaging of samples in their native hydrated state. This technique involves rapidly freezing the sample in liquid nitrogen to preserve its structure and imaging it at very low temperatures. However, dehydration is still a crucial step in preparing samples for traditional electron microscopy techniques.
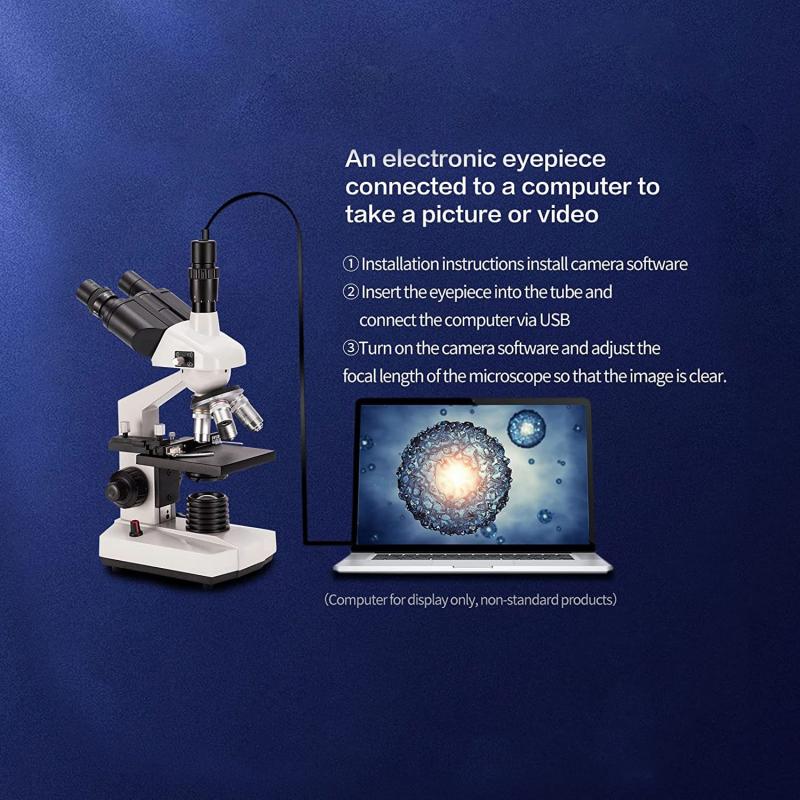
4、 Embedding
One method for preparing an electron microscope slide is embedding. Embedding involves embedding the sample in a resin, which is then cut into thin sections for viewing under the electron microscope. Here are the steps for embedding:
1. Fixation: The sample is first fixed in a solution such as formaldehyde to preserve its structure.
2. Dehydration: The sample is then dehydrated in a series of alcohol solutions to remove all water from the sample.
3. Infiltration: The sample is then infiltrated with a resin such as epoxy or acrylic, which will harden and preserve the sample's structure.
4. Embedding: The resin-infiltrated sample is then placed in a mold and allowed to harden.
5. Sectioning: The hardened resin block is then cut into thin sections using a microtome.
6. Staining: The sections are then stained with heavy metals such as lead or uranium to increase contrast and improve visibility under the electron microscope.
7. Mounting: The stained sections are then mounted onto a slide and viewed under the electron microscope.
Recent advancements in embedding techniques have focused on improving the preservation of biological samples, such as using cryo-embedding to freeze the sample in a vitreous ice state. This technique allows for the preservation of the sample's native state and has led to new insights in the field of structural biology.









![Supfoto Osmo Action 3 Screen Protector for DJI Osmo Action 3 Accessories, 9H Tempered Glass Film Screen Cover Protector + Lens Protector for DJI Osmo 3 Dual Screen [6pcs] Supfoto Osmo Action 3 Screen Protector for DJI Osmo Action 3 Accessories, 9H Tempered Glass Film Screen Cover Protector + Lens Protector for DJI Osmo 3 Dual Screen [6pcs]](https://img.kentfaith.de/cache/catalog/products/de/GW41.0076/GW41.0076-1-200x200.jpg)


