How To Properly Use Graduetad Nd Filter ?
To properly use a graduated ND filter, first attach it to your camera lens. Position the filter so that the darkened portion covers the area of the frame where you want to reduce the exposure, such as the sky. Make sure the transition between the darkened and clear portions of the filter aligns with the horizon or any other natural dividing line in your composition. Adjust the position of the filter as needed.
Next, set your camera to manual or aperture priority mode and meter for the overall scene. Take a test shot and review the histogram to ensure that the exposure is balanced. If necessary, adjust the exposure compensation to achieve the desired effect.
Keep in mind that graduated ND filters come in different strengths, so choose the appropriate filter based on the scene's dynamic range. Experiment with different filter positions and exposures to achieve the desired effect. Finally, review your images and make any necessary adjustments in post-processing to further enhance the results.
1、 Understanding Graduated ND Filters: Types and Applications
To properly use a graduated ND (neutral density) filter, follow these steps:
1. Choose the right filter: Graduated ND filters come in different strengths and types. The most common types are hard-edge and soft-edge filters. Hard-edge filters have a distinct transition line, while soft-edge filters have a gradual transition. Choose the type that suits your scene and desired effect.
2. Set up your camera: Mount your camera on a tripod to ensure stability. Set your desired aperture, ISO, and shutter speed settings.
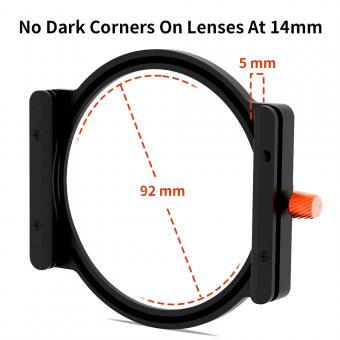
3. Attach the filter holder: Graduated ND filters are typically square or rectangular and require a filter holder. Attach the holder to the front of your lens securely.
4. Position the filter: Slide the graduated ND filter into the holder, ensuring that the dark portion of the filter is positioned over the bright area of the scene. Adjust the filter's position to achieve the desired effect.
5. Check exposure: Take a test shot and review the exposure. Graduated ND filters are designed to balance the exposure between the bright and dark areas of a scene. Adjust the filter's position if necessary to achieve the desired balance.
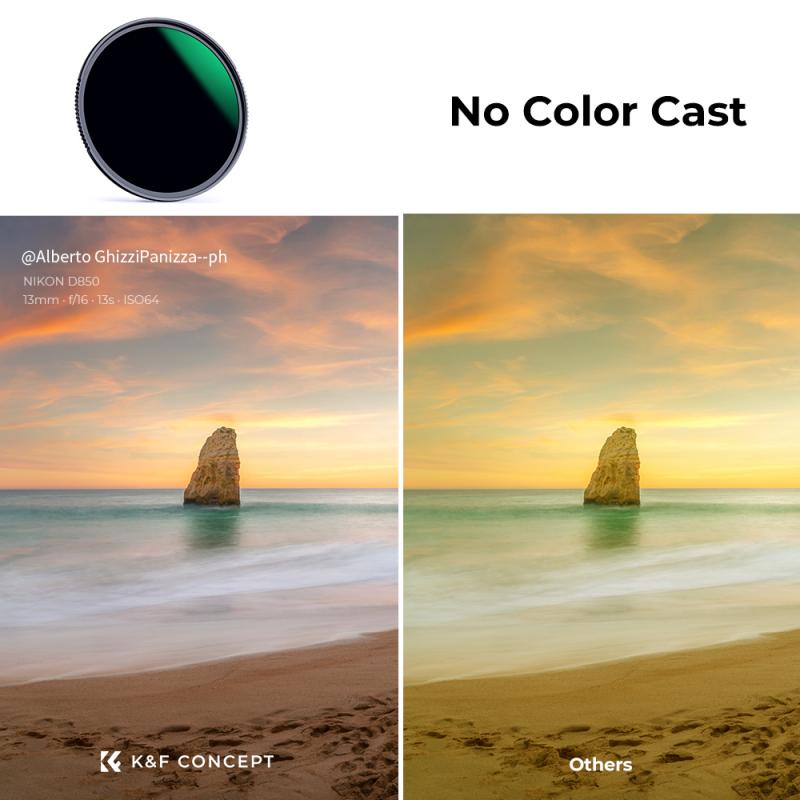
6. Capture the image: Once you are satisfied with the exposure, capture the image. Be mindful of any potential color cast caused by the filter and adjust white balance settings accordingly.
The latest point of view on using graduated ND filters emphasizes the importance of post-processing techniques. While filters can help balance exposure in-camera, they may not always provide a perfect result. In post-processing software, such as Adobe Lightroom or Photoshop, you can fine-tune the exposure and make further adjustments to achieve the desired effect. This allows for greater control and flexibility in achieving the desired balance between the bright and dark areas of your image.
2、 Choosing the Right Graduated ND Filter for Your Photography
To properly use a graduated ND filter in your photography, you need to follow a few key steps. First, choose the right filter for your specific needs. Graduated ND filters come in different strengths, typically measured in stops, so select one that suits the dynamic range of your scene. For example, if you have a bright sky and a darker foreground, a filter with a stronger gradient may be necessary.
Once you have the right filter, attach it to your lens using a filter holder or adapter ring. Make sure it is securely fastened to avoid any light leaks. Next, compose your shot and determine the position of the filter. Graduated ND filters have a gradient that transitions from dark to clear, so position the filter in a way that aligns with the transition between the bright and dark areas of your scene.
To achieve the desired effect, you can either hold the filter in front of your lens or use a filter holder system that allows for precise adjustments. Take a test shot and evaluate the exposure. If necessary, adjust the position of the filter to achieve the desired balance between the bright and dark areas.
It's important to note that with advancements in post-processing software, the use of graduated ND filters has become less essential. Techniques such as exposure blending or HDR imaging can help achieve similar results. However, using a graduated ND filter in-camera can still save time and effort in post-processing, especially for scenes with high contrast.
In conclusion, to properly use a graduated ND filter, choose the right strength for your scene, securely attach it to your lens, position it correctly, and make adjustments as needed. While the use of these filters has become less essential with advancements in post-processing, they can still be a valuable tool for achieving balanced exposures in-camera.
3、 Proper Placement and Alignment of Graduated ND Filters
Proper Placement and Alignment of Graduated ND Filters
Graduated ND (Neutral Density) filters are essential tools for landscape photographers, allowing them to balance the exposure between the bright sky and the darker foreground. However, using these filters correctly requires careful placement and alignment to achieve the desired effect.
1. Determine the Gradation: Before attaching the filter, assess the scene and decide on the appropriate gradation. Graduated ND filters come in various strengths, from soft to hard transitions. Soft transitions are ideal for scenes with a gradual change in brightness, such as a hazy sky, while hard transitions work well for scenes with a distinct horizon line.
2. Attach the Filter Holder: Most graduated ND filters require a filter holder system. Attach the holder to your lens securely, ensuring it doesn't obstruct the field of view. Make sure the holder is level and straight to avoid any unwanted tilting or distortion.
3. Position the Filter: Slide the graduated ND filter into the holder, aligning the transition line with the horizon or the desired point of transition. Take care to position the filter precisely, as even a slight misalignment can result in an unnatural-looking image.
4. Adjust the Filter: Graduated ND filters often have a range of densities, allowing you to control the amount of light reduction. Position the filter so that the darker portion covers the brighter area of the scene, typically the sky. This will help balance the exposure and prevent overexposure in the highlights.
5. Evaluate the Effect: After attaching and aligning the filter, review the image through the viewfinder or on the camera's LCD screen. Check for any unwanted artifacts or color casts caused by the filter. Adjust the position or density of the filter if necessary to achieve the desired effect.
6. Experiment and Practice: Graduated ND filters can be challenging to master, so it's essential to experiment with different filters, strengths, and compositions. Practice using the filters in various lighting conditions to understand their impact on different scenes.
In recent years, digital post-processing techniques have become increasingly popular for achieving similar effects to graduated ND filters. However, using physical filters in the field still offers advantages, such as preserving details in highlights and reducing the need for extensive post-processing. Ultimately, the choice between using graduated ND filters or digital techniques depends on personal preference and the desired outcome.
Remember, mastering the proper placement and alignment of graduated ND filters takes time and practice. With experience, you'll be able to capture stunning landscape images with balanced exposures and captivating compositions.
4、 Balancing Exposure with Graduated ND Filters: Tips and Techniques
To properly use a graduated ND (neutral density) filter, follow these tips and techniques:
1. Understand the purpose: Graduated ND filters are used to balance exposure in scenes with high contrast, such as landscapes where the sky is much brighter than the foreground. The filter darkens the brighter areas, allowing for a more balanced exposure.
2. Choose the right filter: Graduated ND filters come in different strengths, indicated by the number of stops they reduce the light. Select a filter that suits the scene's contrast and your desired effect. For example, a 2-stop filter is suitable for mild contrast, while a 4-stop filter is better for extreme contrast.
3. Position the filter correctly: Attach the filter holder to your lens and slide the filter into place. Position the transition line of the filter where the bright and dark areas meet in the scene. This can be at the horizon or any other natural division point.
4. Use a tripod: To ensure precise positioning of the filter and avoid camera shake, use a sturdy tripod. This will help maintain the integrity of the transition line and prevent any unwanted blurring.
5. Experiment with exposure settings: Graduated ND filters work best when combined with proper exposure settings. Start by metering the scene without the filter, then adjust your exposure settings accordingly. You may need to bracket your shots to find the perfect balance.
6. Post-processing: While graduated ND filters help achieve a balanced exposure in-camera, some adjustments may still be required during post-processing. Fine-tune the exposure, contrast, and color balance to achieve the desired result.
In recent years, advancements in digital photography have led to the development of software tools that can simulate the effect of graduated ND filters. These tools, such as gradient masks in post-processing software, offer more flexibility and control over the exposure balance. However, using physical filters still provides a more accurate and natural result straight out of the camera.
Remember, practice is key to mastering the use of graduated ND filters. Experiment with different filters, compositions, and lighting conditions to develop your own style and achieve stunning, well-balanced exposures.
