How To Put A Camera Into A Tripod ?
To attach a camera to a tripod, first, ensure that the tripod is set up and stable on a flat surface. Then, locate the mounting plate on the tripod head. This plate typically has a screw or quick-release mechanism. Next, align the mounting hole on the bottom of the camera with the screw or quick-release mechanism on the plate. Insert the screw into the camera's mounting hole and tighten it securely using a coin or a screwdriver. If your tripod has a quick-release mechanism, simply slide the plate into the corresponding slot on the tripod head and lock it in place. Ensure that the camera is securely attached to the tripod before using it to avoid any accidents or damage.
1、 Camera Mounting Mechanisms for Tripods
Camera Mounting Mechanisms for Tripods
Mounting a camera onto a tripod is a fundamental skill that every photographer or videographer should master. It ensures stability and allows for precise positioning of the camera to capture the desired shots. Here is a step-by-step guide on how to put a camera into a tripod:
1. Choose a compatible tripod: Tripods come in various sizes and designs, so it's important to select one that is suitable for your camera's weight and size. Ensure that the tripod has a mounting plate or quick-release mechanism.
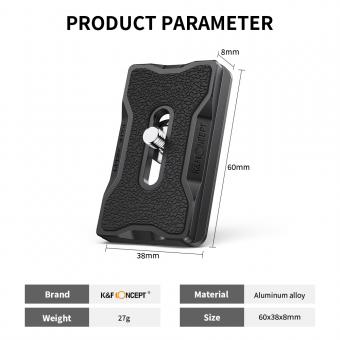
2. Attach the mounting plate: If your tripod has a mounting plate, locate it and screw it onto the camera's tripod socket. Make sure it is securely tightened to prevent any accidental detachment.
3. Align the camera: Position the camera so that the lens is facing the desired direction. Most tripods have a bubble level that helps ensure the camera is level.
4. Attach the camera to the tripod: If your tripod has a quick-release mechanism, simply slide the mounting plate into the corresponding slot and lock it in place. If your tripod uses a screw-type mechanism, carefully align the mounting plate with the tripod head and tighten the screw until the camera is securely attached.
5. Test stability: Gently shake the tripod to ensure that the camera is securely mounted and there is no wobbling. Adjust the tripod legs if necessary to achieve maximum stability.
It's worth noting that advancements in camera mounting mechanisms have led to the development of innovative solutions. Some tripods now feature quick-release plates with built-in safety locks, ensuring even more secure attachment. Additionally, certain tripod heads offer additional features like panoramic rotation, allowing for smoother panning shots.
Remember, always consult your tripod's user manual for specific instructions as different models may have slight variations in their mounting mechanisms.
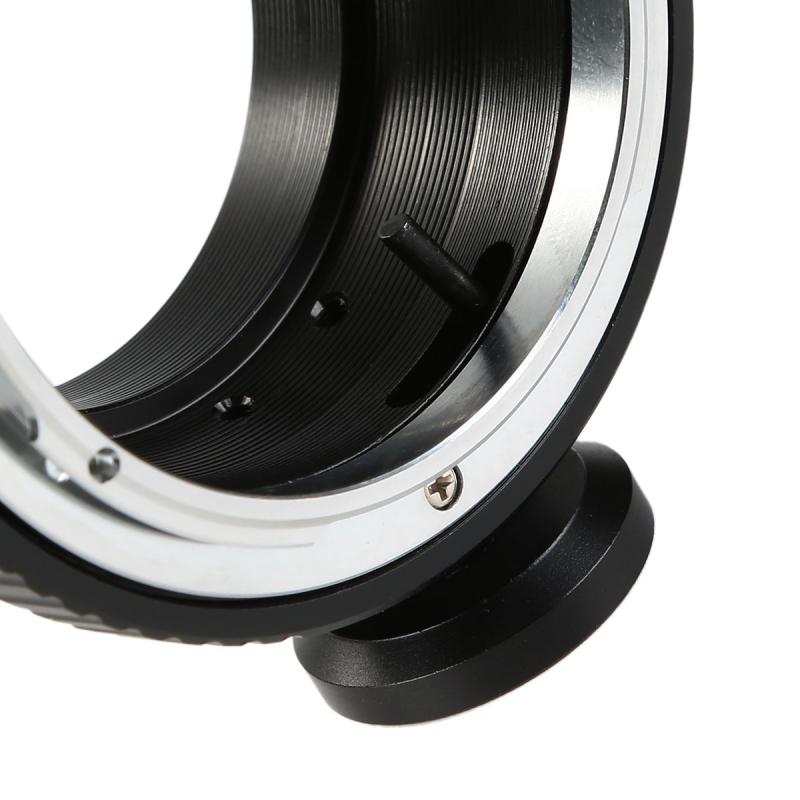
2、 Types of Tripod Heads for Camera Attachment
How to put a camera into a tripod:
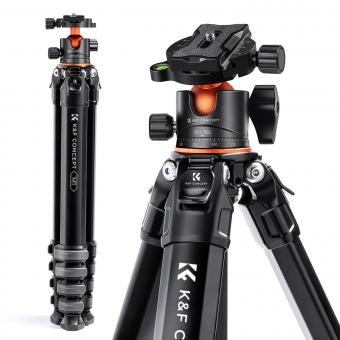
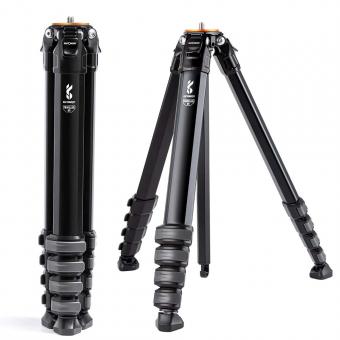
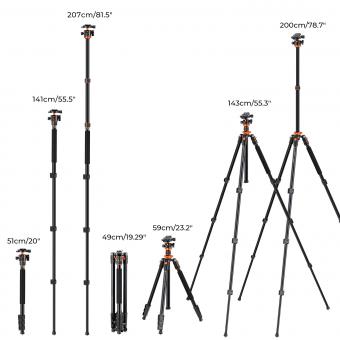
1. Start by extending the tripod legs to your desired height. Most tripods have adjustable legs that can be locked into place at different lengths. Make sure the tripod is stable and secure before proceeding.
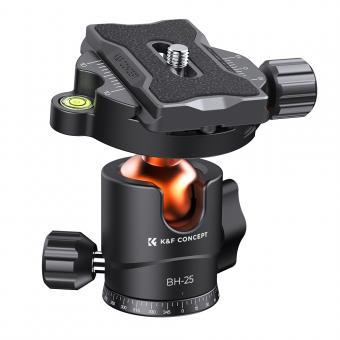
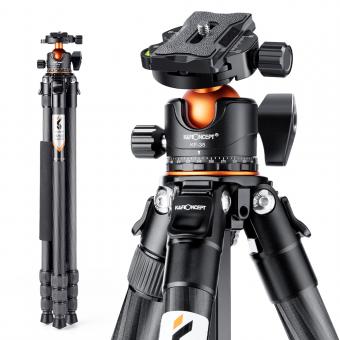
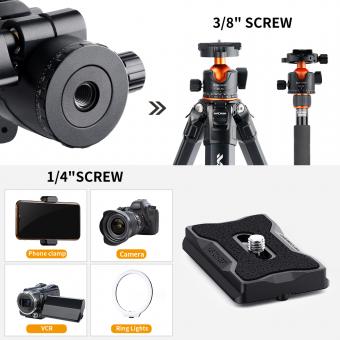
2. Locate the mounting plate on the tripod head. This is the part that attaches to the camera. It is usually a small metal plate with a screw.
3. Align the mounting plate with the camera's tripod socket. The tripod socket is typically located on the bottom of the camera. It is a threaded hole that allows the camera to be attached to a tripod.
4. Screw the mounting plate into the tripod socket. Use the provided screw or knob to secure the plate tightly. Make sure it is securely attached to prevent any accidental falls.
5. Once the camera is securely attached to the mounting plate, you can now place it onto the tripod head. Most tripod heads have a quick-release mechanism that allows you to easily attach and detach the camera.
6. Align the mounting plate with the tripod head and slide it into place. Make sure it locks securely into position.
7. Test the stability of the camera by gently moving it around. If it feels loose or unstable, double-check the mounting plate and tripod head to ensure they are properly secured.
Types of Tripod Heads for Camera Attachment:
There are several types of tripod heads available for camera attachment, each offering different features and benefits. The most common types include:
1. Ball Head: This type of tripod head allows for smooth and precise movement in all directions. It features a ball and socket joint that allows you to easily adjust the camera's position.
2. Pan/Tilt Head: This type of tripod head offers separate controls for panning (horizontal movement) and tilting (vertical movement). It provides more precise control over camera positioning.
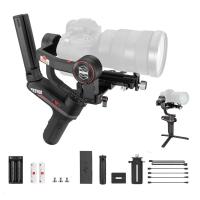
3. Gimbal Head: Primarily used for telephoto lenses, a gimbal head provides smooth and balanced movement for heavy camera setups. It allows for easy tracking of moving subjects.
4. Fluid Head: Fluid heads are commonly used in video production. They offer smooth and fluid movement, making them ideal for capturing video footage.
5. Three-Way Head: This type of tripod head provides separate controls for panning, tilting, and leveling. It offers precise control over camera positioning and is suitable for both photography and videography.
It's important to choose a tripod head that suits your specific needs and shooting style. Consider factors such as the weight of your camera setup, the type of photography you do, and the level of control you require.
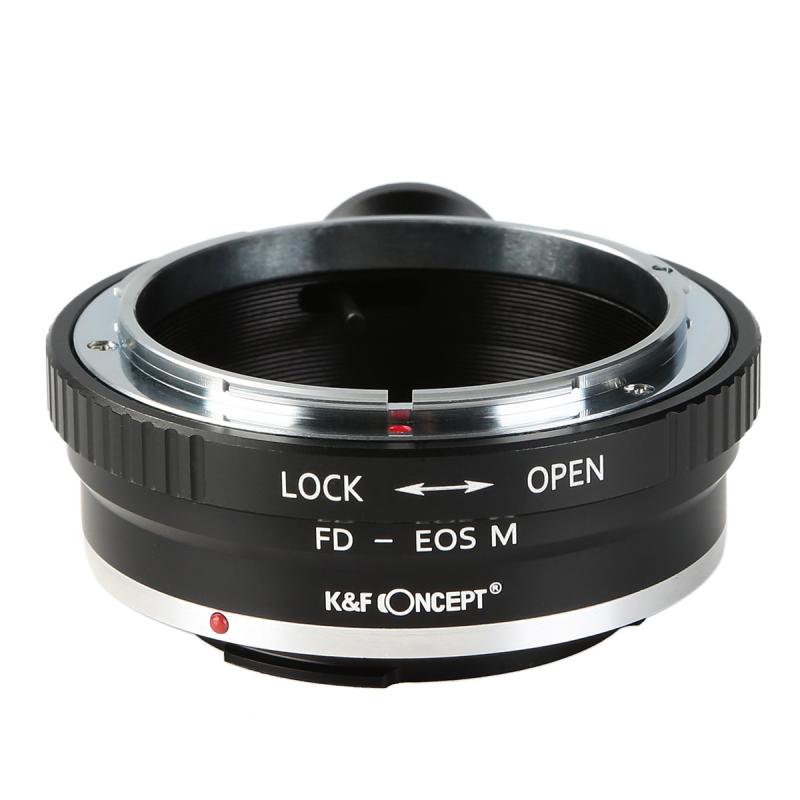
3、 Attaching a Camera to a Tripod Plate
Attaching a camera to a tripod plate is a fundamental step in setting up your camera for stable and steady shots. It ensures that your camera is securely mounted on the tripod, minimizing the risk of accidental falls or shaky footage. Here's a step-by-step guide on how to put a camera into a tripod:
1. Start by identifying the tripod plate. It is a small metal or plastic plate that typically comes with your tripod. The plate usually has a screw and a mounting surface.
2. Locate the camera's tripod socket, which is usually located on the bottom of the camera. It is a threaded hole designed to fit the tripod plate screw.
3. Align the tripod plate with the camera's tripod socket. Ensure that the plate's screw lines up with the socket.
4. Once aligned, gently screw the plate into the camera's tripod socket. Be careful not to overtighten it, as it may damage the camera.
5. Once the plate is securely attached to the camera, place the camera on the tripod head. The tripod head is the part of the tripod that allows you to pan, tilt, and adjust the camera's position.
6. Align the plate with the tripod head's mounting surface and slide it into place. Most tripod heads have a locking mechanism that secures the plate in position.
7. Double-check that the camera is securely attached by giving it a gentle shake. If it feels loose, tighten the locking mechanism on the tripod head.
It's worth noting that some tripods have quick-release systems, which allow you to attach and detach the camera more easily. These systems typically involve a lever or button that releases the plate from the tripod head. If your tripod has this feature, consult the manufacturer's instructions for specific guidance.
In conclusion, attaching a camera to a tripod plate is a straightforward process that ensures stability and reduces the risk of camera shake. By following these steps, you can confidently mount your camera on a tripod and capture steady shots.
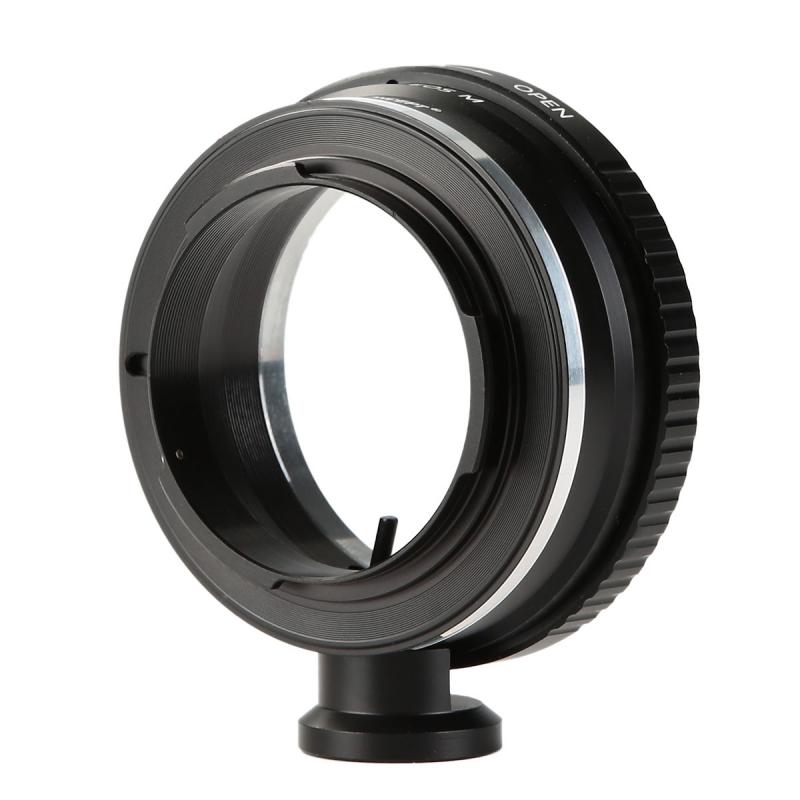
4、 Securing a Camera onto a Tripod Mount
Securing a Camera onto a Tripod Mount
To put a camera into a tripod, follow these steps:
1. Choose a compatible tripod: Ensure that the tripod you have is suitable for your camera. Tripods come in various sizes and weight capacities, so make sure it can support the weight of your camera and lens.
2. Attach the quick release plate: Most tripods come with a quick release plate that allows you to easily attach and detach your camera. Locate the plate and attach it to the bottom of your camera by screwing it into the tripod mount. Make sure it is securely tightened.
3. Align the plate with the tripod head: Place the camera onto the tripod head and align the plate with the corresponding slot or mount. Slide the plate into the slot until it clicks into place. Some tripods may have a lever or lock to secure the plate further.
4. Secure the camera: Once the plate is securely attached, tighten any screws or locks on the tripod head to ensure the camera is stable. Test the stability by gently shaking the camera to ensure it doesn't move or wobble.
5. Adjust the camera position: Use the tripod's pan and tilt controls to adjust the camera's position. This allows you to frame your shot and make any necessary adjustments for stability.
It's important to note that technology is constantly evolving, and new tripod mounting systems may emerge. Always refer to the manufacturer's instructions for specific details on how to attach your camera to a tripod. Additionally, some cameras may have built-in tripod mounts or alternative mounting options, so it's worth exploring your camera's manual for any specific instructions.
