How To Put A Filter On Camera Lens ?
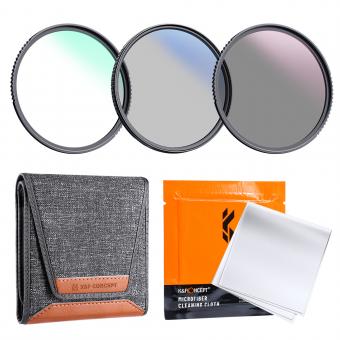
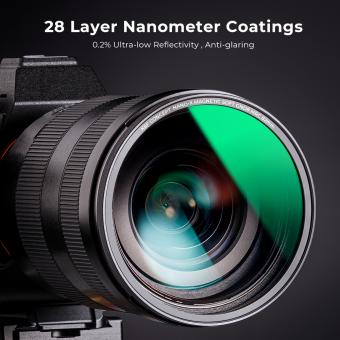
To put a filter on a camera lens, first, determine the size of the filter thread on the lens. This information can usually be found on the lens barrel or in the lens manual. Once you know the filter thread size, purchase a filter that matches that size.
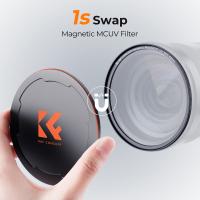
To attach the filter, simply screw it onto the front of the lens. Make sure to align the filter threads properly and avoid cross-threading, which can damage both the filter and the lens.
Some filters, such as circular polarizers or neutral density filters, may have rotating elements that need to be adjusted to achieve the desired effect. In this case, make sure to rotate the filter while looking through the viewfinder or LCD screen to see the effect on the image.
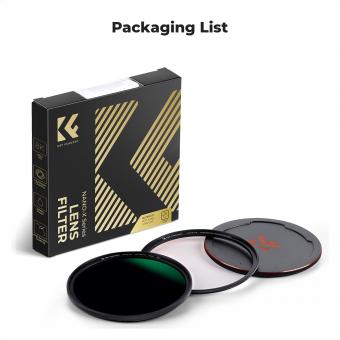
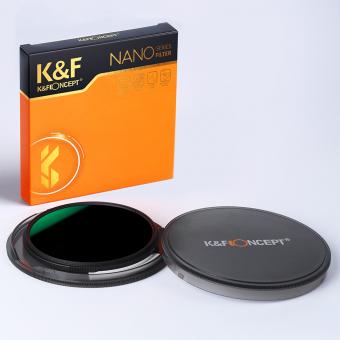
When not in use, store the filter in a protective case to prevent scratches or damage.
1、 Types of camera lens filters
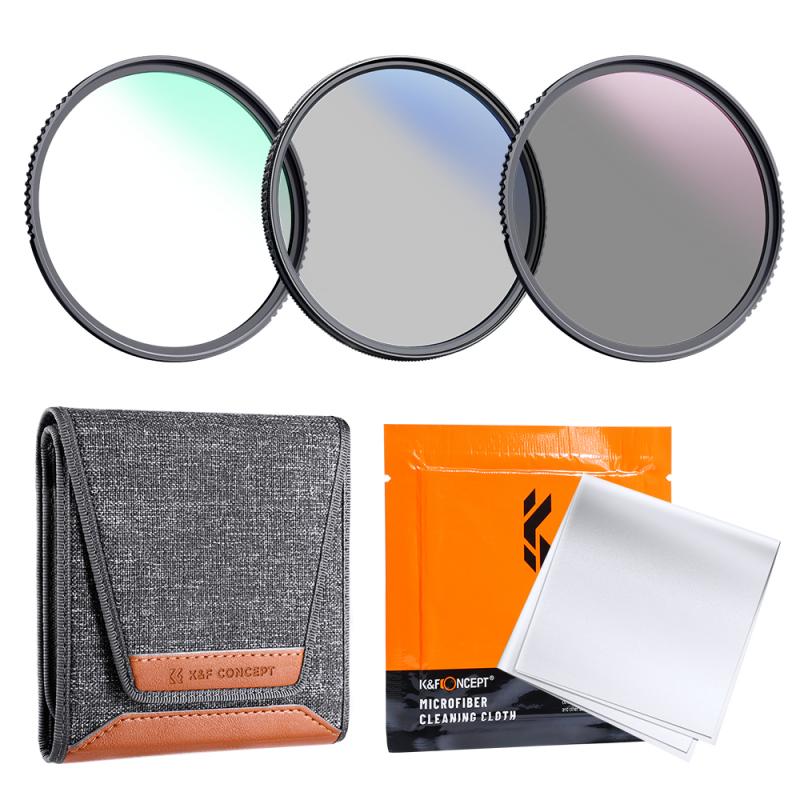
How to put a filter on camera lens:
Putting a filter on your camera lens is a simple process that can greatly enhance your photography. Here are the steps to follow:
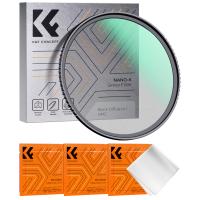
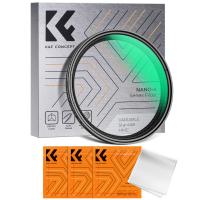
1. Choose the right filter: There are different types of filters available, each with its own purpose. Some of the most common filters include UV filters, polarizing filters, neutral density filters, and color filters. Choose the filter that best suits your needs.
2. Screw the filter onto the lens: Most filters come with a screw thread that matches the thread on your lens. Simply screw the filter onto the lens until it is snug.
3. Adjust the filter: Once the filter is attached, you can adjust it to achieve the desired effect. For example, a polarizing filter can be rotated to reduce glare and reflections.
4. Shoot: With the filter in place, you can start taking photos. Keep in mind that some filters may affect the exposure, so you may need to adjust your settings accordingly.
Types of camera lens filters:
1. UV filters: These filters are designed to block ultraviolet light, which can cause haze and reduce image clarity. They are particularly useful when shooting in bright sunlight.
2. Polarizing filters: These filters reduce glare and reflections, making colors appear more vibrant. They are especially useful when shooting landscapes or water scenes.
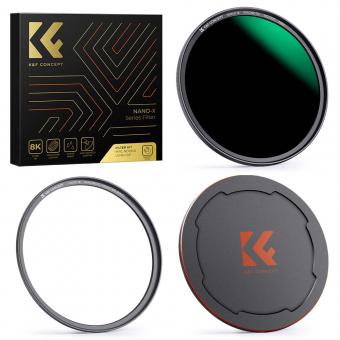
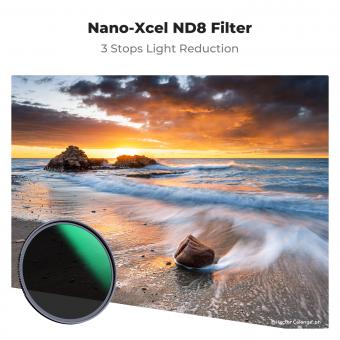
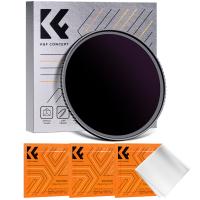
3. Neutral density filters: These filters reduce the amount of light entering the lens, allowing you to use slower shutter speeds or wider apertures. They are useful for creating motion blur or shallow depth of field.
4. Color filters: These filters add a color cast to your photos, which can be used for creative effect. For example, a red filter can make a blue sky appear more dramatic.
In recent years, there has been a trend towards using digital filters in post-processing rather than physical filters on the lens. However, physical filters still have their advantages, such as reducing the amount of post-processing required and allowing you to see the effect in real-time.
2、 Choosing the right filter size

How to put a filter on camera lens:
Putting a filter on your camera lens is a simple process that can greatly enhance your photography. Here are the steps to follow:
1. Determine the filter size: The first step is to determine the size of the filter that fits your lens. This can be found on the front of the lens or in the lens manual.
2. Choose the type of filter: There are many types of filters available, including UV, polarizing, neutral density, and color filters. Choose the type of filter that best suits your needs.
3. Screw on the filter: Once you have the correct size and type of filter, simply screw it onto the front of your lens. Make sure it is securely attached.
4. Adjust settings: Depending on the type of filter you are using, you may need to adjust your camera settings to compensate for the filter's effect on the light entering the lens.
Choosing the right filter size:
Choosing the right filter size is crucial to ensure that the filter fits securely on your lens and does not cause any vignetting or other issues. It is important to check the size of your lens before purchasing a filter. Some lenses have different filter thread sizes, so it is important to double-check before making a purchase.
In addition, it is important to consider the type of photography you will be doing and the type of filter you will need. For example, if you are using a wide-angle lens, you may need a slim filter to avoid vignetting. If you are using a telephoto lens, you may need a larger filter to avoid vignetting and to accommodate the larger lens diameter.
Overall, choosing the right filter size and type can greatly enhance your photography and help you achieve the desired effect. It is important to do your research and choose the right filter for your specific needs.
3、 Attaching and removing filters
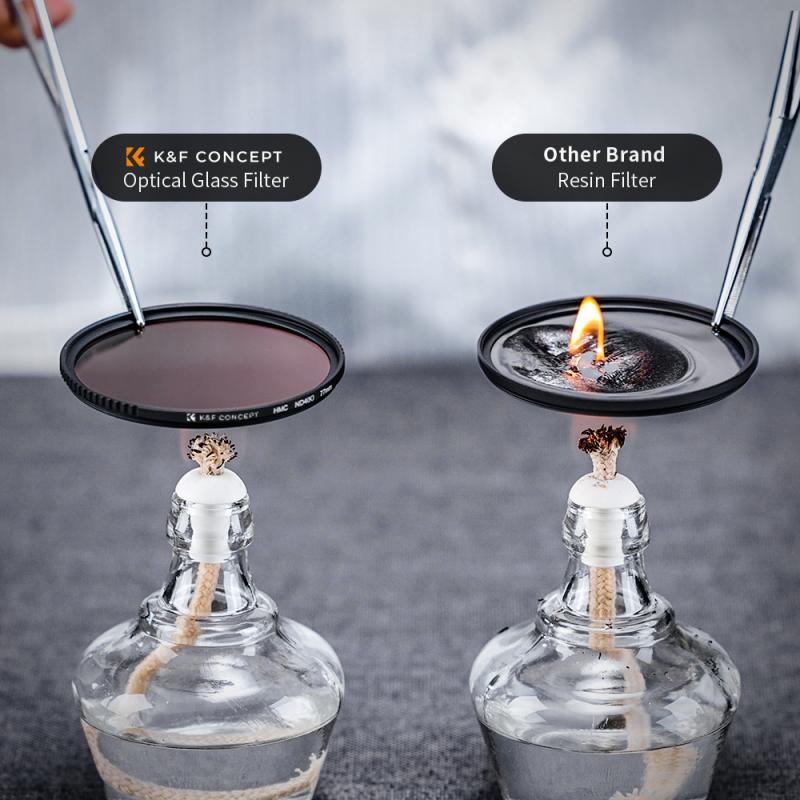
Attaching and removing filters on camera lenses is a simple process that can greatly enhance the quality of your photographs. Filters are used to adjust the light entering the lens, reduce glare, and enhance colors. Here's how to put a filter on a camera lens:
1. Choose the right filter: There are many types of filters available, including UV filters, polarizing filters, neutral density filters, and color filters. Choose the filter that best suits your needs.
2. Remove the lens cap: Before attaching the filter, remove the lens cap from your camera lens.
3. Screw on the filter: Hold the filter by the edges and screw it onto the front of your camera lens. Make sure it is securely attached.
4. Adjust the filter: Once the filter is attached, adjust it as needed. For example, if you are using a polarizing filter, rotate it to adjust the amount of polarization.
5. Remove the filter: To remove the filter, simply unscrew it from the lens. Be sure to store it in a protective case to prevent scratches or damage.
It's important to note that some lenses may require a specific size of filter, so be sure to check the lens specifications before purchasing a filter. Additionally, some photographers prefer to use a filter holder system, which allows for quick and easy attachment and removal of multiple filters. Overall, attaching and removing filters is a simple process that can greatly enhance the quality of your photographs.
4、 Proper maintenance and cleaning
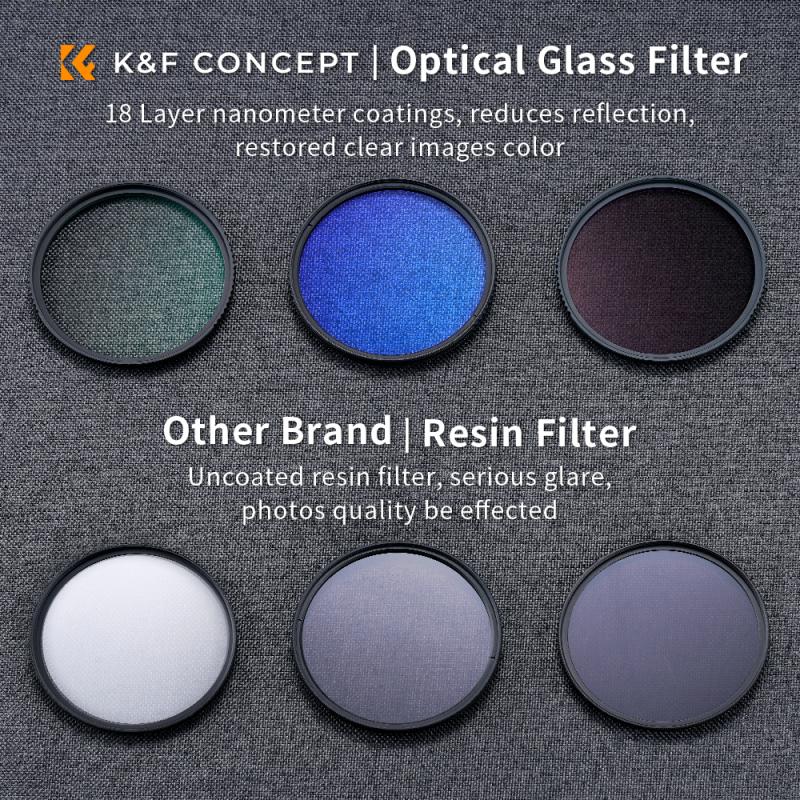
How to put a filter on camera lens:
Putting a filter on your camera lens is a simple process that can greatly enhance the quality of your photos. Here are the steps to follow:
1. Choose the right filter: There are many types of filters available, including UV, polarizing, neutral density, and color filters. Choose the one that best suits your needs.
2. Remove the lens cap: Take off the lens cap and set it aside.
3. Screw on the filter: Hold the filter by the edges and screw it onto the front of the lens. Make sure it is securely attached.
4. Adjust the filter: If you are using a polarizing filter, you may need to adjust it to get the desired effect. Simply rotate the filter until you achieve the desired result.
Proper maintenance and cleaning:
Proper maintenance and cleaning of your camera lens is essential to ensure that it continues to function properly and produce high-quality images. Here are some tips for maintaining and cleaning your camera lens:
1. Use a lens hood: A lens hood can help protect your lens from scratches and other damage.
2. Keep your lens clean: Use a soft, lint-free cloth to clean your lens regularly. Avoid using harsh chemicals or abrasive materials that could scratch the lens.
3. Store your lens properly: When not in use, store your lens in a protective case or bag to prevent dust and other debris from accumulating on it.
4. Have your lens serviced regularly: If you notice any issues with your lens, such as focusing problems or scratches, have it serviced by a professional.
In conclusion, putting a filter on your camera lens and properly maintaining and cleaning it are both important steps to ensure that you get the best possible results from your photography. By following these tips, you can help extend the life of your lens and produce high-quality images for years to come.


