How To Put A Tripod Together ?
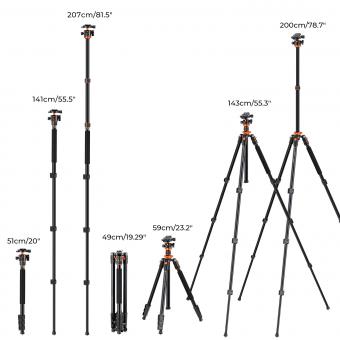
To put a tripod together, first, lay out all the parts and identify the legs, center column, and head. Then, extend the legs to the desired height and lock them in place. Next, attach the center column to the legs and secure it in place. Finally, attach the head to the center column and tighten it securely. Make sure all the parts are tightened properly to ensure stability and safety when using the tripod.
1、 Tripod Components
How to put a tripod together:
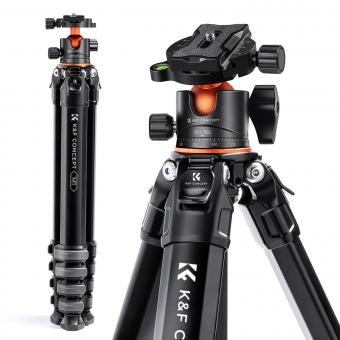
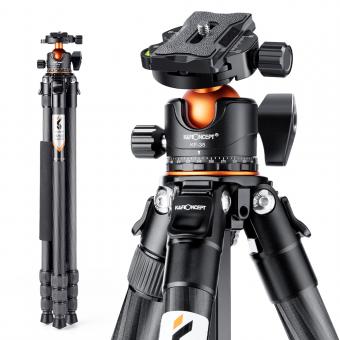
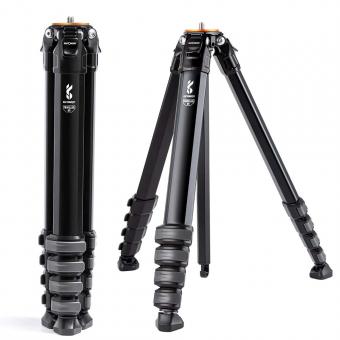
1. Tripod Components: Before assembling your tripod, it is important to familiarize yourself with its components. A typical tripod consists of three legs, a center column, a head, and various locking mechanisms. Make sure you have all the necessary parts before beginning assembly.
2. Attach the Legs: Start by attaching the legs to the center column. Most tripods have a locking mechanism that allows you to adjust the angle of the legs. Make sure the legs are securely attached and tightened.
3. Extend the Legs: Once the legs are attached, extend them to the desired height. Most tripods have multiple leg sections that can be adjusted independently. Make sure each leg is extended to the same height to ensure stability.
4. Attach the Head: The head is the part of the tripod that holds your camera. It is typically attached to the center column using a screw or quick-release mechanism. Make sure the head is securely attached and tightened.
5. Adjust the Head: Once the head is attached, you can adjust it to the desired angle. Most heads have multiple locking mechanisms that allow you to adjust the tilt and rotation of the camera. Make sure the head is securely locked in place before attaching your camera.
6. Attach Your Camera: Finally, attach your camera to the head using the appropriate mounting plate. Make sure the camera is securely attached and balanced before using the tripod.
In recent years, there has been an increase in the popularity of lightweight and compact tripods, which are designed for travel and outdoor photography. These tripods often have unique locking mechanisms and leg designs that make them easier to assemble and use on the go. When choosing a tripod, consider your specific needs and preferences to find the best option for you.
2、 Attaching the Legs
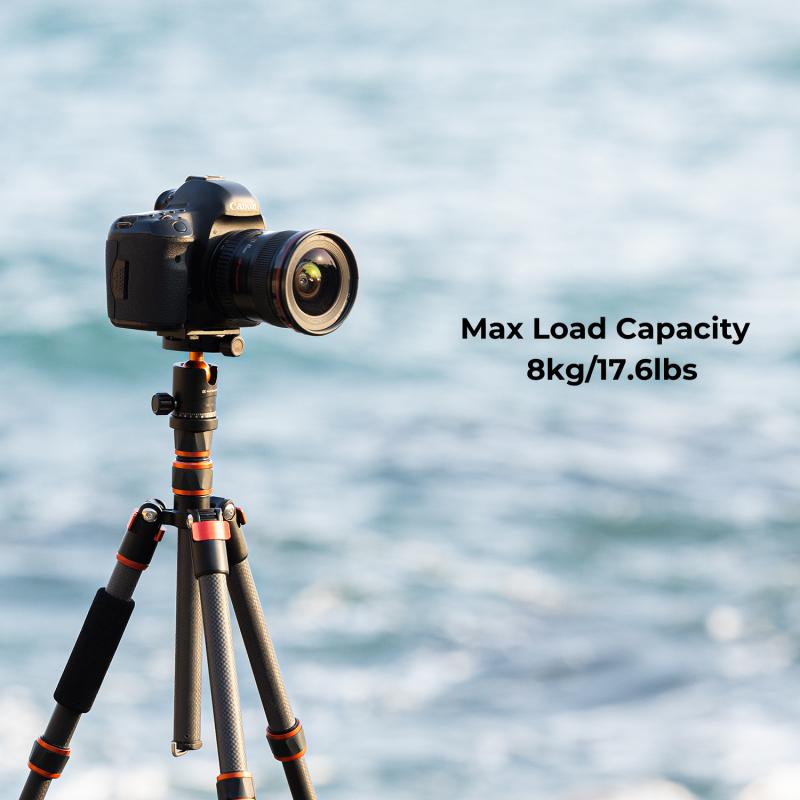
Attaching the Legs is one of the most important steps in putting a tripod together. It is essential to ensure that the legs are securely attached to the tripod head to prevent any accidents or damage to your camera equipment. Here's how to attach the legs to your tripod:
1. Start by laying out all the parts of your tripod, including the legs, center column, and tripod head.
2. Take one of the legs and locate the leg lock mechanism. This is usually a lever or twist lock that secures the leg in place.
3. Extend the leg to its full length and loosen the leg lock mechanism.
4. Insert the leg into the tripod head, making sure that the leg lock mechanism is facing outwards.
5. Tighten the leg lock mechanism to secure the leg in place.
6. Repeat this process for the remaining legs, making sure that each leg is securely attached to the tripod head.
7. Once all the legs are attached, adjust the height of the tripod by extending or retracting the center column.
It is important to note that different tripod models may have slightly different leg attachment mechanisms. Always refer to the manufacturer's instructions for specific details on how to attach the legs to your tripod.
In addition, it is recommended to check the stability of your tripod before using it. Make sure that all the legs are securely attached and that the tripod is level on the ground. This will help prevent any accidents or damage to your camera equipment.
3、 Attaching the Center Column
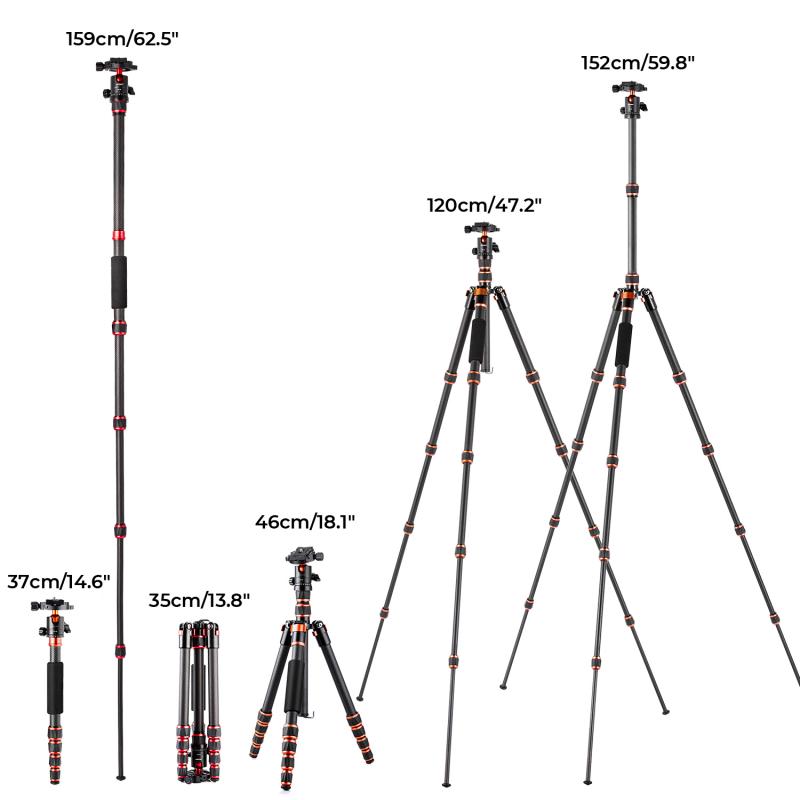
Attaching the Center Column is an essential step in putting a tripod together. The center column is the part of the tripod that connects the legs and provides height adjustment. Here are the steps to attach the center column:
1. Locate the center column: The center column is usually the longest part of the tripod and has a threaded end.
2. Unscrew the center column cap: The center column cap is located at the top of the tripod and holds the center column in place. Unscrew it to release the center column.
3. Insert the center column: Insert the threaded end of the center column into the hole at the top of the tripod.
4. Tighten the center column cap: Once the center column is in place, tighten the center column cap to secure it.
5. Adjust the height: Use the center column to adjust the height of the tripod to your desired level.
It is important to note that some tripods may have different mechanisms for attaching the center column. Always refer to the manufacturer's instructions for specific details on how to put your tripod together.
In addition, it is recommended to check the stability of the tripod after attaching the center column. Make sure all the legs are securely locked in place and the center column is tightened properly to avoid any accidents or damage to your equipment.
4、 Mounting the Head
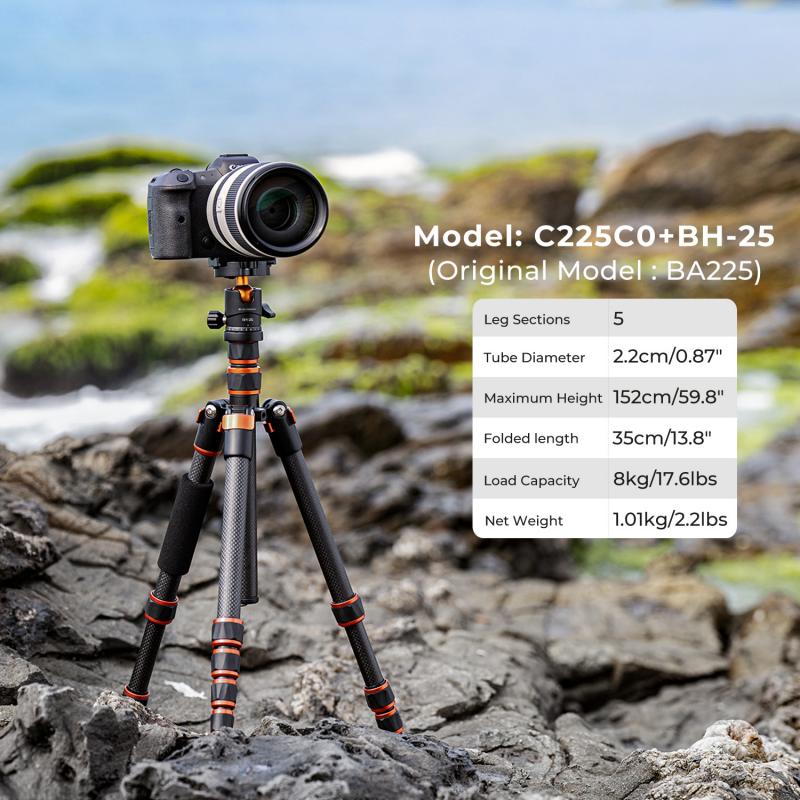
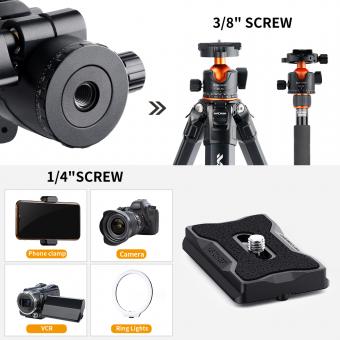
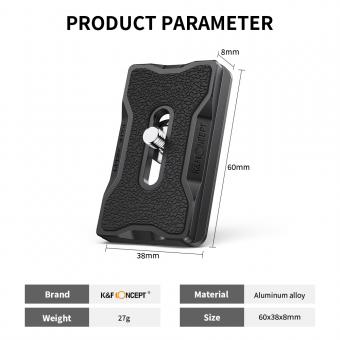
Mounting the head is an essential step in putting a tripod together. The head is the part of the tripod that holds the camera and allows it to move in different directions. To mount the head, first, locate the mounting plate on the head. This plate is usually a small metal plate with a screw hole in the center. Next, locate the corresponding screw hole on the bottom of the camera. Align the screw hole on the camera with the screw hole on the mounting plate and screw the camera onto the plate. Make sure the camera is securely attached to the plate before attaching the plate to the head.
It is important to note that different tripods may have different types of heads, such as ball heads or pan-tilt heads. Make sure to read the instructions that come with your tripod to ensure you are mounting the head correctly.
Additionally, some tripods may have a quick-release system that allows you to easily attach and detach the camera from the tripod. If your tripod has this feature, make sure to follow the instructions carefully to ensure proper use.
Overall, mounting the head is a crucial step in putting a tripod together. By following the instructions carefully and ensuring the camera is securely attached, you can ensure a stable and secure setup for your photography needs.


