How To Put Action Camera On Head Strap ?
To attach an action camera to a head strap, follow these steps:
1. Ensure that your action camera is compatible with a head strap mount. Most action cameras come with a variety of mounting options, including a head strap mount.
2. Locate the mounting point on your action camera. It is usually located at the bottom or on the back of the camera.
3. Attach the camera to the head strap mount by aligning the mounting point on the camera with the corresponding mount on the head strap.
4. Secure the camera in place by tightening the mount or using any additional locking mechanisms provided.
5. Adjust the head strap to fit comfortably on your head. Make sure it is snug but not too tight.
6. Double-check that the camera is securely attached and properly aligned before using it.
7. Once everything is set up, you can wear the head strap and start recording your adventures hands-free.
Remember to always follow the manufacturer's instructions for mounting and using your specific action camera model.
1、 Adjusting the head strap for a secure fit
To put an action camera on a head strap, follow these steps:
1. Start by adjusting the head strap for a secure fit. Most head straps have adjustable straps or buckles that allow you to customize the fit according to your head size. Make sure the strap is snug but not too tight, as you want it to be comfortable to wear for extended periods.
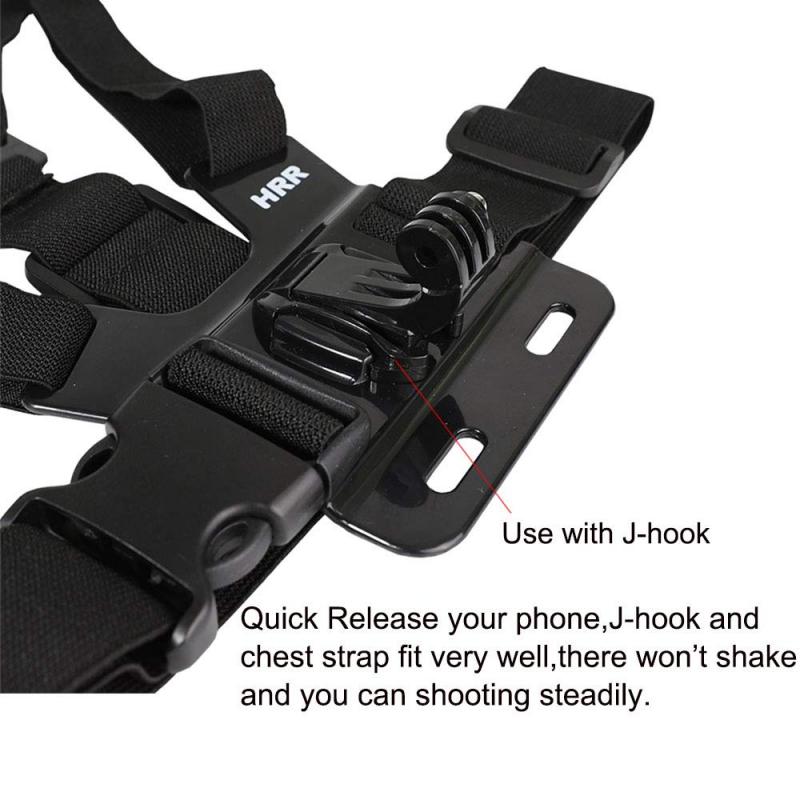
2. Once the head strap is adjusted, locate the mounting bracket on the front of the strap. This is where you will attach your action camera. The mounting bracket is usually a small plastic piece with a screw or clip mechanism.
3. Depending on the type of action camera you have, you may need to use a compatible mount or adapter to attach it to the head strap. Check the camera's user manual or the manufacturer's website for specific instructions on how to attach it to a head strap.
4. Once you have the appropriate mount or adapter, align it with the mounting bracket on the head strap. Secure it in place by tightening the screw or clipping it into position. Make sure it is tightly attached to prevent the camera from falling off during use.
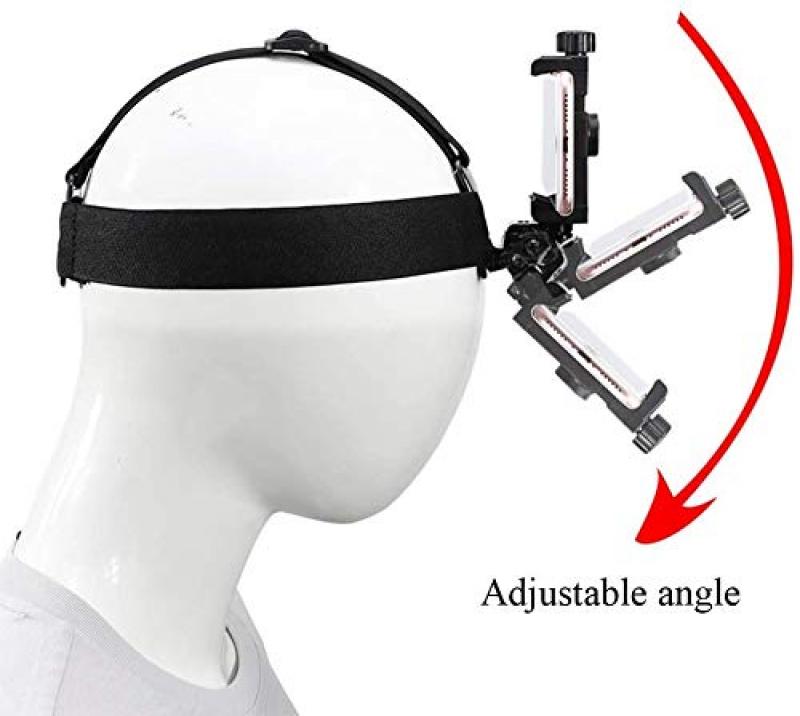
5. Adjust the angle of the camera to your desired point of view. Most action cameras have a rotating mount or adjustable arm that allows you to change the angle. Experiment with different angles to find the one that captures the best footage.
6. Finally, double-check that the camera is securely attached to the head strap before using it. Give it a gentle tug to ensure it is firmly in place.
The latest point of view on using a head strap with an action camera is that it provides a unique and immersive perspective for capturing hands-free footage. Whether you're skiing down a mountain, biking through rugged terrain, or participating in any other action-packed activity, a head strap allows you to capture the action from your point of view. It provides a more personal and dynamic perspective compared to other mounting options like chest mounts or selfie sticks. Additionally, many head straps are designed to be adjustable and comfortable, ensuring a secure fit even during intense movements. Some head straps also come with additional features like anti-slip grips or sweat-wicking materials to enhance the user experience. Overall, using a head strap with an action camera is a popular choice among adventure enthusiasts and content creators looking to capture their experiences from a first-person perspective.
2、 Mounting the action camera onto the head strap
To mount an action camera onto a head strap, follow these steps:
1. Start by adjusting the head strap to fit comfortably on your head. Ensure that it is secure and won't slip off during use.
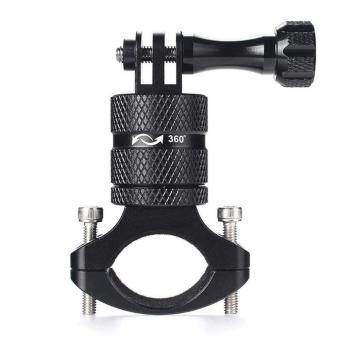
2. Locate the mounting bracket on the action camera. This is usually a small plastic piece with a screw hole.
3. Attach the mounting bracket to the camera by aligning the screw hole on the camera with the hole on the bracket. Use the provided screw to secure them together tightly.
4. Once the mounting bracket is attached to the camera, position it on the head strap where you want the camera to sit. The most common placement is on the front of the head strap, slightly above eye level.
5. Slide the mounting bracket onto the head strap, making sure it is securely attached. Some head straps have a clip or buckle system to hold the bracket in place, while others may require you to thread the strap through the bracket.
6. Adjust the angle of the camera to your desired point of view. Most action cameras have a swivel or pivot feature that allows you to tilt the camera up or down.
7. Double-check that the camera is securely mounted and won't come loose during use. Give it a gentle tug to ensure it is firmly attached.
8. Finally, test the camera by recording a short video or taking a photo to ensure it is capturing the desired point of view.
It's worth noting that some head straps come with specific mounting systems designed for certain action camera models. If you have such a head strap, refer to the manufacturer's instructions for the best way to mount your camera.
3、 Ensuring proper positioning and angle of the camera
To put an action camera on a head strap, follow these steps to ensure proper positioning and angle of the camera:
1. Adjust the head strap: Start by adjusting the head strap to fit comfortably on your head. Make sure it is secure and snug, but not too tight.
2. Attach the camera mount: Most head straps come with a camera mount that can be easily attached. Locate the mount and securely attach it to the strap.
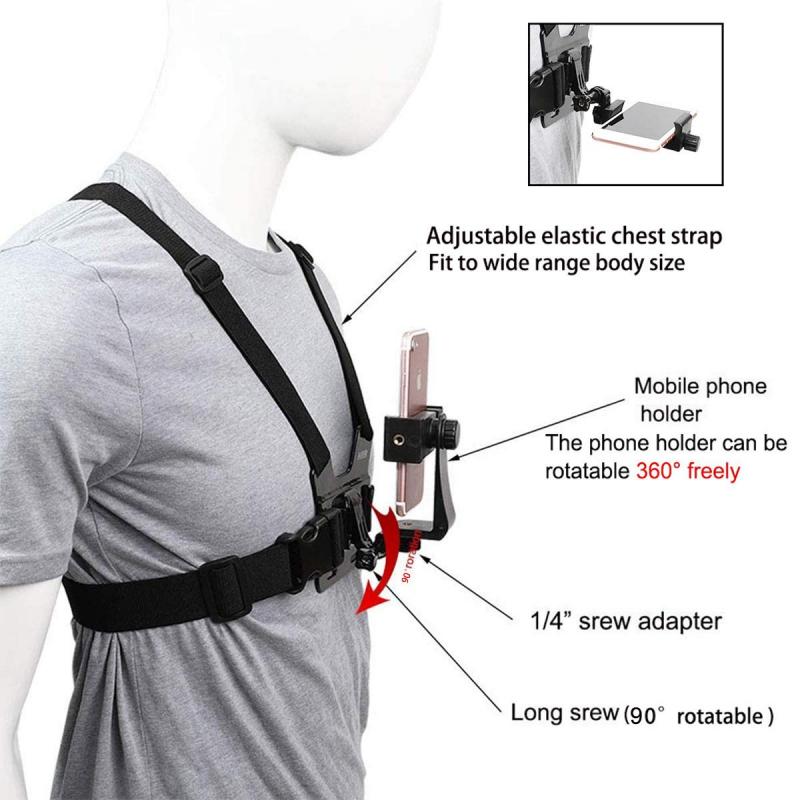
3. Position the camera: Once the mount is attached, position the camera on the mount. Ensure that the lens is facing forward and that the camera is centered on your forehead.
4. Adjust the angle: Depending on your preference, you may want to adjust the angle of the camera. Tilt it slightly upward or downward to capture the desired point of view. It's important to find the right balance between capturing the action and maintaining a comfortable viewing angle.
5. Secure the camera: Once you have positioned the camera and adjusted the angle, make sure it is securely fastened to the mount. Double-check that it is tightly secured to prevent any accidental falls or movement during your activities.
6. Test the positioning: Before starting your adventure, test the camera's positioning by moving your head around and checking the camera's field of view. Make any necessary adjustments to ensure the camera captures the desired perspective.
7. Start recording: Once you are satisfied with the camera's positioning and angle, start recording your adventure and enjoy capturing the action from a first-person point of view.
Remember, the latest point of view can vary depending on the activity you are engaging in. For example, if you are skiing, you may want to position the camera slightly higher to capture more of the slopes. Experiment with different angles and positions to find the best perspective for your specific activity.
4、 Securing the camera tightly to prevent movement or falling
To put an action camera on a head strap, follow these steps:
1. Adjust the head strap: Start by adjusting the head strap to fit securely on your head. Make sure it is snug but not too tight, as you want to ensure comfort during use.
2. Attach the camera mount: Most head straps come with a camera mount that can be easily attached. Locate the mount and securely fasten it to the strap. Ensure that it is tightened properly to prevent any movement.
3. Mount the camera: Once the camera mount is securely attached, you can now mount your action camera. Depending on the model, there may be different mounting options available. Follow the instructions provided with your camera to properly attach it to the mount.
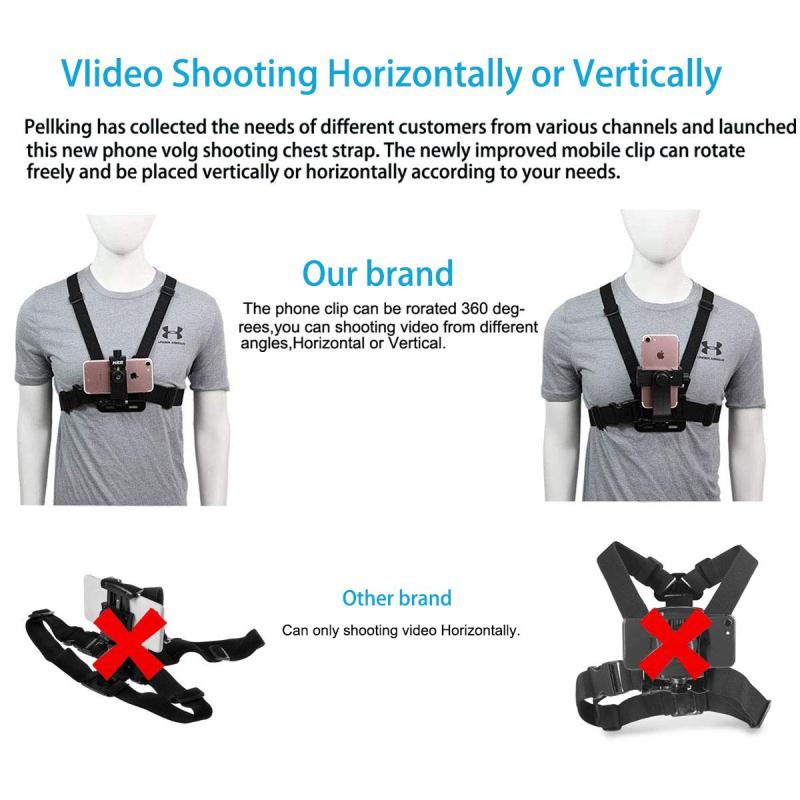
4. Secure the camera tightly: It is crucial to secure the camera tightly to prevent any movement or falling. Double-check that the camera is securely fastened to the mount and that all screws or clips are tightened properly. Give it a gentle tug to ensure it is secure.
5. Adjust the camera angle: Before you start recording, adjust the camera angle to your desired point of view. Most action cameras have a wide-angle lens, so you may need to experiment with different angles to find the best perspective.
6. Test for stability: Once everything is set up, give your head a gentle shake to test the stability of the camera. If it feels loose or wobbly, readjust the mount and tighten any screws as necessary.
Remember, safety should always be a priority when using a head strap with an action camera. Be cautious of any potential hazards or obstacles that may cause the camera to fall or get damaged. Additionally, always follow the manufacturer's instructions for your specific camera model to ensure proper usage.
