How To Put Dslr On Tripod ?
To put a DSLR camera on a tripod, follow these steps:
1. Locate the tripod mount on the bottom of your camera. It is usually located near the center of the camera body.
2. Align the tripod head with the mount on the camera.
3. Screw the tripod head onto the mount on the camera. Make sure it is securely attached.
4. Adjust the tripod legs to the desired height and position.
5. Attach the camera to the tripod head by sliding the mounting plate onto the head and tightening the screw.
6. Adjust the camera position and angle as needed.
7. Use the tripod controls to adjust the height, angle, and position of the camera.
8. Take your photos or videos while the camera is securely mounted on the tripod.
1、 Attaching the quick release plate
To put a DSLR camera on a tripod, the first step is to attach the quick release plate to the bottom of the camera. The quick release plate is a small metal or plastic plate that attaches to the camera's tripod mount and allows the camera to be quickly and easily attached and detached from the tripod.
To attach the quick release plate, locate the tripod mount on the bottom of the camera and align the plate with the mount. Once aligned, tighten the screw on the plate to secure it to the camera. Some quick release plates may have additional locking mechanisms to ensure a secure fit.
Once the quick release plate is attached to the camera, it can be easily attached to the tripod. Simply slide the plate into the tripod's quick release mechanism and tighten the locking mechanism to secure the camera in place.
It is important to ensure that the camera is securely attached to the tripod before use to prevent any accidents or damage to the camera. It is also important to ensure that the tripod is stable and on a level surface to prevent any wobbling or movement during use.
In recent years, some tripods have introduced new features such as built-in level indicators and quick release mechanisms that allow for even faster and easier attachment of the camera. These features can be helpful for photographers who need to quickly set up and adjust their equipment on the go.
2、 Mounting the camera onto the tripod head
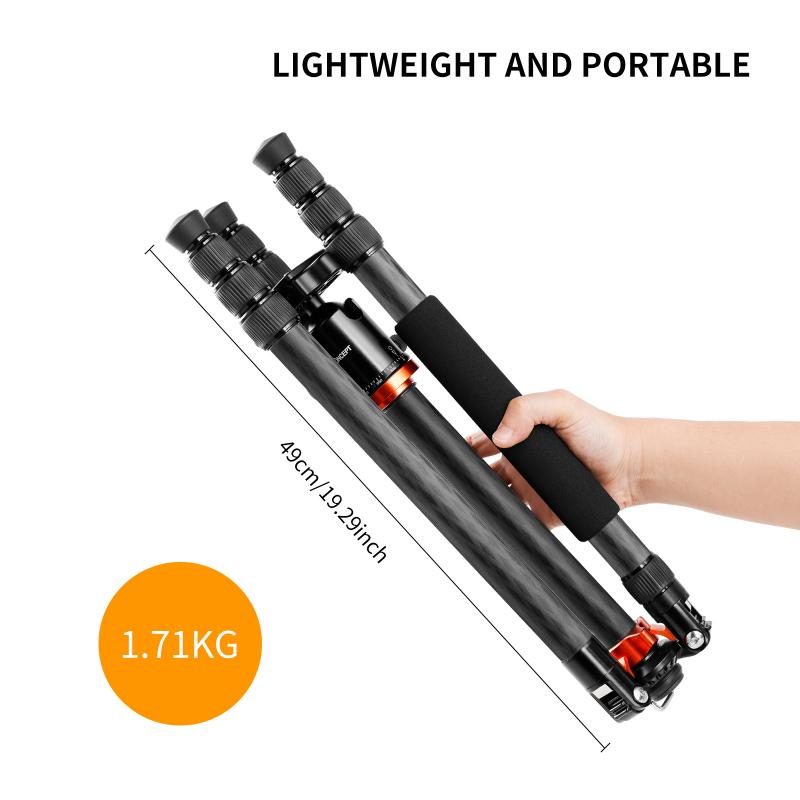
Mounting the camera onto the tripod head is a crucial step in achieving stable and sharp images. Here's how to put a DSLR on a tripod:
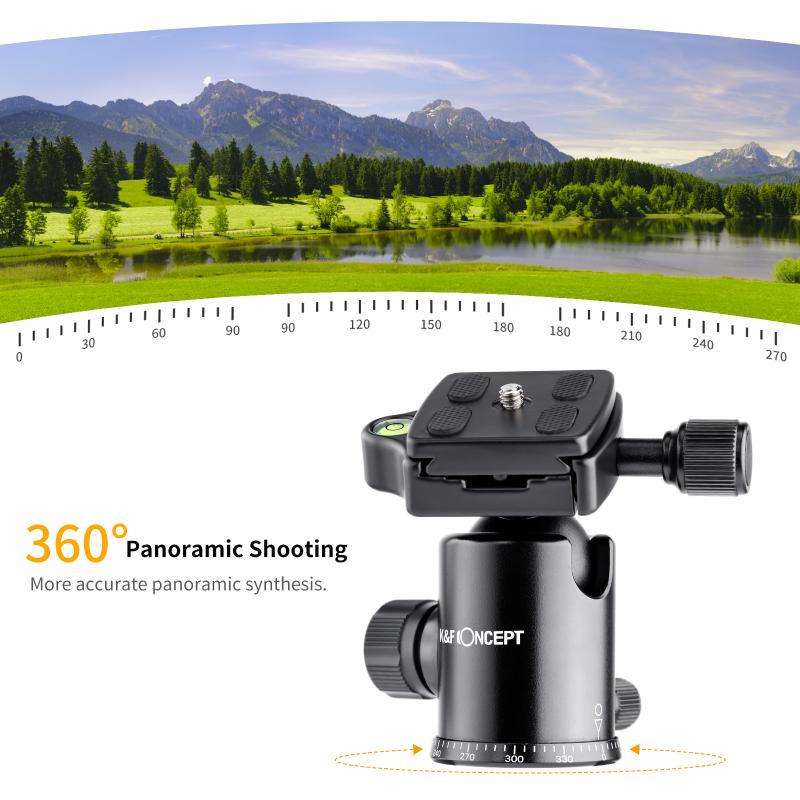
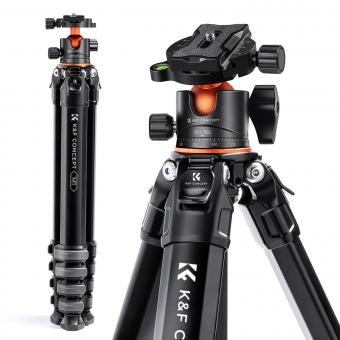
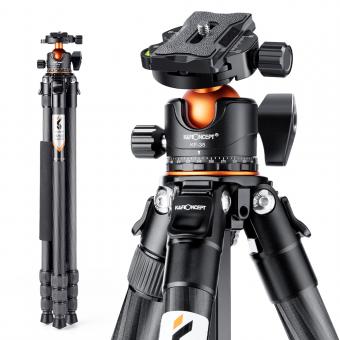
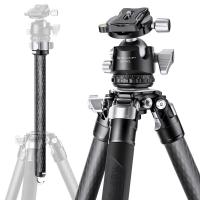
1. Locate the tripod plate: Most tripods come with a quick-release plate that attaches to the camera's base. Locate the plate and ensure it's securely attached to the tripod head.
2. Align the plate: Align the plate's screw hole with the camera's tripod socket. Ensure the plate is flush against the camera's base.
3. Secure the plate: Tighten the plate's screw to secure it to the camera. Ensure it's tight enough to prevent any movement but not too tight to damage the camera.
4. Attach the camera: Slide the plate into the tripod head's quick-release mechanism and lock it in place. Ensure the camera is level and balanced on the tripod.
5. Adjust the tripod: Adjust the tripod's height and position to frame the shot. Use the tripod's legs and head to fine-tune the composition.
It's important to note that different tripods and cameras may have different mounting mechanisms. Always refer to the manufacturer's instructions for specific details. Additionally, it's recommended to use a remote shutter release or the camera's self-timer to prevent any camera shake when taking the shot.
3、 Adjusting the tripod legs and center column
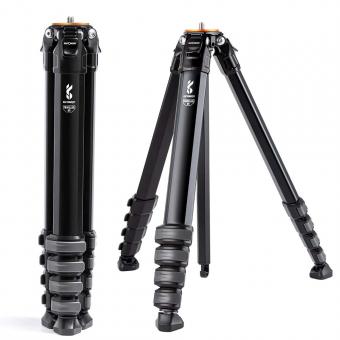
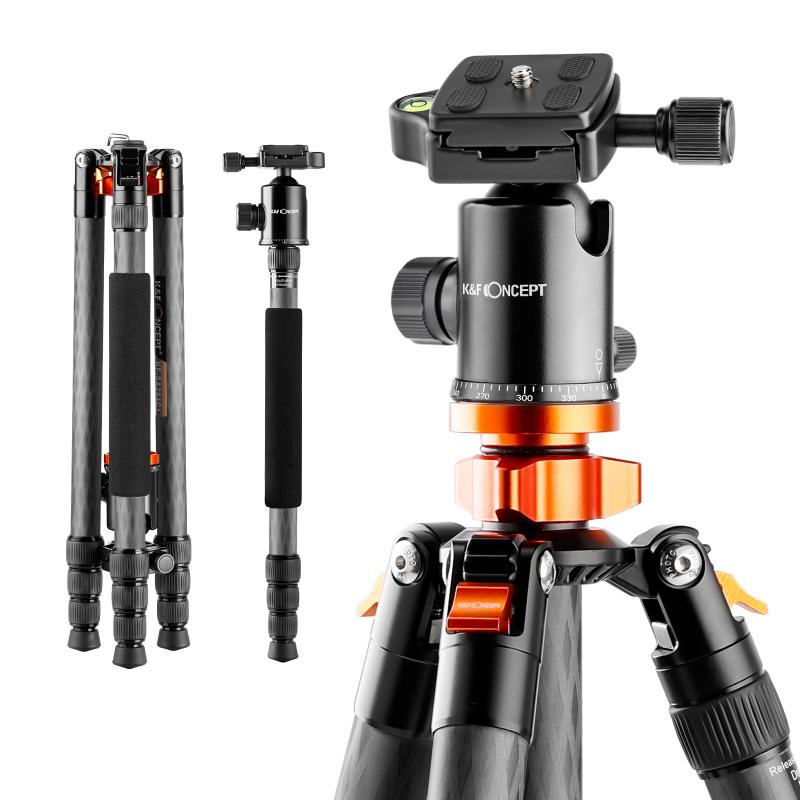
To put a DSLR camera on a tripod, you need to follow a few simple steps. First, make sure that your tripod is set up correctly. Adjusting the tripod legs and center column is the first step in setting up your tripod. Extend the legs to the desired height and lock them in place. Then, adjust the center column to the desired height and lock it in place as well.
Once your tripod is set up, you can attach your DSLR camera to it. Most tripods come with a quick-release plate that attaches to the bottom of your camera. Simply screw the plate onto the bottom of your camera and then attach it to the tripod head. Make sure that the plate is securely attached to your camera and that the tripod head is tightened to prevent any movement.
When you're ready to take your photos, use the tripod to stabilize your camera and prevent any camera shake. This is especially important when taking long exposures or shooting in low light conditions. Use the tripod's adjustable legs and center column to position your camera at the desired angle and height.
In recent years, there has been a trend towards using smaller, more compact tripods for DSLR cameras. These tripods are lightweight and easy to carry, making them ideal for travel and outdoor photography. Some of these tripods even come with built-in ball heads, which allow for quick and easy adjustments.
Overall, putting a DSLR camera on a tripod is a simple process that can greatly improve the quality of your photos. By using a tripod, you can stabilize your camera and take sharper, more detailed photos.
4、 Leveling the camera
To put a DSLR camera on a tripod, follow these steps:
1. Locate the tripod mount on the bottom of your camera. It is usually located near the center of the camera body.
2. Align the tripod head with the mount on your camera. Make sure the mount is securely attached to the tripod head.
3. Screw the mount onto the tripod head until it is tight and secure.
4. Adjust the tripod legs to the desired height and position.
5. Place the camera onto the tripod head and make sure it is securely attached.
6. Adjust the camera position and angle as needed.
7. Use the tripod head controls to adjust the camera's position and angle.
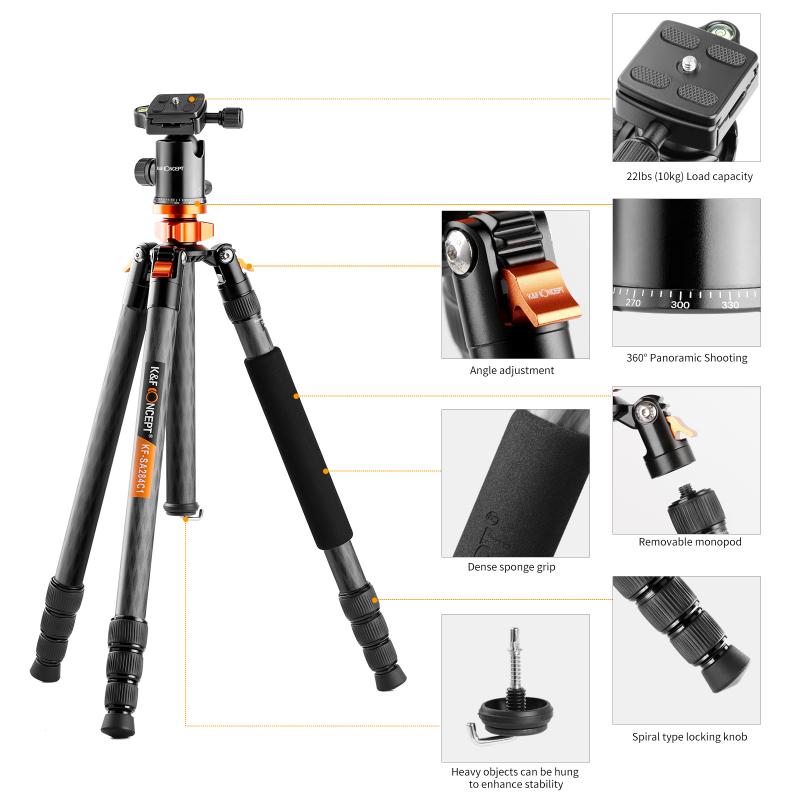
Leveling the camera is an important step when using a tripod. To level the camera, use a bubble level or the built-in level on your camera. Adjust the tripod legs or the tripod head until the camera is level. This will ensure that your photos are straight and not tilted.
It is also important to use a tripod with a weight capacity that can support the weight of your camera and lens. Using a tripod that is not strong enough can result in camera shake and blurry photos.
In addition, using a remote shutter release or the camera's self-timer can help reduce camera shake and produce sharper photos.
