How To Put Lens Filter On Camera ?
To put a lens filter on a camera, follow these steps:
1. Determine the size of your camera lens: Check the front of your camera lens for the diameter size, usually indicated in millimeters (mm). It may be printed on the lens or mentioned in the camera's manual.
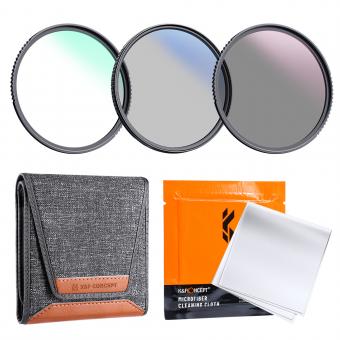
2. Choose the appropriate filter: Select a filter that matches the size of your camera lens. Filters come in various types, such as UV filters for protection, polarizing filters for reducing glare, or neutral density filters for controlling light.
3. Remove the lens cap: Take off the lens cap from your camera lens.
4. Screw on the filter: Align the filter threads with the lens threads and gently screw it onto the lens in a clockwise direction. Be careful not to overtighten it.
5. Adjust and use: Once the filter is securely attached, you can adjust its position or settings as needed. Start shooting with the filter in place to achieve the desired effect.
Remember to clean your lens filter regularly to maintain image quality and protect it from dust or smudges.
1、 Types of lens filters and their functions in photography
Types of lens filters and their functions in photography
Lens filters are essential accessories for photographers as they can enhance images and create unique effects. They are placed in front of the camera lens to modify the light entering the camera, resulting in various creative outcomes. Here are some common types of lens filters and their functions in photography:
1. UV Filters: These filters primarily serve as lens protectors, shielding the lens from scratches, dust, and moisture. They also reduce the bluish cast that can occur in outdoor photography.
2. Polarizing Filters: These filters reduce glare and reflections from non-metallic surfaces such as water or glass. They also enhance color saturation and contrast, resulting in more vibrant and dramatic images.
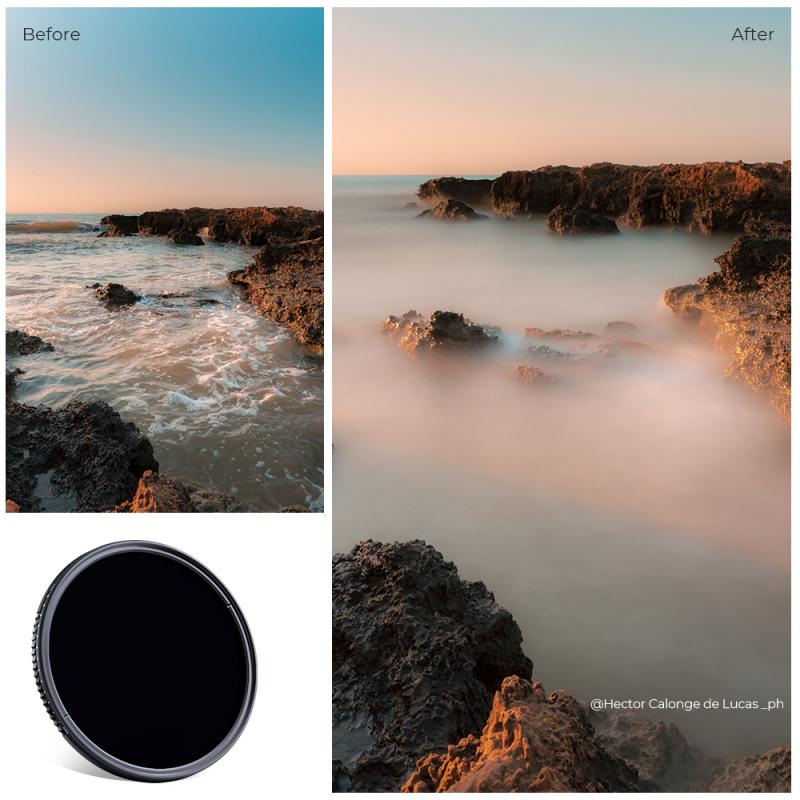
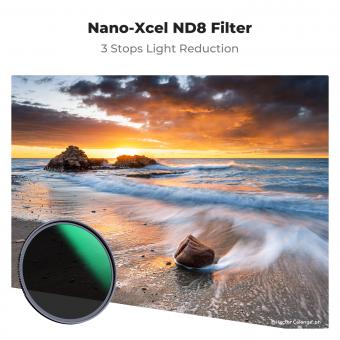
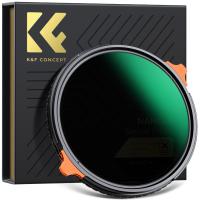
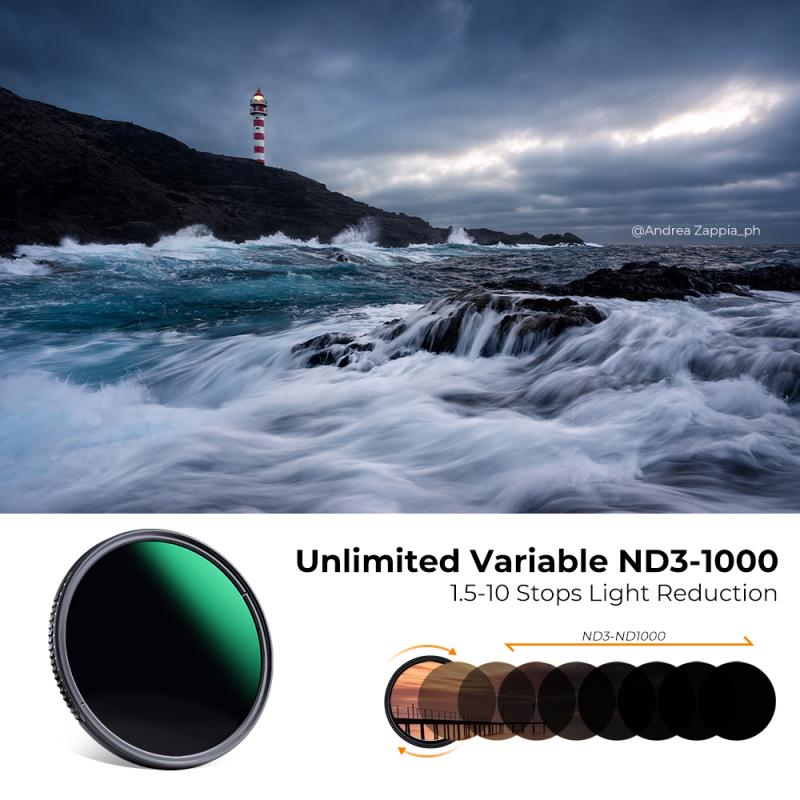
3. Neutral Density (ND) Filters: ND filters reduce the amount of light entering the camera, allowing photographers to use slower shutter speeds or wider apertures in bright conditions. This is particularly useful for capturing long exposures or achieving shallow depth of field in daylight.
4. Graduated Neutral Density (GND) Filters: GND filters have a gradient of darkness, with one half being clear and the other half being neutral density. They are used to balance the exposure between the bright sky and darker foreground in landscape photography.
5. Color Filters: These filters add or modify colors in the image. They can be used to create a specific mood or correct color casts. For example, a warming filter can add a golden tone to a sunset scene.
6. Infrared (IR) Filters: IR filters block visible light and allow only infrared light to pass through. This creates surreal and dreamlike images with a unique color palette.
To put a lens filter on a camera, follow these steps:
1. Remove the lens cap from the camera lens.
2. Screw or slide the filter onto the front of the lens, ensuring it is securely attached.
3. Adjust the filter as needed to achieve the desired effect.
4. Start shooting and experiment with different filters to explore their creative possibilities.
It's important to note that not all lenses have the same filter thread size, so make sure to check the diameter of your lens before purchasing filters. Additionally, some lenses may require a filter adapter to accommodate larger or smaller filters.
In conclusion, lens filters are versatile tools that can greatly enhance your photography. Whether you want to protect your lens, reduce glare, or add creative effects, there is a filter available to suit your needs. Experimenting with different filters can open up a world of possibilities and help you capture stunning and unique images.
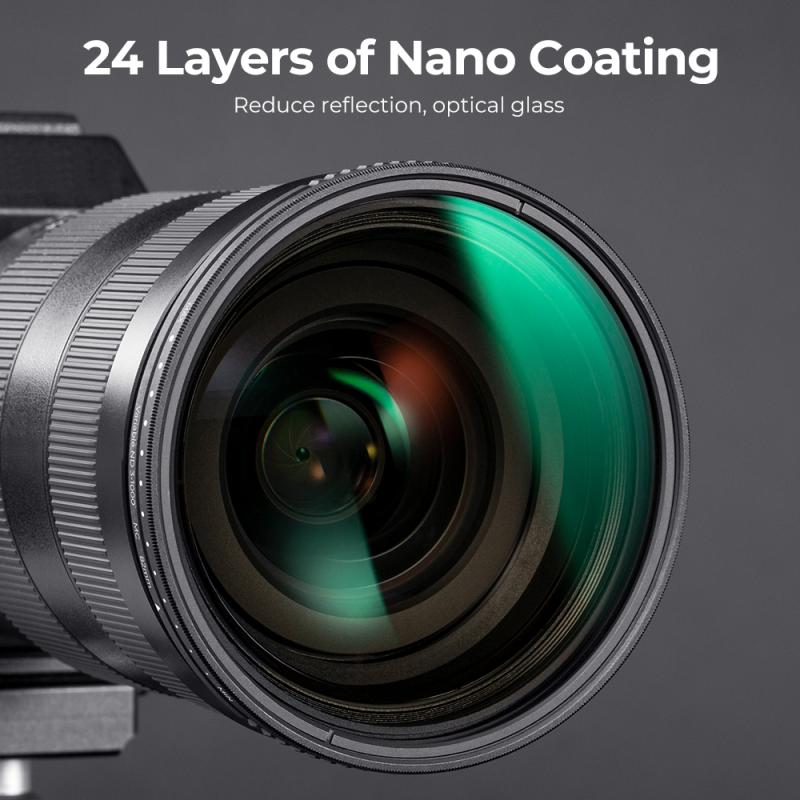
2、 Step-by-step guide to attaching a lens filter on a camera
Step-by-step guide to attaching a lens filter on a camera:
1. Choose the right filter: There are various types of lens filters available, such as UV filters, polarizing filters, neutral density filters, and more. Determine the purpose of your filter and select the appropriate one for your needs.
2. Clean your lens: Before attaching the filter, ensure that your camera lens is clean and free from any dust or smudges. Use a lens cleaning cloth or a blower brush to gently remove any debris.
3. Remove the lens cap: Take off the lens cap from your camera lens to expose the front element.
4. Align the filter threads: Look for the filter threads on the front of your lens. These are usually located on the outer edge of the lens barrel. Align the filter threads with those on the filter itself.
5. Screw on the filter: Once the threads are aligned, carefully screw the filter onto the lens in a clockwise direction. Be gentle to avoid cross-threading or damaging the filter or lens.
6. Check for secure attachment: Ensure that the filter is securely attached to the lens by giving it a gentle twist in the opposite direction. If it feels loose, remove and reattach it, making sure the threads are properly aligned.
7. Test and adjust: Once the filter is attached, test your camera to ensure that it is functioning properly. Take a few test shots and review the results to see if the filter is achieving the desired effect.
It's worth noting that some modern cameras may not require a physical lens filter, as certain effects can be achieved through digital post-processing. However, using a physical filter can still provide advantages such as protecting the lens from scratches, reducing glare, or enhancing colors.
3、 Common mistakes to avoid when putting a lens filter on
How to put a lens filter on a camera:
1. Choose the right filter: There are various types of lens filters available, such as UV filters, polarizing filters, and neutral density filters. Determine the purpose of your filter and select the appropriate one for your needs.
2. Clean your lens: Before attaching the filter, make sure your camera lens is clean and free from dust or smudges. Use a lens cleaning cloth or a blower brush to remove any debris.
3. Align the filter threads: Most filters have threads on both sides, one to attach to the lens and the other to attach additional filters or lens caps. Align the filter threads with those on your lens.
4. Screw on the filter: Gently screw the filter onto the lens threads in a clockwise direction. Be careful not to overtighten, as this can make it difficult to remove later.
5. Check for vignetting: Some wide-angle lenses may cause vignetting when using certain filters. To avoid this, check the viewfinder or LCD screen for any dark corners or edges. If you notice vignetting, try using a thinner filter or a step-up ring to increase the filter size.
Common mistakes to avoid when putting a lens filter on:
1. Using a low-quality filter: Investing in a high-quality filter is essential to maintain image quality. Cheap filters can introduce unwanted artifacts or reduce sharpness.
2. Forgetting to remove lens caps: Ensure that you remove any lens caps before attaching the filter. Failure to do so can result in vignetting or obstructed images.
3. Over-tightening the filter: While it's important to secure the filter properly, overtightening can make it challenging to remove later. Tighten the filter just enough to ensure it stays in place.
4. Ignoring the filter size: Each lens has a specific filter size, indicated by a diameter measurement in millimeters. Using a filter with the wrong size can lead to vignetting or difficulty in attaching the filter.
5. Neglecting to clean the filter: Just like your camera lens, filters can accumulate dust, fingerprints, or smudges. Regularly clean your filters to maintain image quality.
In conclusion, putting a lens filter on a camera involves selecting the right filter, cleaning the lens, aligning the threads, and gently screwing on the filter. Avoid common mistakes such as using low-quality filters, forgetting to remove lens caps, over-tightening, ignoring the filter size, and neglecting to clean the filter. By following these steps and avoiding these mistakes, you can enhance your photography and protect your lens.
4、 Understanding the impact of lens filters on image quality
Understanding the impact of lens filters on image quality is crucial for photographers looking to enhance their photography skills. Lens filters are accessories that can be attached to the front of a camera lens to modify the light entering the camera. They come in various types, each serving a specific purpose.
To put a lens filter on a camera, follow these steps:
1. Determine the filter size: Check the diameter of your camera lens, usually indicated on the front of the lens or in the lens specifications. This will help you choose the correct filter size.
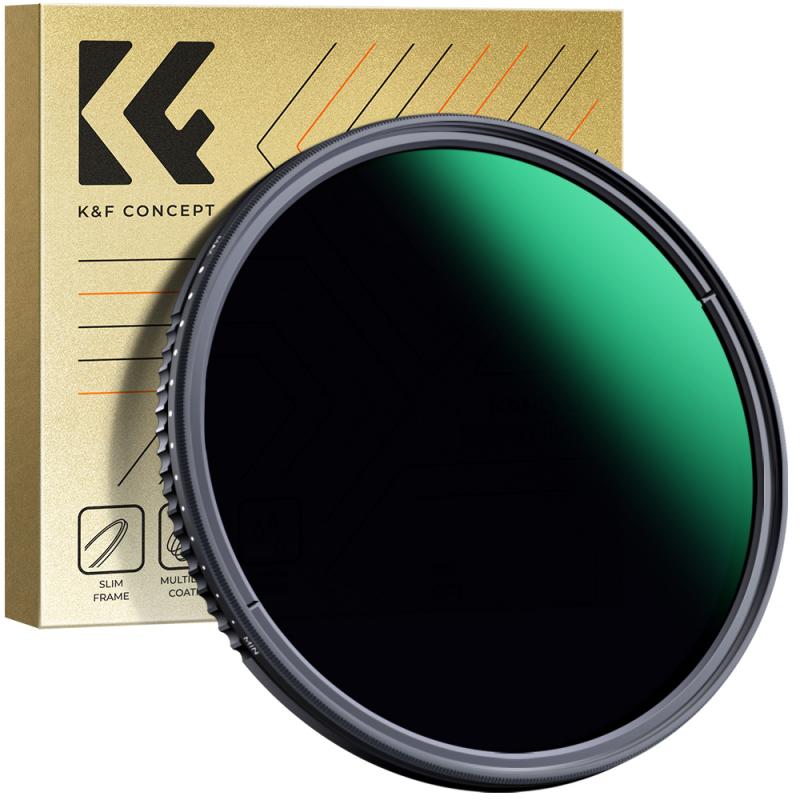
2. Choose the appropriate filter: There are different types of filters available, such as UV filters, polarizing filters, neutral density filters, and color filters. Each filter has its own purpose and effect on the image.
3. Align the filter: Hold the filter in front of the lens and align it with the threads on the lens. Rotate the filter gently until it fits securely.
4. Secure the filter: Once the filter is aligned, tighten it by rotating it clockwise until it is firmly attached to the lens.
Understanding the impact of lens filters on image quality is essential because it allows photographers to achieve specific effects. For example, a UV filter can protect the lens from scratches and reduce haze, while a polarizing filter can enhance colors and reduce reflections. Neutral density filters are useful for long exposure photography, allowing for creative effects like motion blur in water or clouds. Color filters can alter the color temperature of the image, creating a specific mood or atmosphere.
It is important to note that while lens filters can enhance image quality, they can also introduce potential drawbacks. Adding extra glass to the lens can increase the risk of lens flare, reduce sharpness, or cause vignetting. Therefore, it is crucial to invest in high-quality filters and use them judiciously to minimize any negative impact on image quality.
In conclusion, understanding the impact of lens filters on image quality is essential for photographers. By following the steps mentioned above, one can easily attach a lens filter to their camera and experiment with different effects. However, it is important to strike a balance between using filters to enhance images and being mindful of any potential drawbacks they may introduce.
