How To Put Tripod On Camera ?
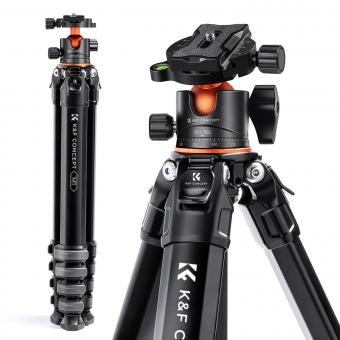
To attach a tripod to a camera, first, locate the tripod mount on the bottom of the camera. It is usually a threaded hole. Then, align the screw on the tripod head with the tripod mount on the camera. Insert the screw into the mount and turn it clockwise to tighten it securely. Make sure the camera is stable and balanced on the tripod before releasing it. Adjust the tripod legs to the desired height and angle for stability and framing. Finally, tighten the tripod leg locks to secure the legs in place.
1、 Mounting a Tripod on a Camera: Step-by-Step Guide
Mounting a tripod on a camera is a simple process that can greatly enhance the stability and versatility of your photography or videography. Here is a step-by-step guide on how to put a tripod on a camera:
1. Choose a compatible tripod: Ensure that the tripod you have is compatible with your camera. Tripods typically come with a universal mounting plate that can be attached to the camera's tripod socket.
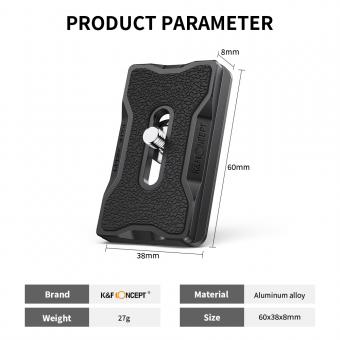
2. Attach the mounting plate: Locate the tripod socket on the bottom of your camera and align it with the mounting plate. Slide the plate into the socket and tighten the screw to secure it in place. Make sure it is firmly attached to prevent any accidental slips.
3. Adjust the tripod legs: Extend the tripod legs to your desired height. Most tripods have adjustable leg sections that can be locked into place. Ensure that the legs are evenly spread for maximum stability.
4. Attach the camera to the tripod: Once the tripod is set up, locate the mounting plate on the tripod head. Align the plate with the tripod head and slide it into place. Tighten the screw on the tripod head to secure the camera.
5. Check stability: Gently shake the tripod to ensure that the camera is securely attached and there is no wobbling. If needed, adjust the tripod legs or tighten the screws to improve stability.
6. Fine-tune the position: Use the tripod's pan and tilt controls to adjust the camera's position. This will allow you to frame your shot precisely and make any necessary adjustments.
7. Test the stability: Before starting your photography or videography session, test the stability of the tripod by gently pressing down on the camera. If it remains steady, you are ready to go.
Remember to always follow the manufacturer's instructions for your specific tripod model, as the process may vary slightly. Additionally, it is important to choose a tripod that can support the weight of your camera and any additional equipment you may be using, such as lenses or external flashes.
2、 Choosing the Right Tripod Mount for Your Camera
Choosing the right tripod mount for your camera is essential for achieving stability and capturing high-quality images. Here's a step-by-step guide on how to put a tripod on a camera:
1. Start by unfolding the tripod legs. Most tripods have three legs that can be extended or retracted. Make sure the legs are fully extended and locked in place.
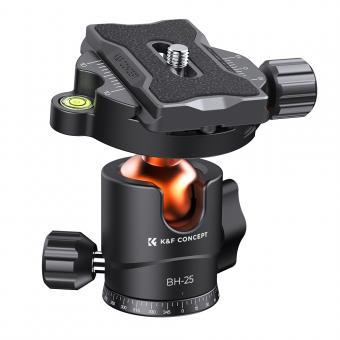
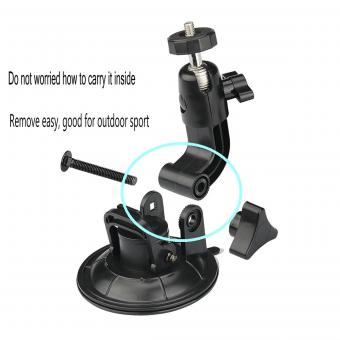
2. Attach the tripod head to the center column of the tripod. The tripod head is the part that holds the camera and allows for adjustments. It typically screws onto the top of the center column.
3. Ensure that the tripod head is securely attached to the center column. Give it a gentle twist to make sure it is tight and won't come loose while in use.
4. Attach the camera to the tripod head. Most cameras have a threaded hole on the bottom that matches the screw on the tripod head. Align the holes and screw the camera onto the tripod head until it is secure.
5. Adjust the tripod head to the desired position. Most tripod heads have multiple knobs or levers that allow for adjustments in tilt, pan, and rotation. Use these controls to position the camera exactly how you want it.
6. Once the camera is in position, tighten the knobs or levers on the tripod head to secure it in place. This will prevent any unwanted movement or vibrations during shooting.
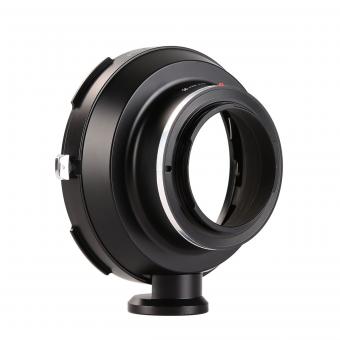
It's important to note that different cameras may require different types of tripod mounts. Some cameras have a built-in tripod mount, while others may require an adapter or plate to attach to the tripod head. Always check your camera's manual or consult with a professional to ensure compatibility.
In recent years, there have been advancements in tripod mounts, such as quick-release systems. These systems allow for faster and easier attachment and detachment of the camera from the tripod. They typically involve a plate that stays attached to the camera and can be quickly mounted onto the tripod head. Quick-release systems are particularly useful for photographers who frequently switch between handheld and tripod shooting.
In conclusion, putting a tripod on a camera involves unfolding the legs, attaching the tripod head, screwing the camera onto the tripod head, adjusting the position, and securing it in place. It's important to choose the right tripod mount for your camera and consider advancements like quick-release systems for added convenience.
3、 Attaching a Tripod to Different Camera Types
Attaching a tripod to a camera is a simple process that can greatly enhance the stability and versatility of your photography or videography. Here's a step-by-step guide on how to put a tripod on a camera:
1. Choose a compatible tripod: Tripods come in various sizes and types, so it's important to select one that is suitable for your camera. Look for a tripod with a mounting plate that matches your camera's tripod socket.
2. Prepare the tripod: Extend the tripod legs to your desired height and ensure that the locking mechanisms are secure. Make sure the tripod is stable and balanced on a flat surface.
3. Attach the mounting plate: Most tripods come with a quick-release mounting plate. Attach the plate to the bottom of your camera by aligning the screw hole with the camera's tripod socket. Tighten the screw securely to ensure a stable connection.
4. Mount the camera: Once the mounting plate is securely attached to your camera, align the plate with the tripod's head or mounting platform. Slide the plate into the tripod head and ensure it locks into place. Some tripods may require you to tighten a screw or lever to secure the camera.
5. Test stability: Gently shake the camera to ensure it is securely mounted on the tripod. If there is any movement or instability, double-check the mounting plate and tripod connections.
It's worth noting that different camera types may have specific considerations when attaching a tripod. For example, mirrorless cameras and DSLRs typically have a standard tripod socket, making them compatible with most tripods. However, for compact cameras or smartphones, you may need to use additional accessories like a smartphone mount or a mini tripod with a flexible leg design.
In recent years, advancements in technology have led to the development of innovative tripod systems. Some tripods now feature built-in level indicators, quick-release mechanisms, and even remote control capabilities. These features can further enhance the ease of attaching a tripod to your camera and improve your overall shooting experience.
Remember, always consult your camera and tripod's user manuals for specific instructions and safety guidelines.
4、 Adjusting Tripod Height and Position for Optimal Stability
Adjusting Tripod Height and Position for Optimal Stability
To put a tripod on a camera, follow these steps:
1. Extend the tripod legs: Start by loosening the leg locks and extending each leg to the desired height. Make sure all three legs are extended evenly to maintain stability. The height will depend on your shooting needs and the terrain you are working on. For example, if you are shooting on uneven ground, you may need to adjust the legs at different heights to keep the camera level.
2. Lock the legs in place: Once you have extended the legs to the desired height, tighten the leg locks to secure them in place. Ensure that the locks are tight enough to prevent any movement or wobbling.
3. Attach the camera: Most tripods come with a quick-release plate that attaches to the camera. Align the plate with the camera's tripod mount and screw it in securely. Once attached, slide the plate into the tripod's quick-release mechanism and lock it in place.
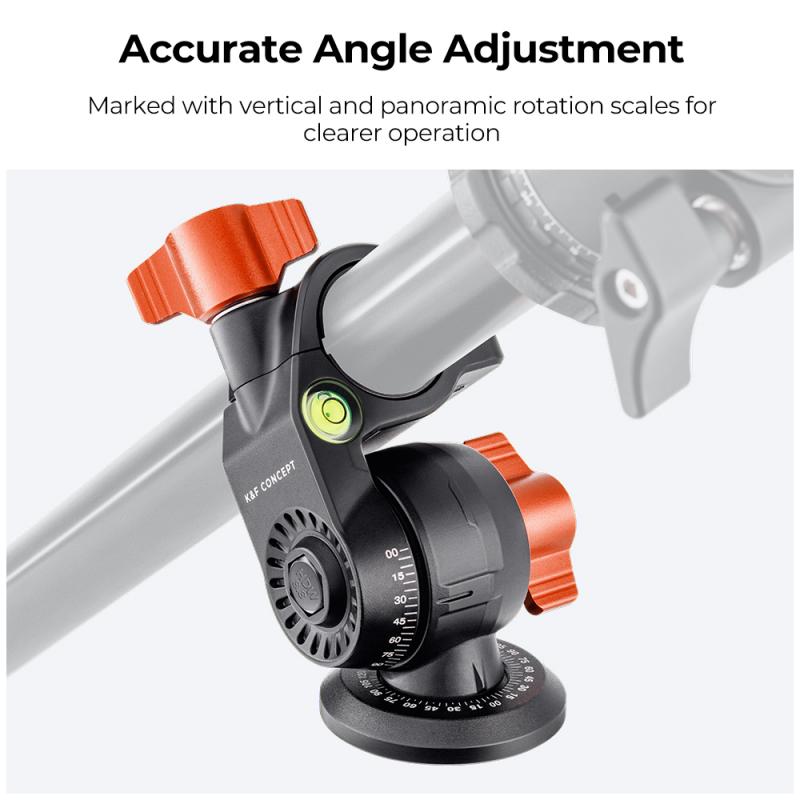
4. Adjust the tripod head: The tripod head allows you to tilt and pan the camera. Adjust the head to the desired position by loosening the appropriate knobs or levers. Once you have positioned the camera, tighten the knobs or levers to secure it in place.
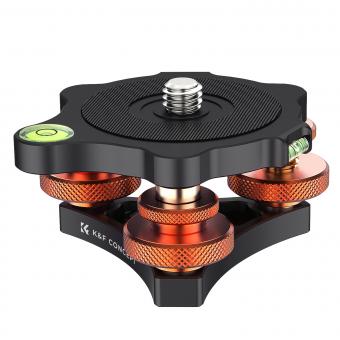
5. Fine-tune the stability: To ensure optimal stability, check that the tripod is level. Most tripods have a built-in bubble level or you can use a separate leveling tool. Adjust the tripod legs as needed to achieve a level position.
From a latest point of view, some tripods now come with additional features such as a center column hook for adding weight to increase stability, or a built-in leveler for easier leveling. It is also worth considering the weight capacity of the tripod to ensure it can support your camera and any additional equipment you may be using. Additionally, some tripods offer adjustable leg angles, allowing for shooting at different heights and angles. Experiment with these features to find the most stable and comfortable setup for your specific shooting needs.
