How To Record Microscope Observations ?
To record microscope observations, first, ensure that the microscope is properly set up and focused on the specimen of interest. Then, use a camera or smartphone to capture images or videos of the observed specimen through the microscope's eyepiece. Alternatively, you can use a microscope camera attachment to directly capture images or videos onto a computer or other recording device. It is important to adjust the lighting and magnification settings to achieve clear and accurate observations. Additionally, it is recommended to label and organize the recorded observations for easy reference and future analysis.
1、 Microscope Observation Techniques
To record microscope observations effectively, follow these steps:
1. Prepare the microscope: Ensure the microscope is clean and properly set up. Adjust the lighting and focus to obtain a clear image.
2. Choose the appropriate magnification: Select the appropriate objective lens to achieve the desired level of magnification. Start with a low magnification to locate the specimen and then increase it gradually.
3. Position the specimen: Place the specimen on the microscope stage and secure it using stage clips if necessary. Adjust the position to center the area of interest.
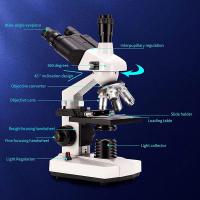
4. Observe and adjust: Look through the eyepiece and use the coarse and fine focus knobs to bring the specimen into focus. Take your time to observe the specimen carefully, noting its characteristics and any changes over time.
5. Document the observations: To record your observations, you can use various methods. One common approach is to sketch the specimen using a pencil and paper, capturing its key features and structures. Alternatively, you can use a digital camera or smartphone attached to the microscope to capture images or videos.
6. Annotate and label: After capturing the observations, annotate and label the sketches or digital images with relevant information such as magnification, date, and any additional notes about the specimen.
7. Store and organize: Store your recorded observations in a safe place, whether it be a physical notebook or a digital folder. Organize them in a systematic manner, such as by date, specimen type, or research project.
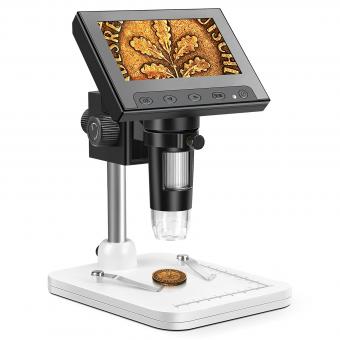
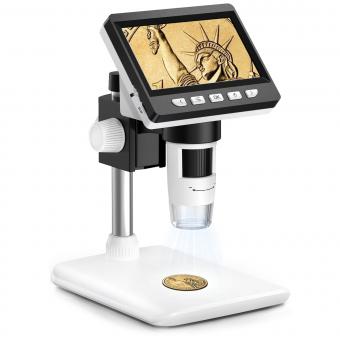
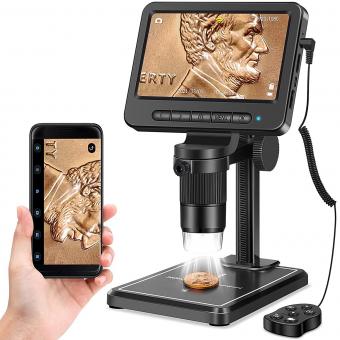
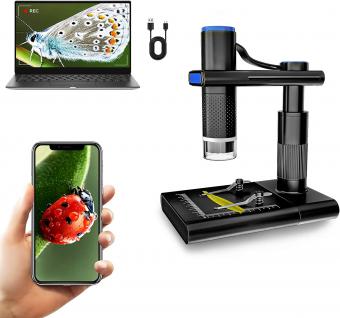
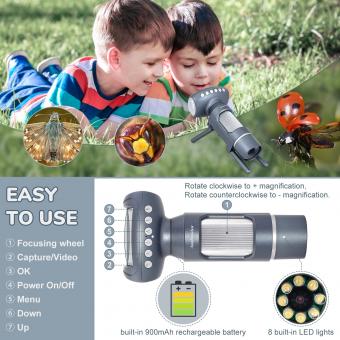
In recent years, advancements in technology have introduced digital microscopy techniques. These techniques allow for real-time observation and recording of microscope images using specialized software. Additionally, some microscopes now come equipped with built-in cameras, making it easier to capture and store observations digitally. These digital methods offer advantages such as easier sharing of observations, enhanced image quality, and the ability to perform image analysis and measurements.
Remember, accurate and detailed recording of microscope observations is crucial for scientific research, education, and documentation.

2、 Proper Microscope Setup for Recording Observations
Proper Microscope Setup for Recording Observations
Recording microscope observations is an essential part of scientific research and education. It allows researchers and students to document their findings and share them with others. To ensure accurate and high-quality recordings, it is important to set up the microscope properly. Here are some steps to follow:
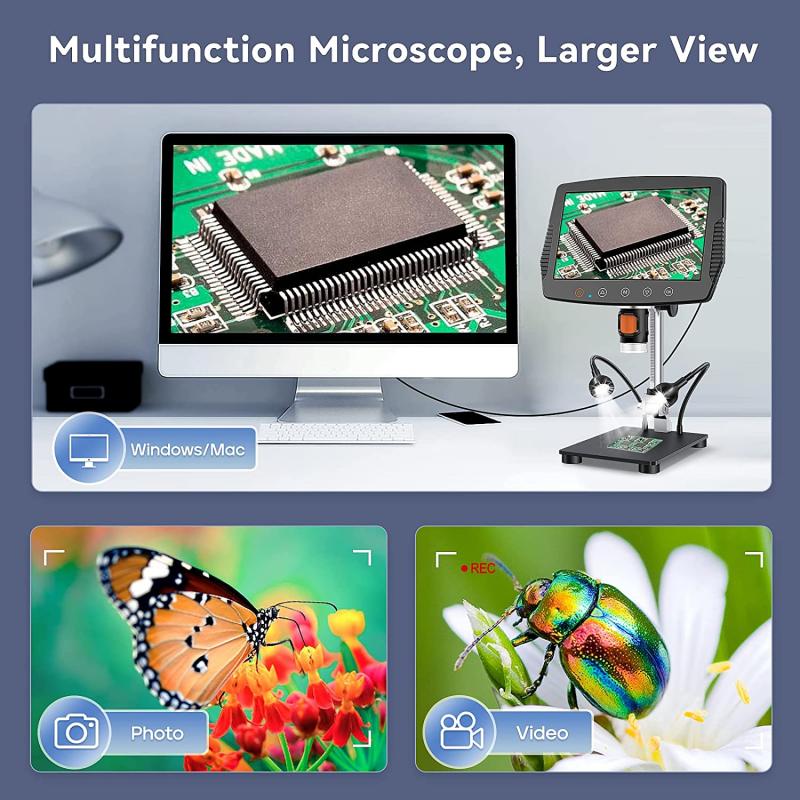
1. Choose the right microscope: Select a microscope that suits your needs. Consider factors such as magnification range, resolution, and lighting options. Advances in technology have led to the development of digital microscopes, which offer the advantage of directly capturing images and videos.
2. Prepare the sample: Properly prepare the sample to be observed under the microscope. This may involve fixing, staining, or mounting the sample on a slide. Follow established protocols and ensure the sample is clean and free from debris.
3. Adjust the lighting: Proper lighting is crucial for clear and detailed observations. Adjust the microscope's light source to achieve optimal illumination. Use the appropriate intensity and angle to minimize glare and shadows.
4. Focus and magnification: Start with the lowest magnification objective lens and focus on the sample. Gradually increase the magnification to observe finer details. Use the fine focus knob to achieve sharp focus.
5. Use appropriate recording equipment: Depending on your setup, you may use a camera attached to the microscope or a digital microscope with built-in recording capabilities. Ensure that the camera or digital microscope is properly connected and calibrated.
6. Capture images or videos: Once the microscope is properly set up, start capturing images or videos of the observed sample. Take multiple shots from different angles and focal planes to ensure a comprehensive record.
7. Document observations: Record relevant information about the sample, such as its name, date, and any observations or measurements made. This will help in organizing and referencing the recorded data.
8. Post-processing and analysis: After recording the observations, you may need to perform post-processing or analysis to enhance the images or extract additional information. This can be done using image editing software or specialized analysis tools.
It is worth noting that advancements in technology have made it easier to record microscope observations. Digital microscopes with integrated cameras and software allow for real-time image capture, annotation, and analysis. Additionally, there are now smartphone adapters available that enable users to attach their smartphones to the microscope eyepiece, allowing for easy recording and sharing of observations.
In conclusion, setting up a microscope properly is crucial for recording accurate and high-quality observations. By following the steps outlined above and utilizing the latest technological advancements, researchers and students can effectively document their findings and contribute to the scientific community.
3、 Choosing the Right Microscope for Recording Observations
Recording microscope observations is an essential part of scientific research and analysis. It allows researchers to document and analyze the details of microscopic structures and phenomena. Here are some steps on how to record microscope observations effectively:
1. Prepare the microscope: Ensure that the microscope is clean and properly calibrated. Adjust the lighting and focus to obtain a clear and well-illuminated view of the specimen.
2. Choose the right magnification: Select an appropriate magnification level based on the size and complexity of the specimen. Start with low magnification to locate the area of interest, then gradually increase the magnification for detailed observations.
3. Use a camera attachment: Attach a camera to the microscope to capture images or videos of the specimen. This can be done using a smartphone adapter, a digital camera, or a specialized microscope camera. Make sure the camera is properly aligned with the microscope's eyepiece.
4. Adjust camera settings: Adjust the camera settings, such as focus, exposure, and white balance, to obtain clear and accurate images. Experiment with different settings to achieve the best results.
5. Capture multiple images: Take multiple images at different focal planes to capture the entire depth of the specimen. This technique, known as Z-stack imaging, allows for the creation of a three-dimensional representation of the specimen.
6. Record relevant information: Document important details about the specimen, such as its name, date, magnification level, and any observations or findings. This information will be crucial for future reference and analysis.
7. Analyze and store the data: Review the recorded images or videos to analyze the specimen's characteristics and any observed phenomena. Store the data in a secure and organized manner, ensuring that it is easily accessible for future reference.
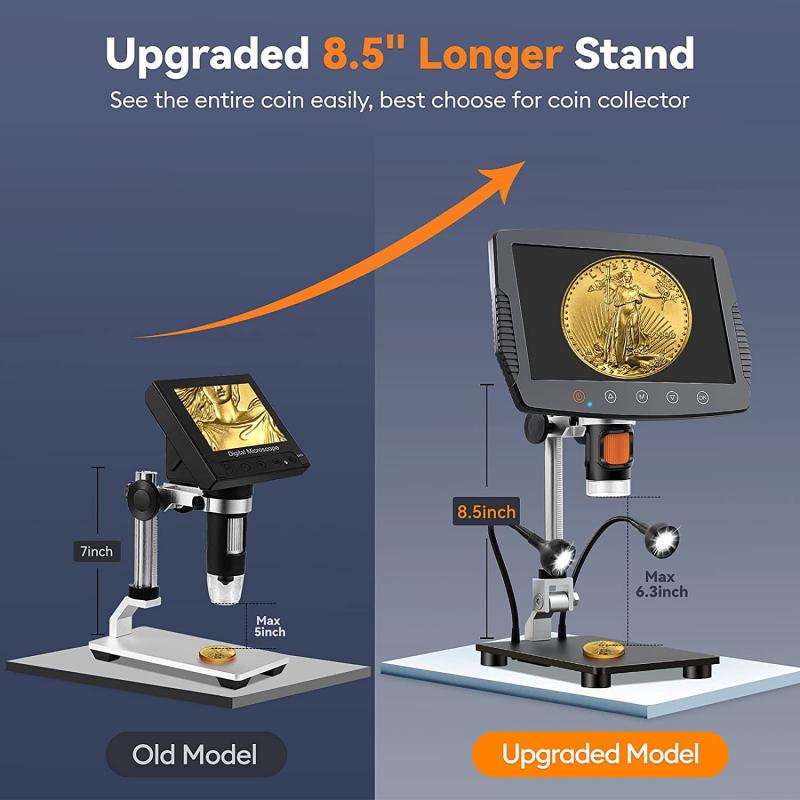
In recent years, advancements in technology have revolutionized the field of microscopy. Digital microscopes with built-in cameras and software have made recording observations more convenient and efficient. These microscopes often offer features like live-view imaging, image stitching, and automated focus stacking, which enhance the quality and accuracy of recorded observations. Additionally, cloud-based storage and sharing platforms have made it easier for researchers to collaborate and access their microscope data from anywhere in the world.
Overall, recording microscope observations requires careful preparation, the right equipment, and attention to detail. By following these steps and utilizing the latest technological advancements, researchers can ensure accurate and comprehensive documentation of their microscopic findings.
4、 Tips for Accurate Microscope Observations
How to Record Microscope Observations:
1. Prepare your microscope: Before starting your observations, ensure that your microscope is clean and properly set up. Adjust the lighting and focus to obtain a clear image.
2. Use a notebook: Keep a dedicated notebook to record your microscope observations. Include the date, specimen details, and any relevant information such as magnification used or staining techniques employed.
3. Drawings: Alongside written notes, make detailed drawings of what you observe under the microscope. Include labels and annotations to highlight important structures or features. Drawing helps to enhance your understanding and memory of the specimen.
4. Take photographs: If possible, use a digital camera or smartphone attachment to capture images of your microscope observations. This allows for easy reference and sharing with others. Ensure that the camera is properly aligned with the eyepiece to obtain accurate images.
5. Record measurements: If you need to measure the size of structures or cells, use a calibrated eyepiece or stage micrometer. Include these measurements in your notes for future reference.
6. Note any abnormalities: If you observe any unusual or abnormal features, make sure to document them. These observations can be valuable for further analysis or research.
7. Maintain objectivity: When recording observations, strive for objectivity and avoid making assumptions or interpretations. Stick to what you see under the microscope and refrain from drawing conclusions without sufficient evidence.
8. Stay organized: Keep your microscope observations organized and easily accessible. Use labels, dividers, or digital folders to categorize your notes and images.
In recent years, advancements in digital microscopy have made it easier to record and analyze microscope observations. Digital microscopes with built-in cameras and software allow for real-time imaging, measurement, and annotation. Additionally, there are various image analysis software programs available that can assist in quantifying and analyzing microscopic data. These technological advancements have greatly enhanced the accuracy and efficiency of recording microscope observations.
