How To Record Video On Fujifilm Digital Camera ?
To record video on a Fujifilm digital camera, follow these steps:
1. Turn on the camera and switch the mode dial to the video recording mode. This is usually indicated by a video camera icon.
2. Frame your shot by looking through the camera's LCD screen or electronic viewfinder.
3. Press the dedicated video recording button, usually located near the shutter button, to start recording. The button may have a red dot or a video camera icon.
4. While recording, you can adjust settings such as exposure, white balance, and focus if your camera allows manual control.
5. To stop recording, press the video recording button again. The camera will save the video file to its memory card.
Note: The specific steps may vary depending on the model of your Fujifilm camera. It's recommended to refer to the camera's user manual for detailed instructions tailored to your device.
1、 "Setting up video recording on a Fujifilm digital camera"
Setting up video recording on a Fujifilm digital camera is a straightforward process that allows you to capture high-quality videos with ease. Here's a step-by-step guide on how to record video on a Fujifilm digital camera:
1. Power on your Fujifilm digital camera and switch the mode dial to the video recording mode. This is usually indicated by a small video camera icon.
2. Check the camera's settings menu to ensure that the video recording resolution and frame rate are set to your desired settings. Fujifilm cameras typically offer various options, including Full HD (1080p) and 4K UHD.
3. If your camera has a touchscreen, tap the video recording button to start recording. If not, locate the dedicated video recording button, usually marked with a red dot or a small video camera icon, and press it to begin recording.
4. To stop recording, press the video recording button again or tap the on-screen stop button if your camera has a touchscreen.
5. Some Fujifilm cameras offer additional video recording features, such as manual exposure control, autofocus tracking, and film simulation modes. Explore your camera's menu to access these options and enhance your video recording experience.
6. Once you have finished recording, you can review your videos by accessing the playback mode on your camera. Use the navigation buttons or touchscreen gestures to browse through your recorded videos.
It's worth noting that the specific steps may vary slightly depending on the model of your Fujifilm digital camera. Therefore, it's always a good idea to consult your camera's user manual for detailed instructions tailored to your specific device.
In conclusion, setting up video recording on a Fujifilm digital camera is a simple process that involves selecting the video recording mode, adjusting the settings, and pressing the dedicated video recording button. With the latest advancements in Fujifilm cameras, you can expect excellent video quality and a range of features to enhance your recording experience.
2、 "Choosing the appropriate video settings on a Fujifilm camera"
Choosing the appropriate video settings on a Fujifilm digital camera is essential to ensure that you capture high-quality videos. Here's a step-by-step guide on how to record video on a Fujifilm digital camera:
1. Turn on the camera: Press the power button to turn on the camera and switch to video mode. Most Fujifilm cameras have a dedicated video mode on the mode dial.
2. Select the appropriate video resolution: Fujifilm cameras offer various video resolutions, including Full HD (1080p) and 4K. Choose the resolution that suits your needs and the capabilities of your camera. Keep in mind that higher resolutions require more storage space and may require a faster memory card.
3. Adjust the frame rate: The frame rate determines the smoothness of the video. Fujifilm cameras typically offer options like 24fps, 30fps, and 60fps. Higher frame rates are ideal for capturing fast-moving subjects, while lower frame rates can create a more cinematic look.
4. Set the exposure: Depending on the lighting conditions, you may need to adjust the exposure settings. Fujifilm cameras usually have options to control the aperture, shutter speed, and ISO. Experiment with these settings to achieve the desired exposure for your video.
5. Choose the autofocus mode: Fujifilm cameras offer various autofocus modes, including single-point, zone, and tracking. Select the appropriate autofocus mode based on your subject and shooting conditions. Continuous autofocus is particularly useful for capturing moving subjects.
6. Enable image stabilization: If your Fujifilm camera has built-in image stabilization, make sure to enable it. This feature helps reduce camera shake and results in smoother, more stable videos.
7. Start recording: Once you have adjusted all the necessary settings, press the record button to start recording. Keep the camera steady and try to maintain a consistent composition throughout the video.
Remember to check your camera's user manual for specific instructions and additional features that may be available. Additionally, keep in mind that Fujifilm regularly releases firmware updates for their cameras, so it's always a good idea to check for any new features or improvements that may enhance your video recording experience.

3、 "Adjusting focus and exposure for video recording on Fujifilm cameras"
To record video on a Fujifilm digital camera, follow these steps:
1. Turn on the camera and switch the mode dial to the video recording mode. On most Fujifilm cameras, this is denoted by a small movie camera icon.
2. Adjust the focus: Fujifilm cameras offer various autofocus modes, including single-point AF, zone AF, and wide/tracking AF. Choose the appropriate autofocus mode based on your subject and shooting conditions. Some newer Fujifilm cameras also feature advanced face and eye detection autofocus, which can be particularly useful for video recording.
3. Set the exposure: Fujifilm cameras typically offer different exposure modes, such as program, aperture priority, shutter priority, and manual. For video recording, it is often best to use aperture priority or manual mode to have more control over the exposure settings. Adjust the aperture, shutter speed, and ISO to achieve the desired exposure. Keep in mind that changing lighting conditions may require you to adjust these settings during recording.
4. Frame your shot: Use the camera's LCD screen or electronic viewfinder to compose your shot. Consider the rule of thirds, leading lines, and other composition techniques to create visually appealing videos.
5. Start recording: Press the dedicated video recording button or switch to start recording. Some Fujifilm cameras also offer the option to record in different video resolutions and frame rates, so choose the appropriate settings based on your needs.
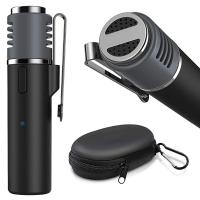
6. Monitor audio: Fujifilm cameras usually have built-in microphones for recording audio. However, the audio quality may not be as good as using an external microphone. Consider using an external microphone for better audio capture, especially in noisy environments.
7. Stop recording: Press the video recording button or switch again to stop recording. The recorded video will be saved to the camera's memory card.
It's worth noting that the latest Fujifilm cameras often come with advanced video features, such as 4K recording, film simulation modes, and in-camera video editing options. Consult your camera's user manual or the manufacturer's website for specific instructions on using these features.
Overall, recording video on a Fujifilm digital camera is a straightforward process. With the right settings and techniques, you can capture high-quality videos with excellent focus and exposure.
4、 "Utilizing stabilization features for smooth video capture on Fujifilm cameras"
Utilizing stabilization features for smooth video capture on Fujifilm cameras
Recording high-quality videos on a Fujifilm digital camera is a great way to capture precious moments and create lasting memories. To ensure smooth and stable video footage, it is important to utilize the stabilization features available on these cameras. Here's a step-by-step guide on how to record video on a Fujifilm digital camera while making the most of its stabilization features.
1. Choose the right camera model: Fujifilm offers a range of digital cameras with different stabilization technologies. Look for models that feature optical image stabilization (OIS) or in-body image stabilization (IBIS) for the best results.
2. Set the camera to video mode: Switch your camera to video mode by turning the mode dial to the appropriate setting. This will enable the camera to capture video instead of still images.
3. Enable stabilization: Depending on the camera model, stabilization features may be accessed through the menu or a dedicated button. Consult your camera's user manual to locate and enable the stabilization feature.
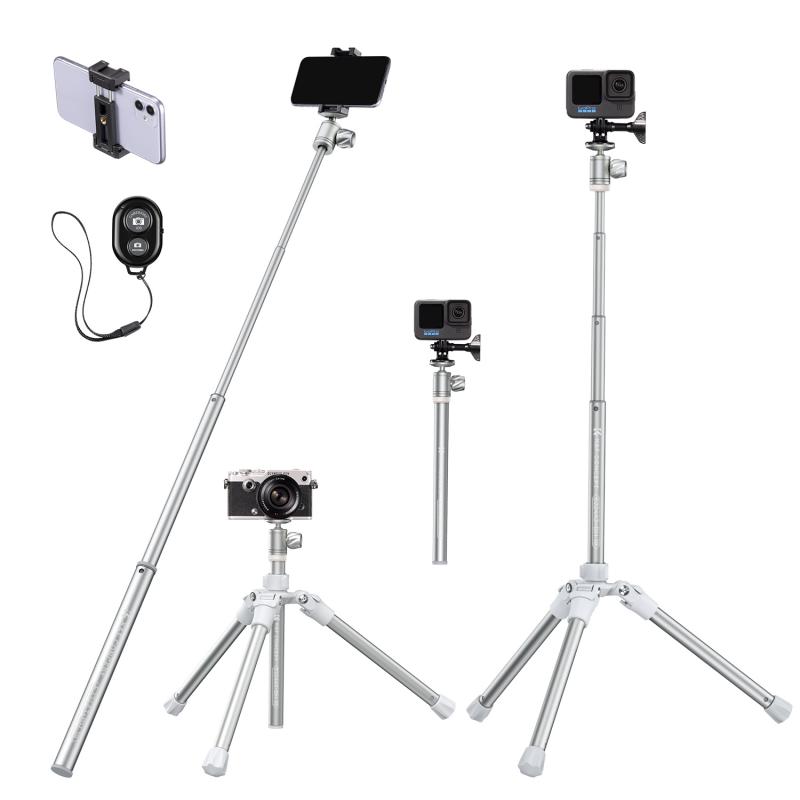
4. Hold the camera steady: Proper handholding technique is crucial for stable video footage. Hold the camera with both hands, keeping your elbows close to your body for added stability. Consider using a tripod or a handheld stabilizer for even smoother shots.
5. Use a wide-angle lens: Wide-angle lenses tend to be more forgiving when it comes to camera shake. If your camera allows lens interchangeability, consider using a wide-angle lens to minimize the impact of any unintentional movement.
6. Practice smooth panning and tilting: When capturing moving subjects or changing scenes, practice smooth panning and tilting movements. Start and end each movement slowly to avoid jerky footage.
7. Monitor your audio: While stabilization is important for video quality, don't forget about audio. Use an external microphone or monitor the camera's built-in microphone to ensure clear and crisp sound.
By following these steps and utilizing the stabilization features available on Fujifilm digital cameras, you can capture smooth and professional-looking videos. Remember to experiment with different settings and techniques to find what works best for your specific camera model and shooting style.
