How To Remove A Filter From A Lens ?
To remove a filter from a lens, first, locate the filter on the front of the lens. Carefully grip the filter with your fingers or use a filter wrench if necessary. Rotate the filter counterclockwise to loosen it from the lens. Once it is loose, continue rotating until the filter is completely removed. Be cautious not to apply excessive force or twist too hard, as this may damage the lens or filter.
1、 Lens Filter Types and Their Removal Techniques
Lens filters are commonly used by photographers to enhance their images or protect their lenses. However, there may be instances where you need to remove a filter from your lens. Here are some techniques to safely remove different types of lens filters:
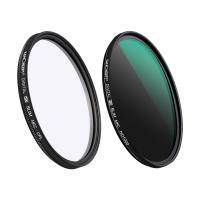
1. Screw-on filters: These filters are threaded onto the front of the lens. To remove them, hold the lens firmly and gently rotate the filter counterclockwise. Be cautious not to apply excessive force, as it may damage the filter or lens threads. If the filter is stuck, try using a rubber jar opener or a filter wrench for a better grip.
2. Bayonet filters: These filters have a locking mechanism that attaches them to the lens. To remove them, locate the release button or switch on the side of the filter. Press or slide it while gently twisting the filter counterclockwise. This action will disengage the filter from the lens mount, allowing you to remove it easily.
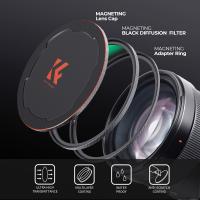
3. Magnetic filters: Some lenses have magnetic filter systems where filters are attached using magnets. To remove these filters, gently pull them away from the lens. Ensure that you maintain a firm grip to prevent accidental dropping or damage.
It is important to handle filters with care to avoid scratches or smudges. Use a microfiber cloth or lens cleaning solution to clean the filter before storing it. Additionally, always follow the manufacturer's instructions for specific filter removal techniques, as different brands may have unique mechanisms.
As technology advances, new types of lens filters may emerge, so it is essential to stay updated with the latest information and techniques for removing them.

2、 Step-by-Step Guide: Removing a Screw-On Lens Filter
Step-by-Step Guide: Removing a Screw-On Lens Filter
Removing a filter from a lens is a relatively simple process that can be done in a few easy steps. Here is a step-by-step guide to help you remove a screw-on lens filter:
1. Prepare your workspace: Find a clean and well-lit area to work in. Make sure you have a soft cloth or lens cleaning tissue handy to clean the lens after removing the filter.
2. Grip the filter: Hold the lens firmly with one hand, making sure not to put excessive pressure on the glass. Use your other hand to grip the filter firmly but gently.
3. Rotate counterclockwise: With a steady grip on the filter, rotate it counterclockwise. Most screw-on filters have threads that allow them to be easily twisted off.
4. Be cautious: If the filter feels stuck or difficult to turn, do not force it. Applying excessive force can damage the lens or filter. Instead, try using a rubber jar opener or a filter wrench to provide extra grip and leverage.
5. Clean the lens: Once the filter is removed, use a soft cloth or lens cleaning tissue to gently wipe the lens surface. This will remove any smudges or fingerprints that may have accumulated.
It is important to note that this guide specifically addresses screw-on lens filters. Other types of filters, such as drop-in or bayonet filters, may require different removal techniques. Always refer to the manufacturer's instructions for specific guidance on removing filters from your lens.
In recent years, lens filters have become less popular due to advancements in digital post-processing techniques. Many photographers now prefer to achieve desired effects through software editing rather than using physical filters. However, filters still have their place in certain situations, such as protecting the lens from scratches or reducing glare in bright conditions.
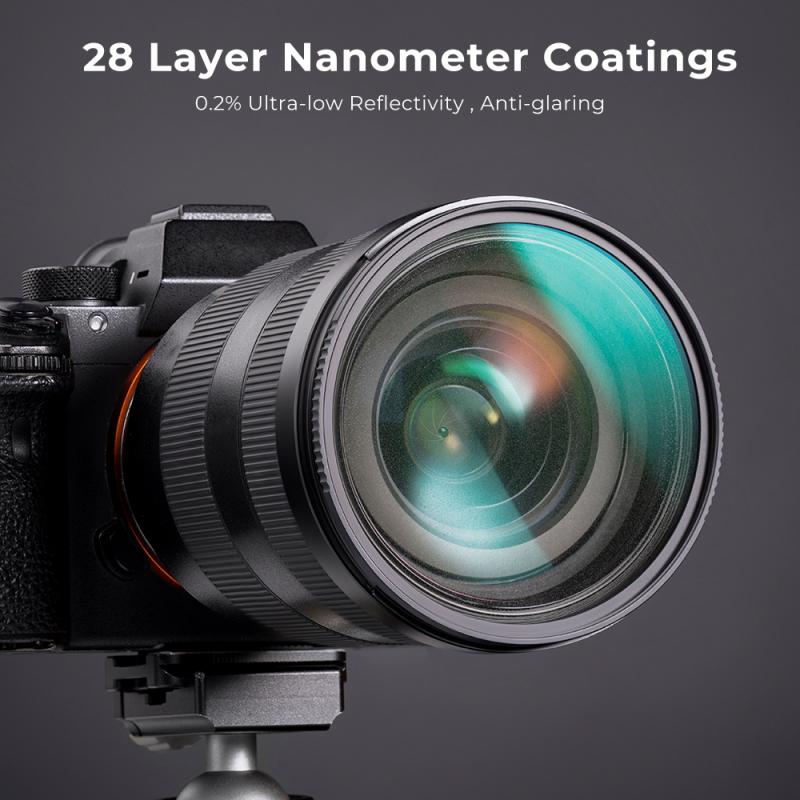
3、 Removing a Stuck or Jammed Lens Filter Safely
Removing a stuck or jammed lens filter can be a delicate process, but with the right approach, it can be done safely. Here is a step-by-step guide on how to remove a filter from a lens:
1. Assess the situation: Before attempting to remove the filter, take a moment to evaluate the condition of the filter and the lens. Look for any signs of damage or misalignment that could complicate the removal process.
2. Use a filter wrench: If the filter is slightly stuck, a filter wrench can be a useful tool. These wrenches are designed to grip the filter and provide extra leverage for removal. Place the wrench around the edge of the filter and gently turn it counterclockwise to loosen it.
3. Apply gentle pressure: If a filter wrench is not available or the filter is severely stuck, try using a rubber band or a piece of rubber glove to improve grip. Wrap it around the filter and apply gentle pressure while turning it counterclockwise. Be careful not to apply too much force, as this could damage the lens.
4. Use a lens spanner: In extreme cases where the filter is completely jammed, a lens spanner may be necessary. These tools have adjustable prongs that can fit into the filter's notches, allowing for a more secure grip. Insert the prongs into the notches and carefully turn counterclockwise to loosen the filter.
5. Seek professional help: If all else fails or if you are uncomfortable attempting the removal yourself, it is best to seek assistance from a professional camera technician. They have the expertise and specialized tools to safely remove a stuck filter without causing any damage to the lens.
It is important to exercise caution and patience when removing a stuck or jammed lens filter. Rushing the process or using excessive force can lead to irreversible damage to the lens.
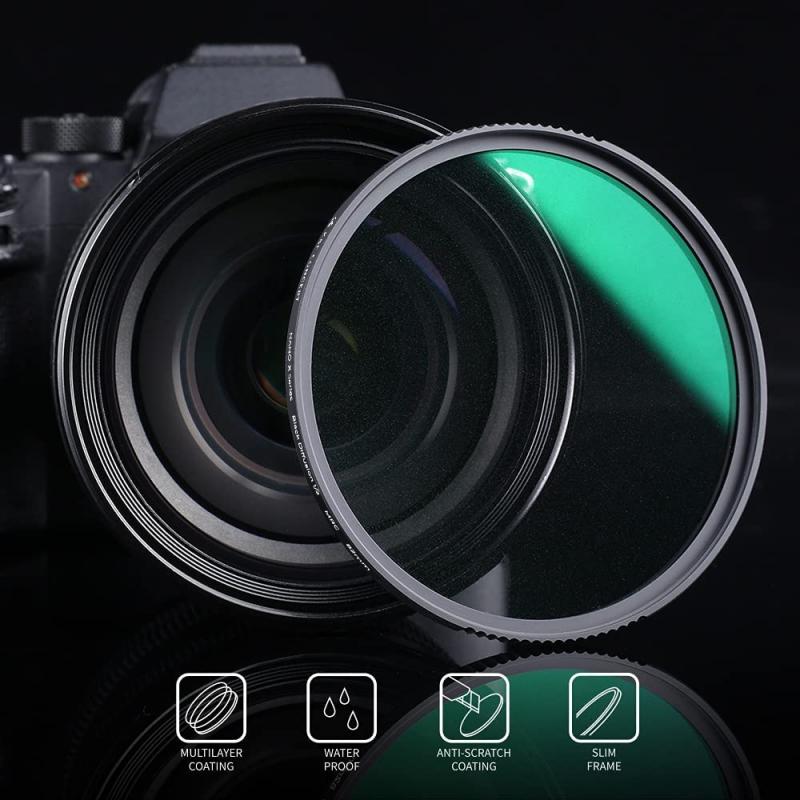
4、 Removing a Bayonet-Mounted Lens Filter: Tips and Tricks
Removing a filter from a lens can be a delicate process, but with the right technique, it can be done safely and effectively. Here are some tips and tricks for removing a bayonet-mounted lens filter:
1. Prepare your workspace: Find a clean and well-lit area to work in. Make sure you have a soft cloth or lens cleaning tissue handy to wipe the lens if needed.
2. Use a filter wrench: If the filter is stuck or difficult to remove by hand, a filter wrench can be a useful tool. These wrenches have adjustable jaws that grip the filter securely without causing damage. Place the wrench around the edge of the filter and gently twist counterclockwise to loosen it.
3. Apply gentle pressure: If you don't have a filter wrench, try using a rubber jar opener or a rubber band for added grip. Hold the lens firmly with one hand and use the other hand to apply gentle pressure to the filter, turning it counterclockwise. Be careful not to apply too much force, as this could damage the lens or filter.
4. Use a lens blower: If the filter is not stuck but you're having trouble removing it, try using a lens blower to remove any dust or debris that may be causing friction. Gently blow air around the edges of the filter to dislodge any particles that may be causing it to stick.
5. Seek professional help if needed: If you're still unable to remove the filter, it's best to seek assistance from a professional camera technician. They have the expertise and specialized tools to safely remove stubborn filters without causing damage to the lens.
It's important to note that prevention is key when it comes to removing filters. Avoid overtightening filters when attaching them to your lens, as this can make them more difficult to remove later on. Additionally, regularly cleaning and maintaining your lens can help prevent filters from becoming stuck or damaged.
In conclusion, removing a bayonet-mounted lens filter requires patience and care. By following these tips and tricks, you can safely remove a filter from your lens without causing any harm.
