How To Remove Nd Filter ?
To remove an ND filter, simply unscrew it from the lens in a counterclockwise direction. Make sure to hold the filter securely while doing so to prevent it from accidentally falling or getting damaged. Once the filter is removed, you can safely store it in a protective case or pouch to keep it clean and free from scratches.
1、 Unscrewing the ND filter from the lens
To remove an ND filter from your lens, you can follow these steps:
1. Ensure that your camera is turned off to prevent any accidental damage to the lens or filter.
2. Hold the lens barrel firmly with one hand to provide stability.
3. With your other hand, gently grip the outer edge of the ND filter.
4. Rotate the filter counterclockwise (to the left) while applying a steady and even pressure. Be cautious not to apply excessive force, as this may cause damage to the lens or filter threads.
5. Continue unscrewing the filter until it is completely detached from the lens.
6. Once the filter is removed, carefully inspect it for any smudges, fingerprints, or dust particles. Clean it using a microfiber cloth or lens cleaning solution if necessary.
7. If you plan to store the filter, place it in a protective case or pouch to prevent scratches or damage.
It's worth mentioning that some modern lenses have a locking mechanism for filters, which may require an additional step to disengage the lock before unscrewing the filter. Refer to your lens manual for specific instructions on how to unlock the filter.
Always handle your camera equipment with care and avoid touching the glass surfaces of the lens or filter directly to prevent smudges or scratches.
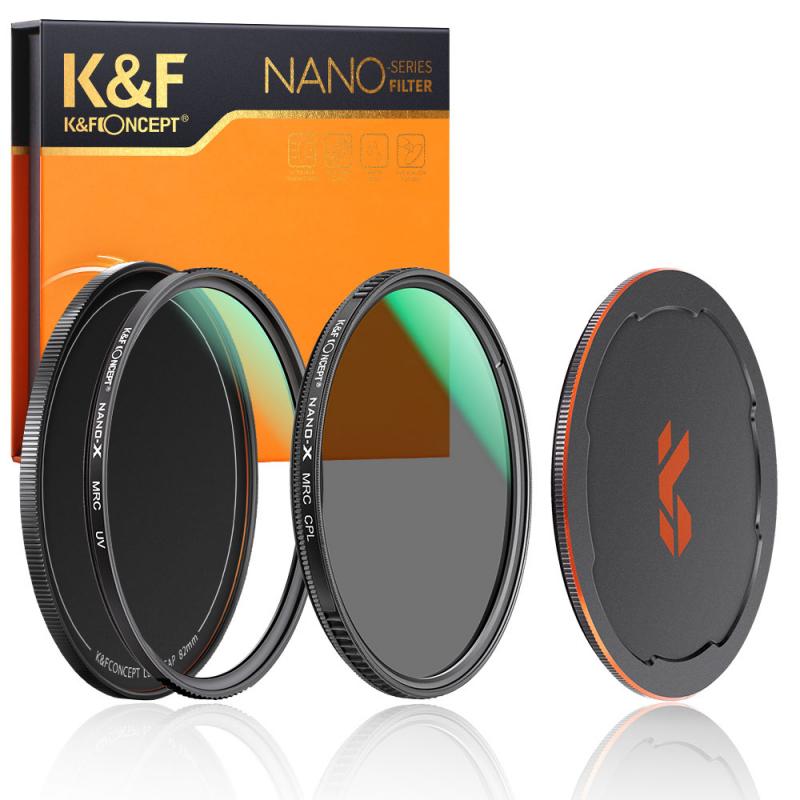
2、 Using a filter wrench to remove a stuck ND filter
To remove a stuck ND filter, one effective method is to use a filter wrench. A filter wrench is a handy tool designed specifically for removing filters that are difficult to unscrew by hand. It provides a better grip and leverage, making the removal process easier and safer.
To use a filter wrench, follow these steps:
1. Ensure that your camera is turned off and the lens cap is on to protect the lens.
2. Place the filter wrench around the outer edge of the ND filter, ensuring a secure fit.
3. Hold the camera firmly with one hand and use the other hand to turn the filter wrench counterclockwise.
4. Apply gentle and steady pressure while turning the wrench. Avoid using excessive force, as it may damage the filter or lens.
5. If the filter is still stuck, try tapping the edge of the filter wrench lightly with a rubber mallet or a similar soft object. This can help loosen the filter.
6. Once the filter starts to loosen, continue turning the wrench until the filter is completely removed.
It's important to note that when using a filter wrench, caution should be exercised to prevent any damage to the lens or filter threads. If you are unsure or uncomfortable with the process, it is recommended to seek assistance from a professional camera technician.
As of the latest point of view, filter wrenches are widely available and come in various sizes to fit different filter diameters. They are a popular tool among photographers and videographers for safely removing stuck filters.
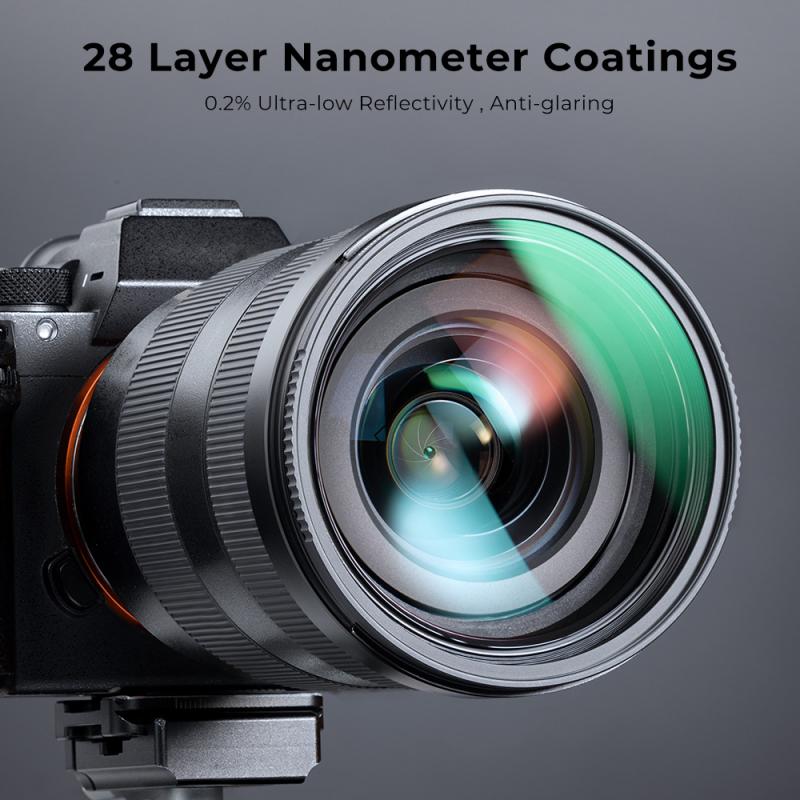
3、 Cleaning the ND filter before removal
To remove an ND filter, it is important to first clean the filter before attempting removal. Cleaning the filter ensures that no dust or debris gets trapped between the filter and the lens, which could potentially scratch the lens surface. Here is a step-by-step guide on how to clean and remove an ND filter:
1. Gather the necessary tools: You will need a lens cleaning solution, a microfiber cloth, and a blower brush.
2. Blow away any loose dust: Use the blower brush to gently remove any loose dust or debris from the surface of the filter. This step helps prevent scratching the lens during the cleaning process.
3. Apply lens cleaning solution: Put a few drops of lens cleaning solution onto the microfiber cloth. Avoid spraying the solution directly onto the filter to prevent any liquid from seeping into the filter threads.
4. Wipe the filter surface: Gently wipe the filter surface in a circular motion using the microfiber cloth. Be sure to cover the entire surface of the filter, paying extra attention to any smudges or fingerprints.
5. Inspect for cleanliness: After cleaning, inspect the filter for any remaining smudges or debris. If necessary, repeat the cleaning process until the filter is completely clean.
Once the filter is clean, you can proceed with removing it from your lens. The exact method of removal may vary depending on the type of filter and lens you are using. Generally, you will need to twist the filter counterclockwise to unscrew it from the lens. However, some filters may have a release button or lever that needs to be pressed before removal.
It is important to handle the filter with care during removal to avoid dropping or damaging it. If you encounter any resistance while unscrewing the filter, do not force it. Instead, try using a filter wrench or seek professional assistance to avoid causing any damage to your equipment.
In conclusion, cleaning the ND filter before removal is crucial to prevent any damage to your lens. By following the steps outlined above, you can ensure a safe and effective removal process.
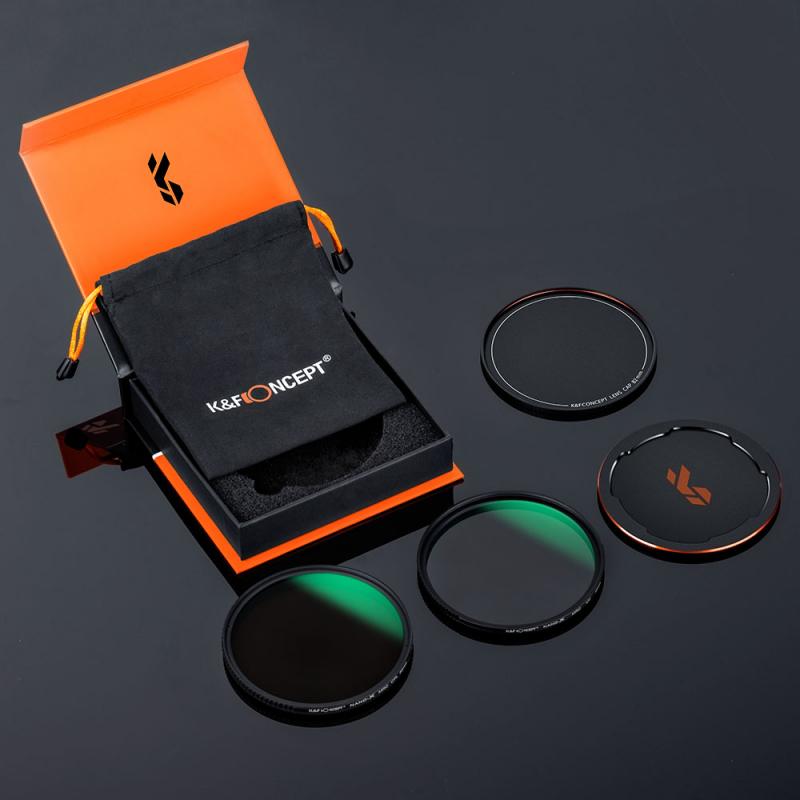
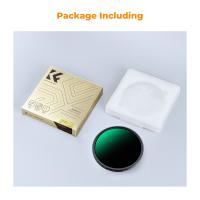
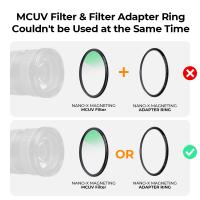
4、 Removing a magnetic ND filter from a lens
To remove a magnetic ND filter from a lens, follow these steps:
1. Hold the lens firmly with one hand to prevent any accidental damage or movement.
2. With your other hand, gently grip the edges of the ND filter.
3. Apply a slight twisting motion in either direction to loosen the filter from the lens.
4. Once the filter is loose, carefully lift it away from the lens.
5. If the filter is stubborn and doesn't come off easily, avoid using excessive force as it may damage the lens or the filter itself. Instead, try using a lens cleaning cloth or a rubber grip to provide better traction and grip while twisting.
6. If the filter is a magnetic one, ensure that you are not accidentally pulling any other magnetic objects along with it. Magnetic filters are designed to attach securely to the lens, so they may require a bit more effort to remove.
7. Once the filter is removed, inspect both the lens and the filter for any signs of damage or debris. Clean them if necessary using a lens cleaning solution and a microfiber cloth.
8. Store the filter in a protective case or pouch to prevent any scratches or damage when not in use.
It's worth noting that the process of removing a magnetic ND filter may vary slightly depending on the specific brand or model. Always refer to the manufacturer's instructions for the best guidance.













There are no comments for this blog.