How To Remove Stuck Filter From Lens?
To remove a stuck filter from a lens, you can try using a rubber band for better grip, a filter wrench tool, or gently tapping the edge of the filter with a rubber mallet. If these methods don't work, it's best to seek professional help to avoid damaging the lens.
1、 Proper tools and techniques
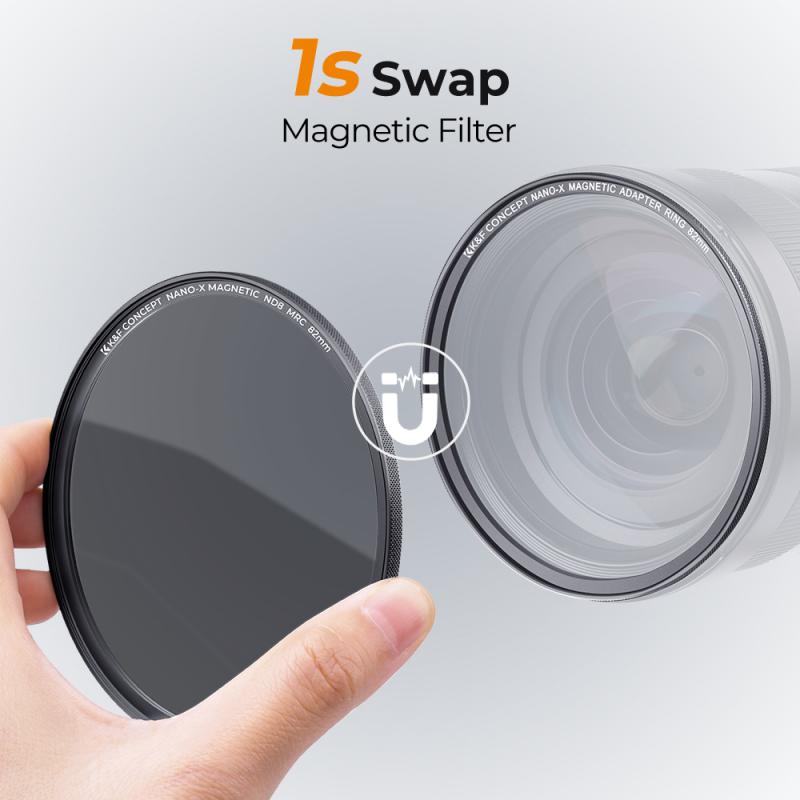
To remove a stuck filter from a lens, you can use proper tools and techniques to avoid damaging the lens or the filter. Here's how to do it:
1. Rubber gloves: Wearing rubber gloves can provide a better grip on the filter, making it easier to twist and remove.
2. Rubber band method: Place a rubber band around the filter, then use it to increase your grip and apply more torque when trying to unscrew the filter.
3. Filter wrench: A filter wrench is a specialized tool designed to grip the edges of the filter and provide extra leverage for removal. This can be particularly useful for stubborn filters.
4. Freezer method: Some photographers have had success by placing the lens in the freezer for a few minutes to shrink the metal of the filter, making it easier to remove. However, this method should be used with caution to avoid condensation inside the lens.
5. Professional help: If all else fails, it may be best to seek the assistance of a professional camera technician to avoid causing any damage to the lens or the filter threads.
It's important to exercise patience and caution when attempting to remove a stuck filter, as excessive force can potentially damage the lens or the filter threads. Additionally, staying updated with the latest techniques and tools for filter removal can help ensure a successful outcome without causing any harm to your equipment.
2、 Protective measures for lens and filter
How to remove stuck filter from lens:
1. Use a rubber band: Wrap a rubber band around the filter and twist it to provide extra grip for loosening the stuck filter.
2. Filter wrench: Invest in a filter wrench, a tool specifically designed to remove stuck filters from lenses. It provides a secure grip and minimizes the risk of damaging the lens or filter.
3. Apply heat: Use a hairdryer to gently heat the filter, which can help expand the metal and make it easier to unscrew.
4. Freezer method: Place the lens in a plastic bag and then into the freezer for a few minutes. The contraction of the metal may help loosen the stuck filter.
Protective measures for lens and filter:
1. Use lens caps and hoods: Always keep the lens cap on when the lens is not in use to protect it from dust, scratches, and other damage. Additionally, using a lens hood can provide extra protection from accidental bumps and knocks.
2. UV filter: Consider using a UV filter as a protective layer for the lens. It can help guard against scratches, dust, and moisture without affecting image quality.
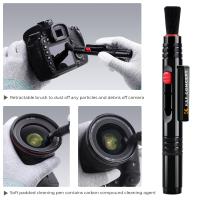
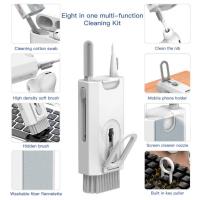
3. Regular cleaning: Use a lens cleaning kit to remove dust, fingerprints, and smudges from the lens and filter. Avoid using harsh chemicals or abrasive materials that could damage the coatings.
4. Store in a protective case: When not in use, store the lens and filter in a padded, protective case to prevent accidental damage.
Latest point of view: With the increasing use of digital cameras and smartphones, the need for protective measures for lenses and filters has become even more crucial. As these devices are often exposed to various environmental conditions, it is essential to prioritize the protection of the lens and filter to maintain image quality and prolong the lifespan of the equipment. Additionally, advancements in lens and filter technology have made them more susceptible to damage, making it imperative to implement proper protective measures.
3、 Applying gentle and consistent pressure
Removing a stuck filter from a lens can be a frustrating experience, but it's important to approach the situation with patience and care to avoid damaging the lens or the filter. One effective method for removing a stuck filter is to apply gentle and consistent pressure. Start by gripping the edge of the filter firmly with a filter wrench or a rubber jar opener to provide a good grip. Then, using your other hand, apply gentle pressure in a counterclockwise direction to try to loosen the filter. It's important to avoid using excessive force, as this can potentially cause damage to the lens or the filter threads.
If the filter is still stuck, you can try using a rubber band wrapped around the filter for added grip, or even placing the lens in the freezer for a few minutes to help contract the metal and potentially loosen the filter. Additionally, using a hairdryer to gently heat the filter ring can also help to expand the metal and make it easier to remove.
It's important to remember that forcing the filter off with excessive pressure or using tools that can scratch or damage the lens should be avoided. If these methods do not work, it may be best to seek the assistance of a professional camera technician to avoid causing any further damage.
4、 Using rubber bands or rubber gloves
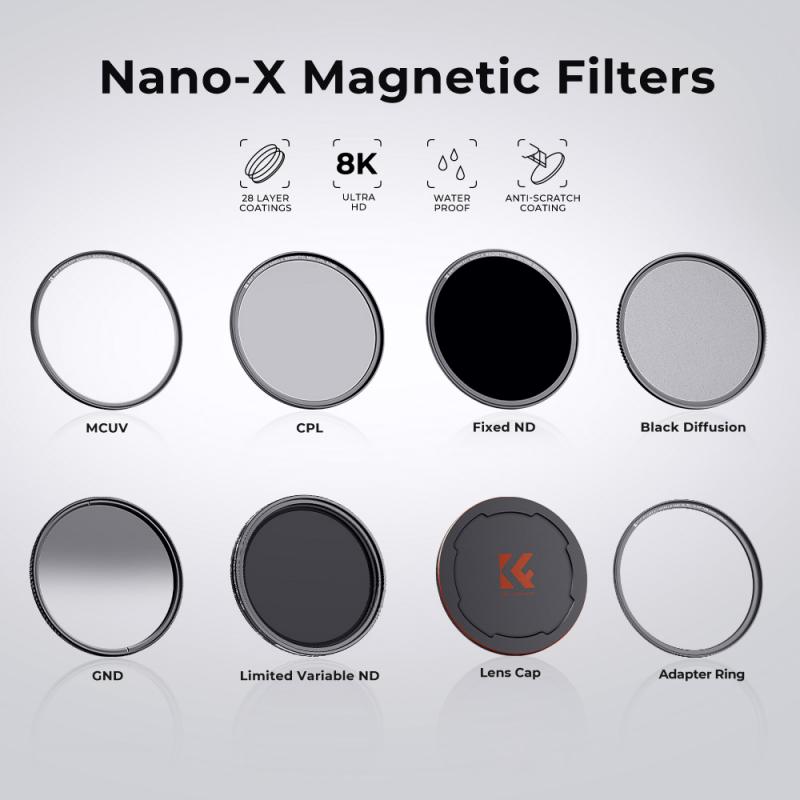
Using rubber bands or rubber gloves is a common and effective method for removing a stuck filter from a lens. Here's how to do it:
1. Wrap a rubber band around the edge of the filter. Make sure it is tight and provides a good grip.
2. Use the rubber band to twist the filter in the opposite direction of the one it's stuck in. This can help break the seal and loosen the filter from the lens.
3. If the rubber band method doesn't work, you can also try using rubber gloves. Put on a pair of rubber gloves to get a better grip on the filter and twist it off.
4. If the filter is still stuck, try using a filter wrench, which is specifically designed to remove stubborn filters from lenses.
It's important to be patient and gentle when attempting to remove a stuck filter, as excessive force can damage the lens or the filter threads. If the filter still won't budge, it may be best to seek professional help from a camera repair technician.
In the latest point of view, some photographers also recommend using a lens spanner tool, which provides a more precise and controlled grip on the filter, reducing the risk of damage to the lens or filter. Additionally, applying a small amount of heat to the filter using a hairdryer can help expand the metal and make it easier to remove. However, caution should be exercised to avoid overheating the lens or causing damage to the filter.










There are no comments for this blog.