How To Screw Camera Onto Tripod ?
To screw a camera onto a tripod, locate the threaded hole on the bottom of the camera. Align the hole with the screw on the tripod's mounting plate. Insert the screw into the hole and turn it clockwise until it is securely fastened. Make sure the camera is stable and tightly attached to the tripod before using it.
1、 Aligning the camera with the tripod mount
To screw a camera onto a tripod, the first step is to align the camera with the tripod mount. This ensures a secure and stable connection between the camera and the tripod.
Start by locating the tripod mount on the bottom of your camera. It is usually a threaded hole in the center. Next, locate the tripod head on the top of the tripod. The tripod head typically has a screw or quick-release plate that attaches to the camera.
To align the camera with the tripod mount, hold the camera above the tripod head and position the tripod mount directly over the tripod head. Slowly lower the camera onto the tripod head, making sure the mount and head are aligned.
Once aligned, rotate the camera clockwise to screw it onto the tripod head. Apply gentle pressure while turning to ensure a tight connection. Be careful not to overtighten, as this can damage the camera or tripod.
It is important to note that different tripods and cameras may have different mounting systems. Some tripods use a quick-release plate, which allows for easy attachment and detachment of the camera. In this case, align the plate with the camera's tripod mount and secure it in place using the locking mechanism provided.
Always refer to the camera and tripod manufacturer's instructions for specific mounting instructions and guidelines. Additionally, consider using a tripod with a built-in level or bubble level to ensure your camera is perfectly level for optimal stability and composition.
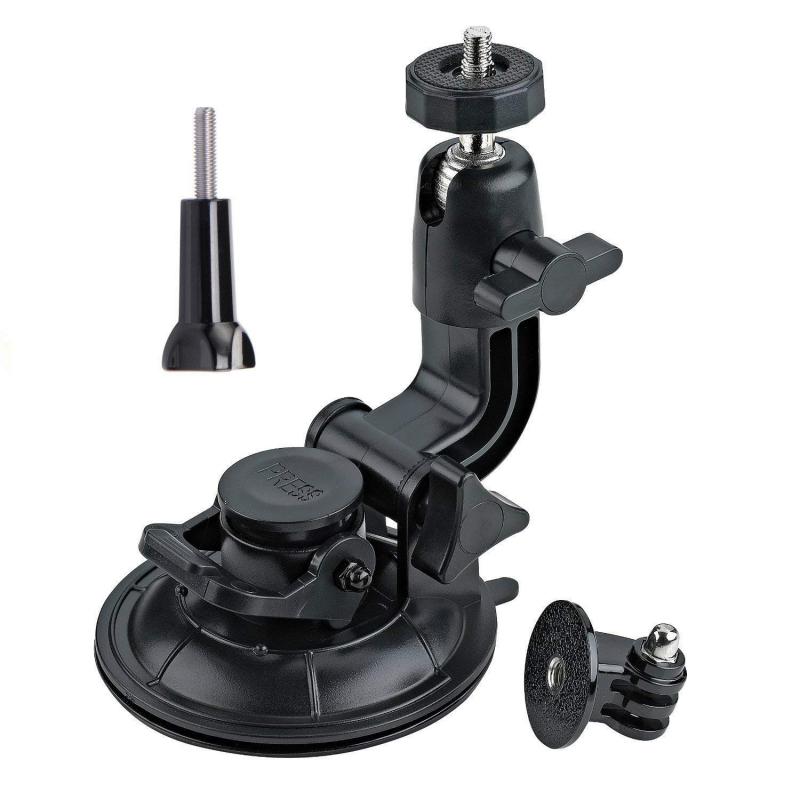
2、 Inserting the camera screw into the tripod mount
To screw a camera onto a tripod, you need to follow a few simple steps. The first step is to locate the tripod mount on the bottom of your camera. This is usually a threaded hole that is compatible with the screw on the tripod.
Once you have located the tripod mount, you can begin inserting the camera screw into it. Make sure the screw is aligned with the hole and gently start turning it clockwise. Be careful not to force it or overtighten it, as this could damage the camera or tripod.
As you screw the camera onto the tripod, ensure that it is securely attached. You can do this by giving it a gentle tug to check for any wobbling or looseness. If it feels secure, you can proceed with adjusting the tripod to your desired height and angle.
It's worth noting that some tripods may have a quick-release plate system, which allows for easier attachment and detachment of the camera. In this case, you would need to attach the quick-release plate to the camera first, and then slide it onto the tripod mount.
In recent years, there have been advancements in tripod designs, such as quick-release systems with improved stability and ease of use. Additionally, some tripods now come with built-in level indicators and adjustable legs for better stability on uneven surfaces.
Overall, screwing a camera onto a tripod is a straightforward process. Just remember to handle the camera and tripod with care, and ensure that the camera is securely attached before using it.
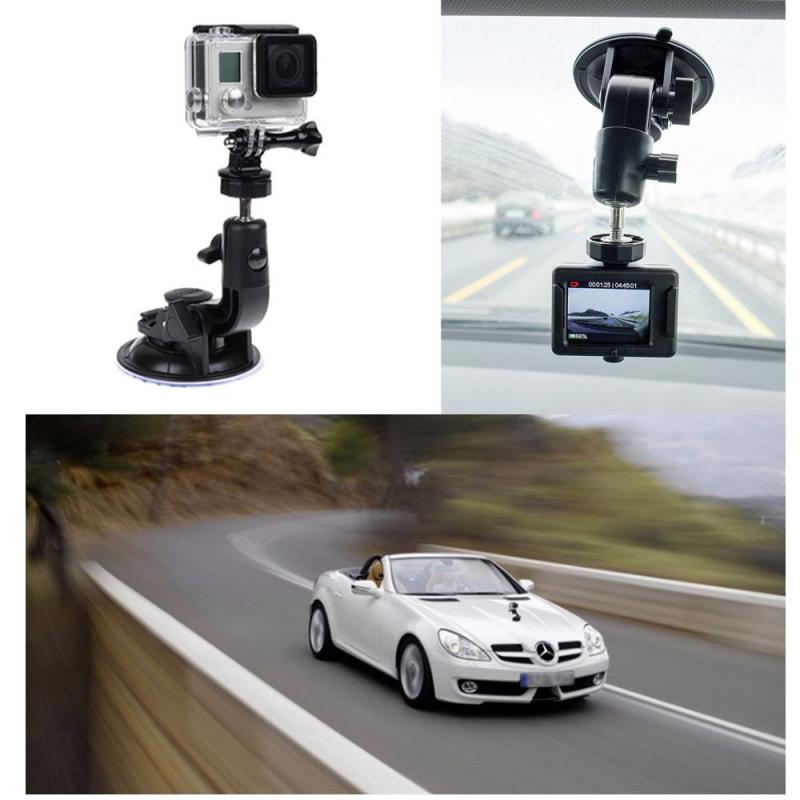
3、 Tightening the camera securely onto the tripod
To screw a camera onto a tripod, follow these steps:
1. Ensure that the tripod is set up on a stable surface. Extend the legs and adjust the height according to your preference.
2. Locate the mounting plate on the tripod head. This plate usually has a screw or a quick-release mechanism.
3. Align the camera's tripod socket with the mounting plate. The socket is usually located on the bottom of the camera.
4. If your tripod has a screw mechanism, rotate the camera clockwise onto the mounting plate until it is securely attached. Make sure it is tightened enough to prevent any wobbling or movement.
5. If your tripod has a quick-release mechanism, slide the mounting plate into the camera's tripod socket until it clicks into place. Some quick-release systems may require you to tighten a lever or knob to secure the camera.
6. Once the camera is attached, check its stability by gently nudging it. If it moves or feels loose, adjust the mounting plate or screw mechanism until it is securely tightened.
It is important to note that different tripods and cameras may have slight variations in their mounting systems. Always refer to the manufacturer's instructions for specific details on how to attach your camera securely.
In recent years, advancements in tripod technology have introduced features like Arca-Swiss compatible quick-release systems. These systems provide a more universal and secure way to attach cameras onto tripods. They offer a wider range of compatibility and often have a stronger grip, reducing the chances of accidental detachment. If your tripod supports this system, consider investing in an Arca-Swiss compatible plate for your camera for added convenience and security.
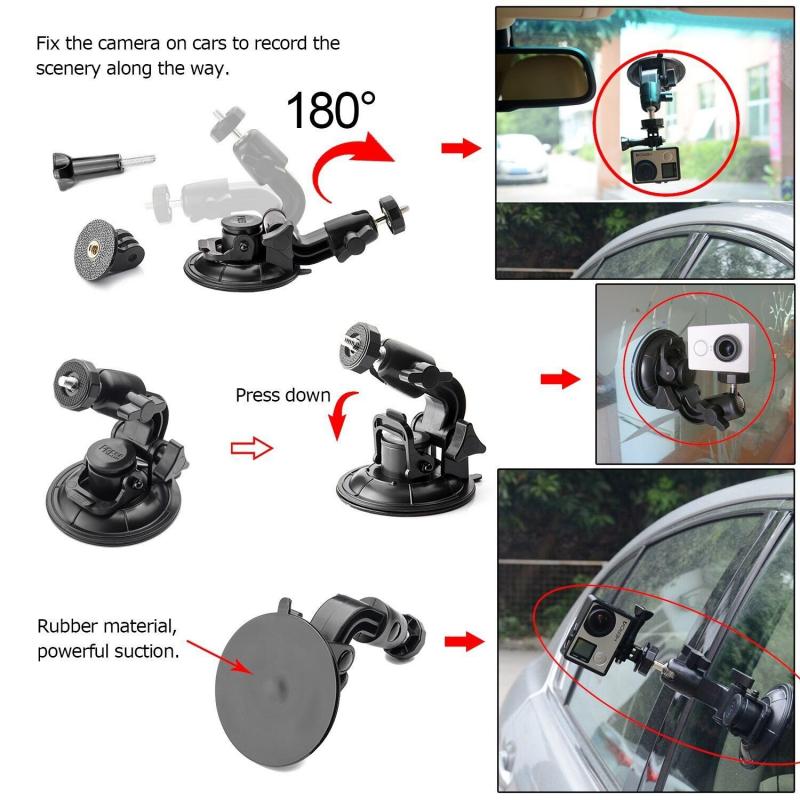
4、 Ensuring stability and balance of the camera on the tripod
Ensuring stability and balance of the camera on the tripod is crucial for capturing steady and clear shots. To screw the camera onto the tripod securely, follow these steps:
1. Choose a compatible tripod: Ensure that the tripod you are using is suitable for your camera's weight and size. Using a tripod that is too small or lightweight for your camera may result in instability and potential damage.
2. Locate the camera mounting plate: Most tripods come with a detachable mounting plate that needs to be attached to the camera. Locate the mounting plate, which is usually a small metal or plastic plate with a screw hole in the center.
3. Align the mounting plate: Position the mounting plate on the bottom of your camera, aligning it with the camera's tripod socket. The tripod socket is typically located on the bottom of the camera body.
4. Screw the mounting plate: Once aligned, use the provided screw or lever to securely attach the mounting plate to the camera. Ensure that it is tightened firmly but not overly tightened, as this may damage the camera or the plate.
5. Attach the camera to the tripod: With the mounting plate securely attached to the camera, locate the tripod head or quick-release mechanism on the tripod. Align the mounting plate with the tripod head and slide it into place. If using a quick-release mechanism, ensure that it locks securely.
6. Test stability and balance: Once the camera is attached to the tripod, check for stability and balance. Adjust the tripod legs and head as needed to ensure the camera is level and secure. Avoid any sudden movements or bumps that may cause the camera to become unbalanced.
In recent years, advancements in tripod technology have introduced features such as quick-release plates and ball heads, which provide faster and more convenient camera attachment. These innovations have made it easier to achieve stability and balance while saving time during setup. Additionally, some tripods now come with built-in levels or bubble indicators, allowing photographers to ensure their camera is perfectly level for precise composition. These features can greatly enhance the overall shooting experience and result in better image quality.
