How To Set The Tripod Stand ?
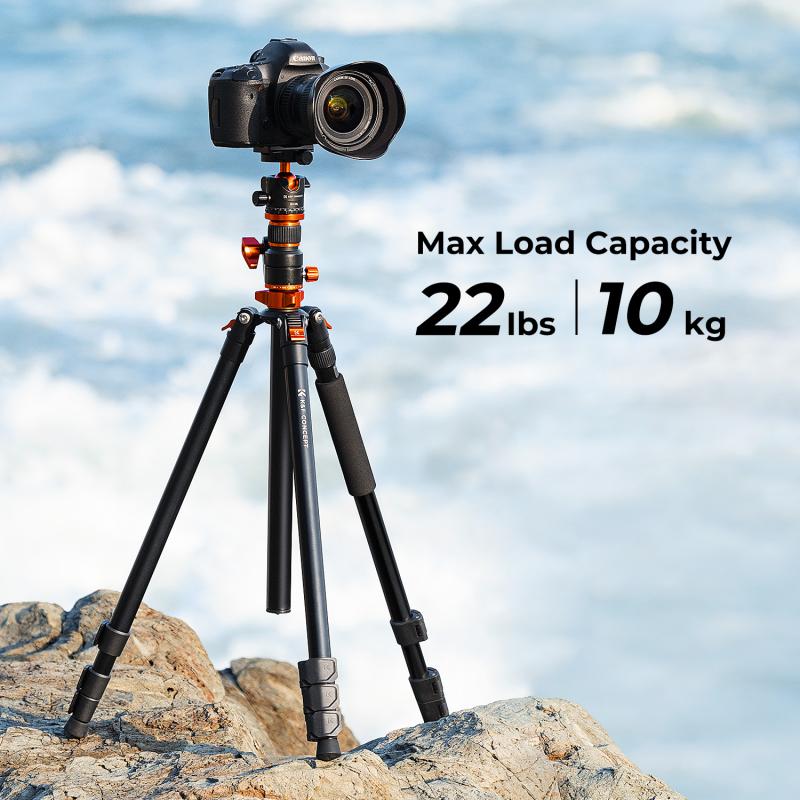
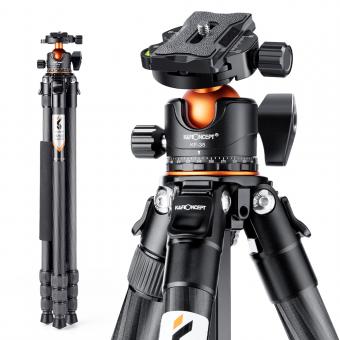
To set up a tripod stand, first, extend the legs of the tripod to the desired height. Then, adjust the angle of the legs to ensure that the tripod is stable on the ground. Next, attach the camera or other equipment to the tripod head, making sure it is securely fastened. Finally, adjust the tripod head to the desired angle and tighten the locking mechanism to hold it in place. It is important to ensure that the tripod is stable and secure before using it to prevent any accidents or damage to the equipment.
1、 Adjusting the tripod legs for stability
How to set the tripod stand is a crucial aspect of photography and videography. A tripod stand provides stability and support to your camera, ensuring that your shots are steady and sharp. Here are the steps to follow when setting up a tripod stand:
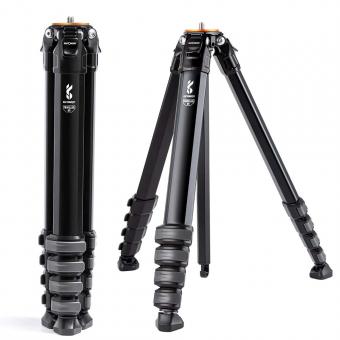
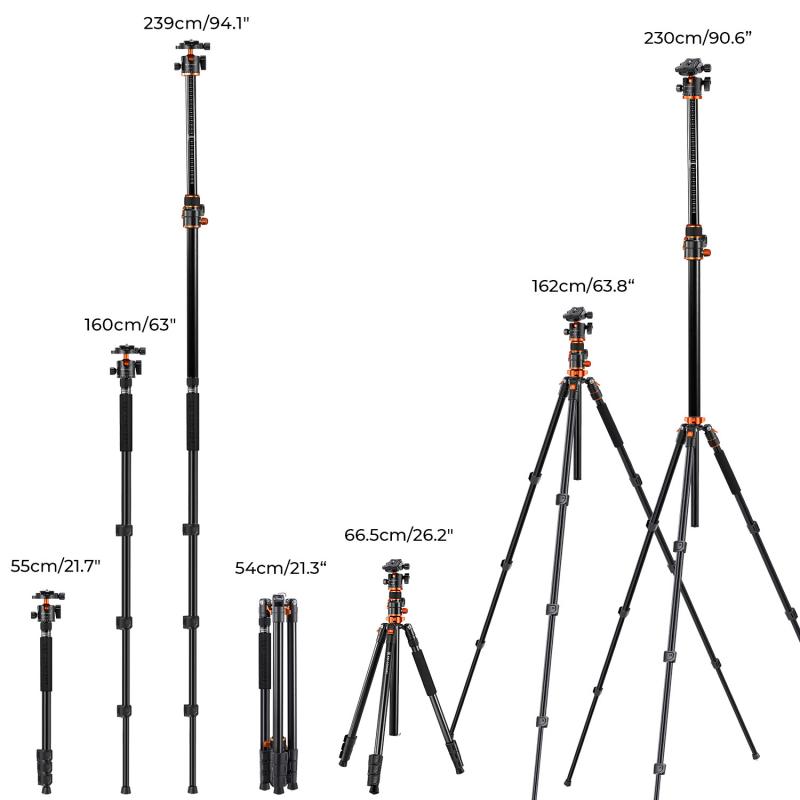
1. Unfold the tripod legs: Start by unfolding the tripod legs and extending them to the desired height. Ensure that the legs are fully extended and locked in place.
2. Adjusting the tripod legs for stability: Once the legs are extended, adjust them for stability. If you're on uneven ground, adjust the length of each leg to ensure that the tripod is level. You can also spread the legs wider for added stability.
3. Attach the camera: Once the tripod is stable, attach your camera to the tripod head. Ensure that the camera is securely attached to the tripod head and that it's level.
4. Adjust the tripod head: Adjust the tripod head to the desired angle and position. You can use the pan and tilt controls to adjust the camera's position.
5. Test the stability: Before you start shooting, test the stability of the tripod. Give it a gentle shake to ensure that it's stable and won't move during your shoot.
In conclusion, setting up a tripod stand is a simple process that requires attention to detail. By following these steps, you can ensure that your camera is stable and your shots are sharp and steady. Additionally, it's important to invest in a high-quality tripod stand that can support the weight of your camera and lens.
2、 Mounting the camera on the tripod head
How to set the tripod stand:
1. Choose a stable surface: Before setting up your tripod, make sure you choose a stable surface to place it on. Avoid placing it on uneven or slippery surfaces.
2. Extend the legs: Extend the legs of the tripod to the desired height. Make sure the legs are locked in place to prevent the tripod from collapsing.
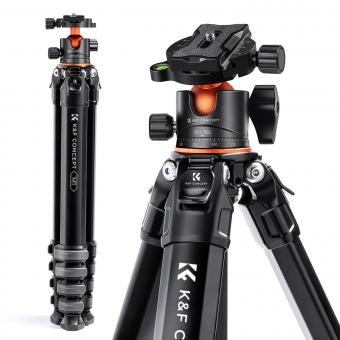
3. Adjust the center column: If your tripod has a center column, adjust it to the desired height. This will allow you to adjust the height of your camera without having to adjust the legs.
4. Level the tripod: Use a bubble level to ensure that your tripod is level. This will prevent your camera from tilting and producing crooked shots.
5. Secure the tripod: Once your tripod is set up, make sure it is secure. Check that all the locks are tightened and the legs are stable.
Mounting the camera on the tripod head:
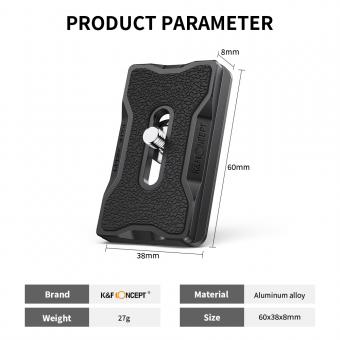
1. Attach the quick release plate: Most tripods come with a quick release plate that attaches to the bottom of your camera. Attach the plate to your camera using the screw provided.
2. Attach the plate to the tripod head: Once the plate is attached to your camera, attach it to the tripod head. Make sure it is securely fastened.
3. Adjust the camera: Adjust the camera on the tripod head to the desired angle and position. Use the tripod head controls to adjust the camera's position.
4. Lock the camera in place: Once the camera is in the desired position, lock it in place using the tripod head controls. This will prevent the camera from moving or tilting.
5. Test the stability: Before taking any shots, test the stability of the camera on the tripod. Make sure it is secure and won't move or tilt during use.
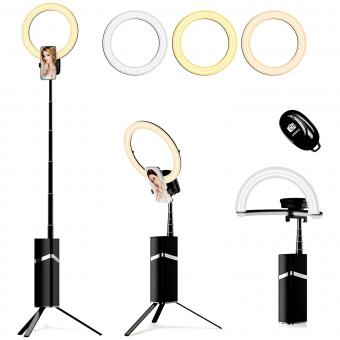
In recent years, some tripods have come equipped with features such as built-in levels, adjustable legs, and lightweight materials. These features make setting up and using a tripod easier and more convenient than ever before. Additionally, some tripods now come with smartphone mounts, allowing you to use your phone as a camera and mount it on the tripod for stable shots.
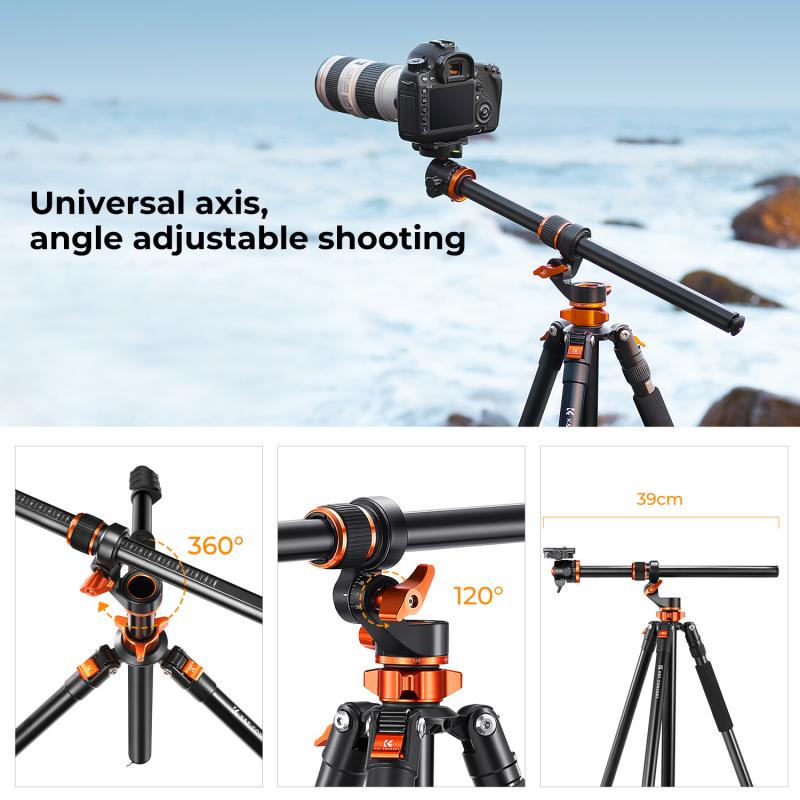
3、 Adjusting the tripod head for the desired angle
Setting up a tripod stand is an essential skill for any photographer or videographer. A tripod stand provides stability and support for your camera or video equipment, allowing you to capture clear and steady shots. Here's how to set up a tripod stand:
1. Extend the legs: Start by extending the legs of the tripod stand. Most tripod stands have three legs that can be adjusted to different heights. Make sure the legs are fully extended and locked in place.
2. Adjust the height: Once the legs are extended, adjust the height of the tripod stand to your desired level. You can do this by adjusting the length of each leg individually.
3. Attach the camera: Once the tripod stand is at the desired height, attach your camera or video equipment to the tripod head. Make sure the camera is securely attached and balanced on the tripod head.
4. Adjust the tripod head: Adjusting the tripod head is the most crucial step in setting up a tripod stand. The tripod head allows you to adjust the angle of your camera or video equipment. You can adjust the tripod head by loosening the locking knob and moving the head to the desired angle. Once you have the desired angle, tighten the locking knob to secure the head in place.
5. Fine-tune the position: Once the tripod head is in place, fine-tune the position of your camera or video equipment. You can do this by adjusting the tripod head or by moving the legs of the tripod stand.
In conclusion, setting up a tripod stand is a simple process that requires a few basic steps. By following these steps, you can ensure that your camera or video equipment is stable and secure, allowing you to capture clear and steady shots. Remember to always adjust the tripod head for the desired angle to get the best results.
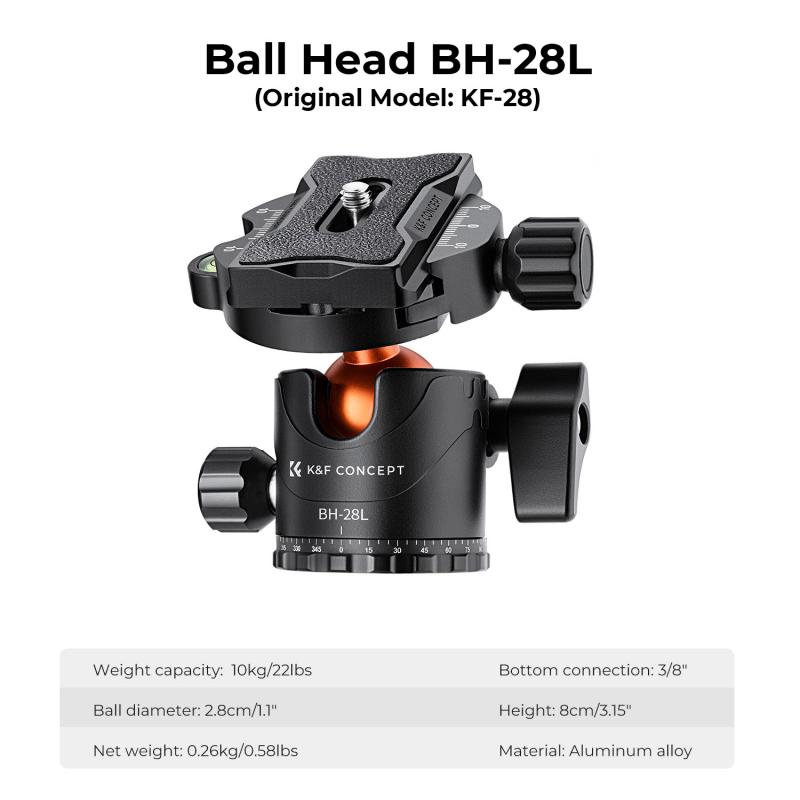
4、 Securing the camera to the tripod head
How to set the tripod stand:
1. Choose a stable surface: Before setting up your tripod, make sure you choose a stable surface to place it on. Avoid placing it on uneven or slippery surfaces.
2. Extend the legs: Extend the legs of the tripod to the desired height. Make sure the legs are evenly spaced and locked in place.
3. Adjust the center column: If your tripod has a center column, adjust it to the desired height. This will allow you to adjust the height of your camera.
4. Level the tripod: Use a bubble level to ensure that your tripod is level. This will prevent your camera from tilting or sliding.
5. Secure the tripod: Once your tripod is level, secure it by tightening the leg locks. This will ensure that your tripod stays in place.
Securing the camera to the tripod head:
1. Attach the quick release plate: Most tripods come with a quick release plate that attaches to the bottom of your camera. Attach the plate to your camera using the screw provided.
2. Attach the plate to the tripod head: Once the plate is attached to your camera, attach it to the tripod head. Make sure it is securely fastened.
3. Adjust the camera: Adjust the camera to the desired position by loosening the tripod head controls. Once you have the camera in the desired position, tighten the controls to secure it in place.
4. Check the stability: Before taking any photos, check the stability of your camera. Make sure it is securely attached to the tripod and won't move or tilt.
In recent years, some tripods have come with built-in levels and quick release mechanisms that make it easier to set up and secure your camera. Additionally, some tripods now have flexible legs that can be adjusted to different angles, allowing for more creative shots.
