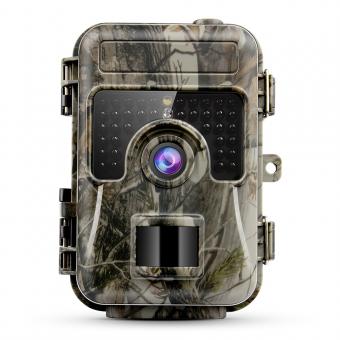
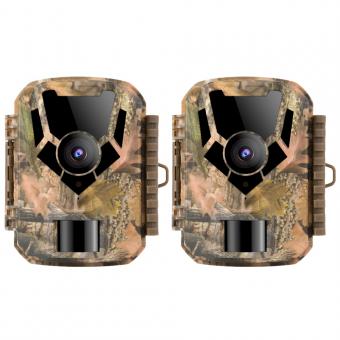
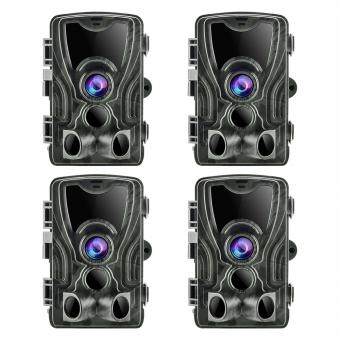
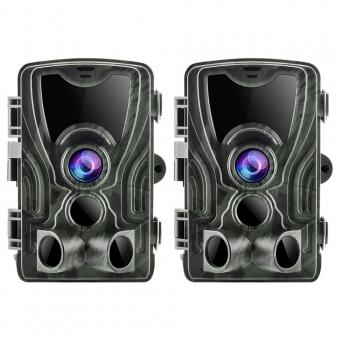
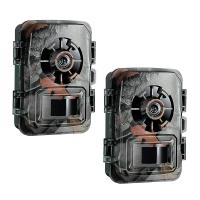
How To Set Trail Camera ?
To set up a trail camera, begin by selecting a suitable location that offers a good vantage point and is likely to capture the desired wildlife activity. Ensure that the camera is securely mounted or attached to a tree or post using straps or mounting brackets. Adjust the camera's settings according to your preferences, such as resolution, photo or video mode, and trigger sensitivity. Insert batteries or connect the camera to a power source if available. Test the camera by taking a few test shots or recording a short video to ensure it is functioning properly. Finally, activate the camera and leave it undisturbed to capture wildlife activity.
1、 Camera Placement: Finding the ideal location for your trail camera.
Camera Placement: Finding the ideal location for your trail camera
Setting up a trail camera is an essential step in capturing wildlife activity in your desired area. To ensure the best results, it is crucial to find the ideal location for your camera. Here are some tips on how to set up your trail camera effectively:
1. Determine your purpose: Before setting up your trail camera, identify the specific wildlife or activity you want to capture. This will help you choose the right location and camera settings.
2. Choose a strategic spot: Look for areas with high wildlife activity, such as game trails, water sources, or feeding areas. These locations increase your chances of capturing interesting footage.
3. Mounting height and angle: Position your camera at a height and angle that captures the desired field of view. Ensure that the camera is mounted securely to avoid any movement or shaking caused by wind or animals.
4. Test the camera: Before leaving your camera unattended, test it to ensure it is functioning correctly. Check the battery life, memory card capacity, and camera settings.
5. Concealment: To avoid detection by wildlife or potential thieves, camouflage your camera with natural materials such as leaves, branches, or moss. This will help it blend into the surroundings and increase its chances of going unnoticed.
6. Regular maintenance: Check your camera periodically to ensure it is still functioning correctly. Replace batteries, clear memory cards, and clean the lens to maintain optimal performance.
7. Respect wildlife: When setting up your trail camera, be mindful of the impact it may have on wildlife. Avoid placing the camera too close to nesting sites or disturbing their natural habitat.
In conclusion, setting up a trail camera requires careful consideration of location, camera settings, and wildlife behavior. By following these tips, you can increase your chances of capturing fascinating footage and gaining valuable insights into the natural world around you.
2、 Camera Settings: Adjusting the necessary settings for optimal performance.
Setting up a trail camera is essential to ensure optimal performance and capture high-quality images or videos. Here's a step-by-step guide on how to set up a trail camera:
1. Choose the right location: Select a spot where wildlife activity is frequent, such as game trails, feeding areas, or water sources. Ensure the camera is hidden and positioned at the right height for the desired field of view.
2. Mount the camera securely: Use a sturdy mounting strap or bracket to attach the camera to a tree or post. Make sure it is stable and won't be easily knocked over or moved by animals or weather conditions.
3. Insert batteries: Check the camera's power requirements and insert the appropriate batteries. It's recommended to use lithium batteries for longer battery life, especially in extreme temperatures.
4. Insert memory card: Most trail cameras use SD cards to store images and videos. Ensure the memory card is compatible with the camera and has enough storage capacity for your needs.
5. Adjust camera settings: Access the camera's menu and adjust the necessary settings for optimal performance. This includes setting the date and time, selecting the desired image or video resolution, adjusting the sensitivity and trigger speed, and choosing the desired mode (photo, video, or time-lapse).
6. Test the camera: Before leaving the camera unattended, test it to ensure it's capturing images or videos correctly. Walk in front of the camera to trigger it and check the resulting images or videos to ensure they meet your expectations.
7. Regularly check and maintain the camera: Visit the camera periodically to check the battery life, memory card capacity, and image quality. Clean the lens and sensor if necessary, and adjust the camera's position if wildlife patterns change.
In recent years, trail cameras have become more advanced, offering features like wireless connectivity, smartphone integration, and advanced motion detection. These features can enhance the user experience and make it easier to monitor wildlife activity remotely. However, the basic principles of setting up a trail camera remain the same. By following these steps and adjusting the necessary settings, you can maximize the performance of your trail camera and capture stunning wildlife moments.
3、 Power Source: Ensuring a reliable power supply for your trail camera.
Power Source: Ensuring a reliable power supply for your trail camera is crucial to ensure uninterrupted surveillance and capture of wildlife activity. Here's how to set up your trail camera's power source effectively.
1. Battery-powered cameras: Most trail cameras operate on batteries, typically AA or C-cell. Ensure you use high-quality, long-lasting batteries to maximize the camera's performance. Lithium batteries are recommended as they have a longer lifespan and perform better in extreme temperatures. Always carry spare batteries and check them regularly to avoid unexpected power failures.
2. Solar-powered cameras: Solar panels are an eco-friendly and cost-effective option for powering your trail camera. These panels convert sunlight into electricity, which charges the camera's internal battery. Ensure the solar panel is positioned in an area that receives ample sunlight throughout the day. Regularly clean the panel to remove any dirt or debris that may obstruct sunlight.
3. External power sources: Some trail cameras allow for external power sources, such as rechargeable battery packs or external battery boxes. These options provide extended power supply, reducing the need for frequent battery changes. Ensure the external power source is compatible with your camera model and follow the manufacturer's instructions for proper installation.
4. Power-saving settings: To conserve battery life, adjust your camera's power-saving settings. Enable features like motion detection or time-lapse mode to capture only relevant footage. Set the camera to sleep mode during inactive hours or reduce the number of photos taken per trigger. These settings can significantly extend battery life.
5. Regular maintenance: Check your camera's power source regularly to ensure it is functioning correctly. Inspect battery terminals for corrosion or damage and clean them if necessary. Replace batteries or recharge external power sources as needed. Regularly review the camera's power consumption and adjust settings accordingly.
In recent years, advancements in technology have led to the development of trail cameras with built-in rechargeable batteries and even Wi-Fi connectivity. These options provide more convenience and flexibility in terms of power supply. However, it is essential to consider the specific requirements of your trail camera model and choose the power source that best suits your needs.
Remember, a reliable power source is essential for uninterrupted surveillance, so take the time to set up your trail camera's power supply correctly.

4、 Memory Management: Managing storage space and organizing captured images.
To set up a trail camera, follow these steps:
1. Choose the right location: Select an area where wildlife activity is high, such as game trails, feeding areas, or water sources. Ensure the camera is mounted securely and at the right height for optimal image capture.
2. Insert batteries and memory card: Most trail cameras require batteries for power. Ensure they are fully charged or replace them with new ones. Insert a memory card with sufficient storage capacity to capture and store images.
3. Adjust camera settings: Use the camera's menu system to set the desired resolution, image quality, and capture mode (e.g., photo or video). Adjust the sensitivity and trigger speed to ensure accurate detection and capture of wildlife.
4. Test the camera: Before leaving, test the camera to ensure it is functioning correctly. Walk in front of the camera's detection zone to check if it captures images or videos as expected.
Memory Management:
Managing storage space and organizing captured images is crucial for trail camera users. As trail cameras capture numerous images and videos over time, it is essential to effectively manage the storage space and organize the captured data. Here are some tips:
1. Regularly check and clear the memory card: Periodically review the images and videos stored on the memory card. Delete any unwanted or repetitive files to free up space for new captures.
2. Use larger capacity memory cards: Invest in memory cards with larger storage capacities to accommodate more images and videos. This reduces the frequency of having to clear the card.
3. Organize files by date or location: Create folders on the memory card to organize the captured images and videos. Sort them by date or location to easily locate specific footage later.
4. Backup important files: To prevent data loss, regularly transfer important images and videos to a computer or external hard drive. This ensures that even if the memory card gets damaged or lost, the valuable data is still preserved.
By following these steps and implementing effective memory management techniques, trail camera users can maximize their storage space and easily access and organize their captured images and videos.


