How To Set Tripod For Cooking Videos ?
To set up a tripod for cooking videos, first, choose a location in your kitchen that has good lighting and a clear view of your cooking area. Then, adjust the height of the tripod so that it is at a comfortable level for filming. Make sure the tripod is stable and secure, and adjust the legs as needed to ensure it is level.
Next, attach your camera or smartphone to the tripod and adjust the angle so that it captures the entire cooking area. You may need to adjust the zoom or focus to get the best shot.
Finally, test the setup by filming a short clip and reviewing it to make sure the lighting and angle are good. Make any necessary adjustments before starting to film your cooking video.
1、 Tripod height and placement
How to set tripod for cooking videos? The tripod height and placement are crucial factors to consider when setting up your tripod for cooking videos. The ideal height for your tripod will depend on your shooting style and the type of shots you want to capture. Generally, a height of around 3-4 feet is recommended for cooking videos, as this allows you to capture the cooking process from a comfortable angle without getting in the way.
When it comes to placement, it's important to position your tripod in a stable and secure location. This will help prevent any accidental knocks or bumps that could ruin your shot. You should also consider the lighting in your kitchen and position your tripod accordingly. For example, if you're shooting near a window, you may need to adjust the placement of your tripod to avoid any glare or shadows.
In addition to tripod height and placement, there are a few other things to keep in mind when shooting cooking videos. For example, you may want to invest in a good quality microphone to capture clear audio, and consider using a second camera angle to add variety to your shots.
Overall, setting up your tripod for cooking videos requires careful consideration of a range of factors, from height and placement to lighting and audio. With a little practice and experimentation, you can find the perfect setup for your cooking videos and create engaging and informative content that your viewers will love.
2、 Stability and weight distribution
How to set up a tripod for cooking videos? The answer lies in two key factors: stability and weight distribution.
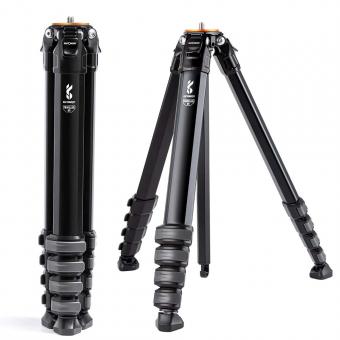
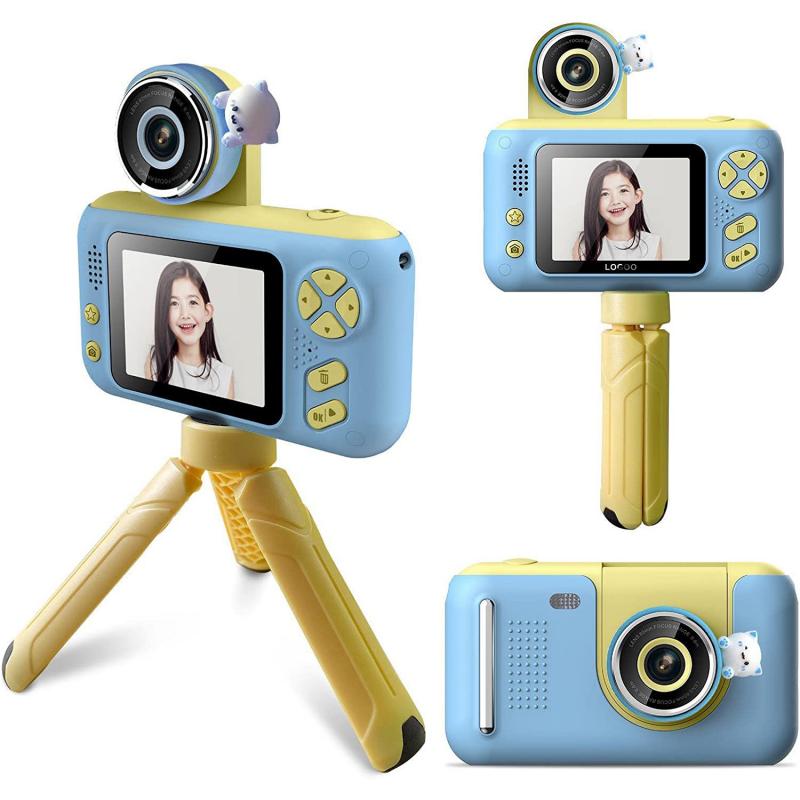
Firstly, stability is crucial when setting up a tripod for cooking videos. You want to ensure that your tripod is sturdy and won't wobble or tip over during filming. Look for a tripod with adjustable legs that can be locked into place, and make sure the feet are firmly planted on a level surface. If you're filming on a countertop, consider using a tabletop tripod or a mini tripod that can be placed directly on the surface.
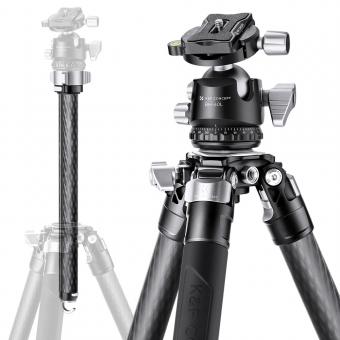
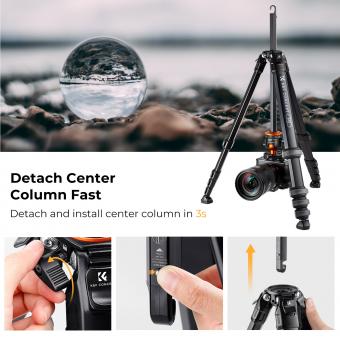
Secondly, weight distribution is important to ensure that your camera stays balanced and doesn't tip over. Make sure that the weight of your camera is evenly distributed on the tripod head, and adjust the tripod's center column if necessary to achieve balance. If you're using a heavier camera or lens, consider using a tripod with a higher weight capacity.
In addition to these key factors, it's also important to consider the height and angle of your tripod. For cooking videos, you may want to position the camera at a slightly higher angle to capture the entire cooking surface. Experiment with different heights and angles to find the best setup for your specific needs.
Overall, setting up a tripod for cooking videos requires attention to detail and a focus on stability and weight distribution. By following these tips, you can ensure that your camera stays steady and captures high-quality footage of your culinary creations.
3、 Camera angle and framing
How to set up a tripod for cooking videos is an important aspect to consider when creating content for your audience. The first thing to consider is the camera angle and framing. You want to make sure that the camera is positioned at a height that allows for a clear view of the cooking process. This can be achieved by setting up the tripod at a height that is comfortable for you to work with.
Another important factor to consider is the distance between the camera and the cooking area. You want to make sure that the camera is close enough to capture all the details of the cooking process, but not so close that it obstructs your movements. A good rule of thumb is to position the camera about 3-4 feet away from the cooking area.
In addition to camera angle and framing, it's also important to consider lighting. Natural light is always the best option, but if that's not possible, you can use artificial lighting to create a well-lit environment. Make sure that the lighting is positioned in a way that doesn't cast shadows on the cooking area.
Lastly, it's important to consider the latest point of view when setting up your tripod for cooking videos. With the rise of social media platforms like TikTok and Instagram Reels, vertical video has become increasingly popular. Consider filming your cooking videos in a vertical format to cater to this trend and reach a wider audience.
In conclusion, setting up a tripod for cooking videos requires careful consideration of camera angle and framing, distance, lighting, and the latest point of view. By taking these factors into account, you can create engaging and visually appealing content for your audience.
4、 Lighting and exposure
How to set tripod for cooking videos:
Setting up a tripod for cooking videos is essential to ensure that your footage is stable and professional-looking. Here are some steps to follow:
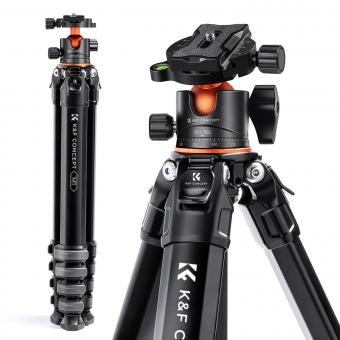
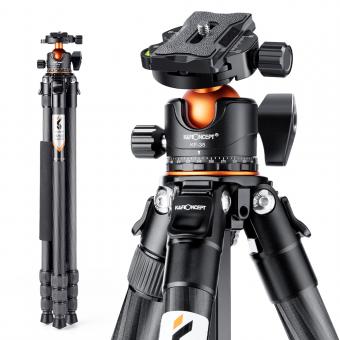
1. Choose the right tripod: Look for a tripod that is sturdy and can support the weight of your camera. A tripod with adjustable legs and a ball head will allow you to position your camera at the perfect angle.
2. Position the tripod: Place the tripod in a stable location, away from any potential hazards. Make sure the legs are fully extended and locked in place.
3. Adjust the height: Adjust the height of the tripod so that the camera is at the same level as your cooking surface. This will give your viewers a clear view of what you are doing.
4. Set up the camera: Attach your camera to the tripod and adjust the angle and framing. Make sure the camera is level and pointing directly at the cooking surface.
5. Test the stability: Give the tripod a gentle shake to make sure it is stable and won't wobble during filming.
In addition to setting up the tripod, lighting and exposure are also important factors to consider when shooting cooking videos. Good lighting will make your food look more appetizing and help your viewers see what you are doing. Consider using natural light or investing in a lighting kit to ensure your footage is well-lit. Adjusting the exposure on your camera can also help to balance the light and dark areas of your shot. Experiment with different settings to find the best exposure for your setup.


