How To Set Up Gopro Tripod ?
To set up a GoPro tripod, follow these steps:
1. Attach the GoPro mount to the tripod head by screwing it in place.
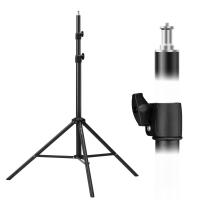
2. Extend the tripod legs to the desired height and lock them in place.
3. Attach the GoPro camera to the mount by sliding it in and tightening the screw.
4. Adjust the angle of the camera by loosening the mount and tilting it up or down.
5. Use the tripod's pan and tilt controls to adjust the camera's position and framing.
6. Once you have the camera in the desired position, tighten all screws and locks to secure it in place.
It's important to make sure the tripod is stable and secure before attaching the camera to prevent it from falling or tipping over. Always check the weight capacity of the tripod to ensure it can support the weight of your camera and any additional accessories.
1、 Choosing the right tripod for your GoPro
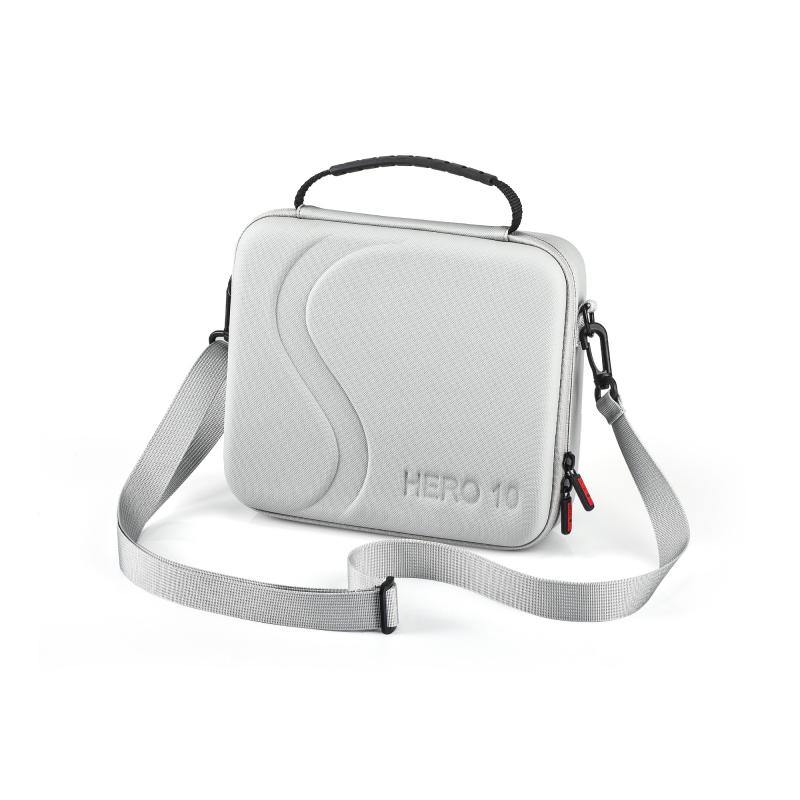
Choosing the right tripod for your GoPro is essential to ensure that you capture the best footage possible. There are a few things to consider when selecting a tripod, such as the weight of your camera, the type of terrain you will be filming on, and the height you need to achieve. Some popular options for GoPro tripods include the Joby GorillaPod, the Manfrotto PIXI Mini Tripod, and the GoPro Shorty.
Once you have selected your tripod, setting it up is a straightforward process. First, attach the GoPro mount to the tripod's head. Then, attach your GoPro to the mount, making sure it is secure. Adjust the tripod's legs to the desired height and angle, and you're ready to start filming.
It's important to note that some tripods may require additional accessories, such as an adapter or extension arm, to properly mount your GoPro. Be sure to check the manufacturer's instructions or consult with a professional if you are unsure.
In addition to traditional tripods, there are also alternative options such as handheld gimbals or stabilizers that can provide smoother footage while on the move. Ultimately, the best tripod for your GoPro will depend on your specific needs and preferences.
2、 Attaching the GoPro mount to the tripod
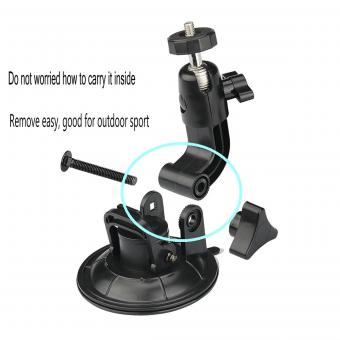
To set up a GoPro tripod, the first step is to attach the GoPro mount to the tripod. This can be done by screwing the mount onto the tripod's screw thread. Once the mount is securely attached, the GoPro camera can be mounted onto the mount.
It is important to ensure that the mount is securely attached to the tripod to prevent any accidents or damage to the camera. It is also recommended to check the stability of the tripod before mounting the camera to ensure that it is safe to use.
In addition to attaching the mount to the tripod, it is also important to adjust the tripod legs to the desired height and angle. This will depend on the type of shot that is being taken and the environment in which the camera is being used.
Overall, setting up a GoPro tripod is a simple process that can be done quickly and easily. With the right equipment and a little bit of practice, anyone can capture amazing footage with their GoPro camera.
3、 Adjusting the tripod legs and height
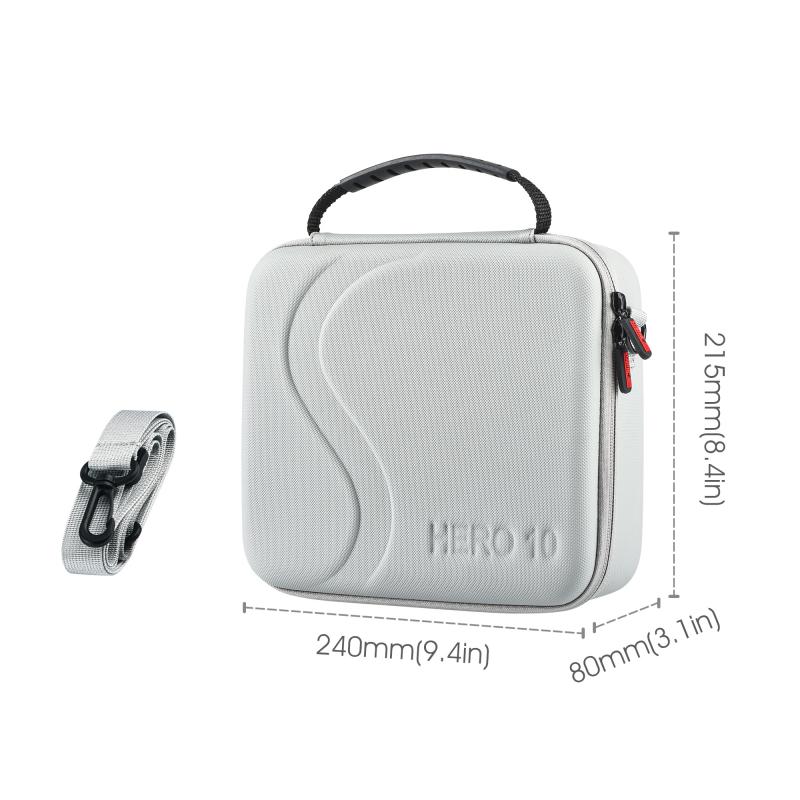
How to set up GoPro tripod? Setting up a GoPro tripod is a simple process that can be done in a few easy steps. The first step is to unfold the tripod legs and adjust them to the desired height. This can be done by loosening the leg locks and extending the legs to the desired length. Once the legs are extended, tighten the leg locks to secure them in place.
Adjusting the tripod legs and height is an important step in setting up a GoPro tripod. It is important to ensure that the tripod is stable and level to prevent any camera shake or movement during filming. The legs should be adjusted to the appropriate height for the shot you want to capture. If you are filming a low angle shot, the legs should be extended to their lowest height. If you are filming a high angle shot, the legs should be extended to their maximum height.
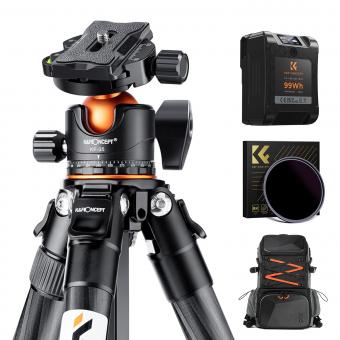
The latest point of view when setting up a GoPro tripod is to use a tripod with adjustable legs and a ball head. This allows for greater flexibility in positioning the camera and capturing different angles. Additionally, it is important to use a tripod with a weight capacity that can support the weight of your GoPro and any additional accessories you may be using.
In conclusion, setting up a GoPro tripod is a simple process that can be done in a few easy steps. Adjusting the tripod legs and height is an important step in ensuring that the tripod is stable and level. Using a tripod with adjustable legs and a ball head can provide greater flexibility in positioning the camera and capturing different angles.
4、 Securing the GoPro onto the mount
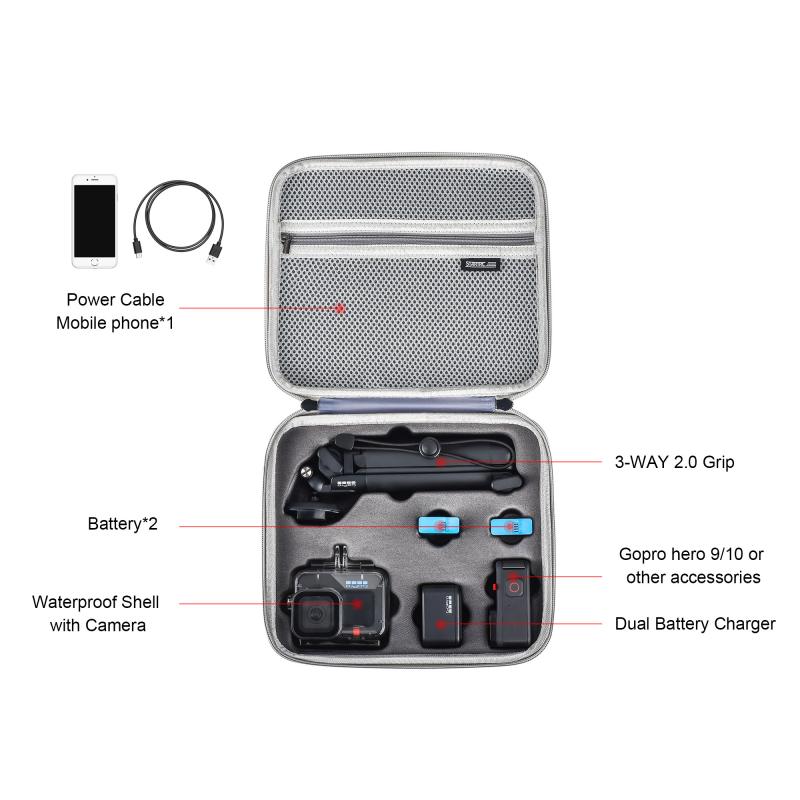
Securing the GoPro onto the mount is an essential step in setting up a GoPro tripod. To do this, you will need to have a compatible mount for your GoPro camera. Most GoPro cameras come with a basic mount, but there are also many third-party mounts available that offer additional features and functionality.
To secure the GoPro onto the mount, start by attaching the mount to the tripod. Make sure that the mount is securely fastened to the tripod and that it is level. Next, attach the GoPro camera to the mount. Depending on the type of mount you are using, this may involve screwing the camera onto the mount or simply snapping it into place.
Once the camera is attached to the mount, make sure that it is securely fastened. Give it a gentle tug to ensure that it is not going to come loose during use. If you are using a third-party mount, be sure to follow the manufacturer's instructions for attaching the camera to the mount.
In addition to securing the camera onto the mount, it is also important to ensure that the camera is level. Most tripods come with a built-in level, but if yours does not, you can use a small bubble level to ensure that the camera is straight.
Overall, securing the GoPro onto the mount is a simple process that can be completed in just a few minutes. By taking the time to ensure that the camera is securely fastened and level, you can capture high-quality footage without any worries.










There are no comments for this blog.