How To Set Up Home Eye Camera ?
To set up a home eye camera, you will need to follow these steps:
1. Choose a camera: Select a camera that suits your needs and budget. There are many options available in the market, ranging from basic to advanced features.
2. Install the camera: Once you have chosen a camera, install it in the desired location. Make sure it is placed at a height that provides a clear view of the area you want to monitor.
3. Connect the camera to the internet: Most cameras require an internet connection to function. Connect the camera to your home Wi-Fi network and follow the manufacturer's instructions to set it up.
4. Download the app: Download the app that corresponds to your camera model. This app will allow you to view the camera feed and control the camera settings.
5. Configure the camera settings: Use the app to configure the camera settings, such as motion detection, recording schedules, and alerts.
6. Test the camera: Once you have completed the setup, test the camera to ensure it is working correctly. You can do this by viewing the camera feed on the app or by checking the recorded footage.
By following these steps, you can set up a home eye camera and monitor your home remotely.
1、 Camera selection and placement
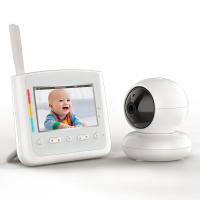
Camera selection and placement are crucial when setting up a home eye camera. First, choose a camera that has high-quality video resolution and night vision capabilities. This will ensure that you can see clearly even in low light conditions. Additionally, consider a camera with motion detection and two-way audio so that you can communicate with anyone in the room.
When it comes to placement, consider the areas you want to monitor. For example, if you want to keep an eye on your front door, place the camera above the door frame facing downwards. If you want to monitor a room, place the camera in a corner facing the center of the room. It's also important to ensure that the camera is out of reach and not easily accessible to intruders.
With the latest advancements in technology, many home eye cameras now come with smart features such as facial recognition and integration with smart home devices. This allows for more personalized and convenient monitoring options.
Overall, setting up a home eye camera requires careful consideration of camera selection and placement. By choosing the right camera and strategically placing it in the right location, you can ensure that your home is monitored effectively and efficiently.

2、 Network setup and configuration
How to set up home eye camera:
1. Choose a camera: There are many home eye cameras available in the market. Choose one that suits your needs and budget.
2. Install the camera: Follow the manufacturer's instructions to install the camera. Most cameras can be mounted on a wall or placed on a flat surface.
3. Connect the camera to your network: Most home eye cameras connect to your home Wi-Fi network. Follow the manufacturer's instructions to connect the camera to your network.
4. Configure the camera: Once the camera is connected to your network, you need to configure it. This includes setting up the camera's settings, such as motion detection, recording schedules, and alerts.
5. Test the camera: Once the camera is configured, test it to make sure it is working properly. Check the camera's live feed and make sure it is clear and stable.
Network setup and configuration:
Setting up a home eye camera requires a network setup and configuration. This includes connecting the camera to your home Wi-Fi network and configuring the camera's settings. It is important to ensure that your network is secure and that the camera is protected from unauthorized access. You can do this by setting up a strong password for your Wi-Fi network and the camera's login credentials. Additionally, you can enable two-factor authentication for added security. It is also important to keep the camera's firmware up to date to ensure that it is protected against any security vulnerabilities. Finally, make sure that you have a reliable internet connection to ensure that the camera's live feed is stable and clear.
3、 Power source and backup options
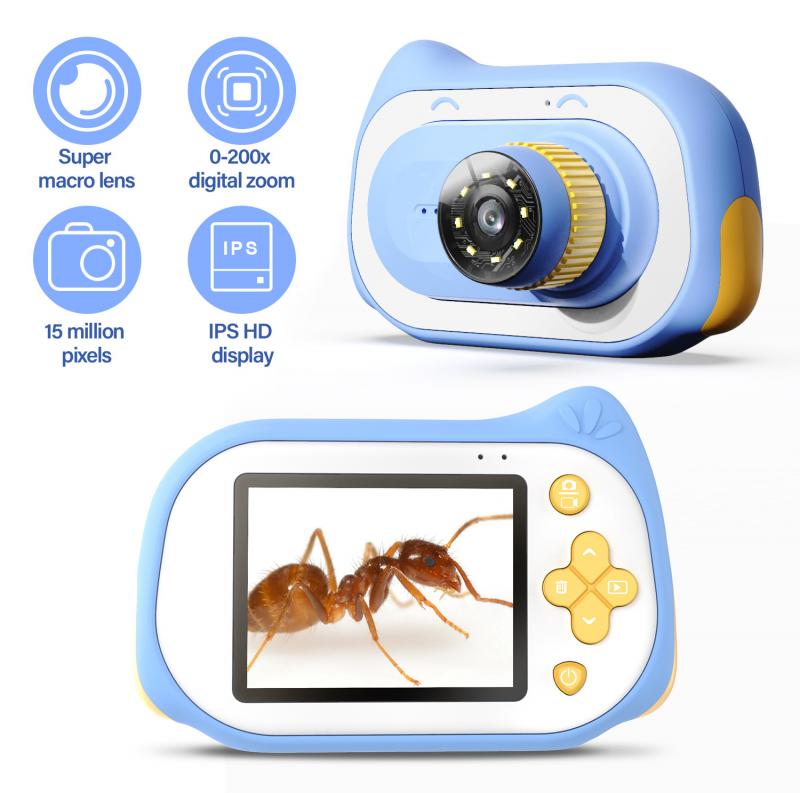
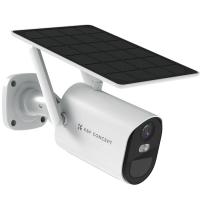
Power source and backup options are crucial considerations when setting up a home eye camera. The camera needs a reliable power source to function properly and continuously. The most common power source for home eye cameras is a power outlet. However, it is important to ensure that the camera is not placed too far from the outlet, as this can cause issues with the power supply.
Another option for powering a home eye camera is through a USB cable connected to a computer or laptop. This option is ideal for those who want to monitor their home while they are away and have access to a computer or laptop with an internet connection.
In terms of backup options, it is important to have a backup power source in case of a power outage. This can be achieved through the use of a battery backup or a generator. A battery backup is a good option for those who want to ensure that their home eye camera continues to function even during a power outage. A generator is a more expensive option but provides a more reliable backup power source.
It is also important to consider the type of camera being used and its power requirements. Some cameras may require more power than others, so it is important to check the manufacturer's specifications before purchasing a camera.
In conclusion, when setting up a home eye camera, it is important to consider the power source and backup options. A reliable power source and backup option will ensure that the camera functions properly and continuously, providing peace of mind to homeowners.
4、 Recording and storage options
How to set up home eye camera:
1. Choose a camera: There are many options available in the market, ranging from basic to advanced features. Choose a camera that suits your needs and budget.
2. Install the camera: Follow the manufacturer's instructions to install the camera. Most cameras can be mounted on a wall or placed on a flat surface.
3. Connect to Wi-Fi: Connect the camera to your home Wi-Fi network. This will allow you to access the camera remotely and view the footage on your smartphone or computer.
4. Set up the app: Download the app provided by the camera manufacturer and follow the instructions to set it up. This will allow you to view the footage and control the camera remotely.
5. Adjust the settings: Adjust the camera settings to suit your needs. You can set up motion detection, adjust the sensitivity of the camera, and set up alerts to notify you when motion is detected.
Recording and storage options:
Most home eye cameras come with built-in storage options, such as a microSD card or cloud storage. You can choose to record footage continuously or only when motion is detected. Some cameras also offer the option to store footage locally on a hard drive or NAS (network-attached storage) device.
The latest point of view is that many home eye cameras now offer advanced features such as facial recognition, two-way audio, and night vision. Some cameras also offer integration with smart home devices, such as Amazon Alexa or Google Assistant, allowing you to control the camera with your voice. Additionally, many cameras now offer encryption and secure cloud storage options to protect your privacy and data.












There are no comments for this blog.