How To Set Up Home Surveillance Cameras ?
To set up home surveillance cameras, first, determine the areas you want to monitor and choose the appropriate cameras for each location. Next, decide on the type of recording device you want to use, such as a digital video recorder (DVR) or a network video recorder (NVR). Then, install the cameras in the desired locations and connect them to the recording device. Make sure to test the cameras and adjust their angles for optimal coverage. Finally, set up remote access to view the footage from your cameras on your smartphone or computer. It is also important to consider privacy laws and regulations when setting up surveillance cameras in your home.
1、 Camera Placement

Camera Placement is a crucial aspect of setting up home surveillance cameras. The placement of cameras can determine the effectiveness of the surveillance system. The first step is to identify the areas that need to be monitored. This could include entry points, driveways, and backyards. Once the areas have been identified, the next step is to determine the best location for the cameras.
The latest point of view is to place cameras at eye level or higher. This ensures that the camera captures the face of the intruder, making it easier to identify them. Additionally, cameras should be placed in areas that are difficult to access or tamper with. This could include high up on a wall or in a corner.
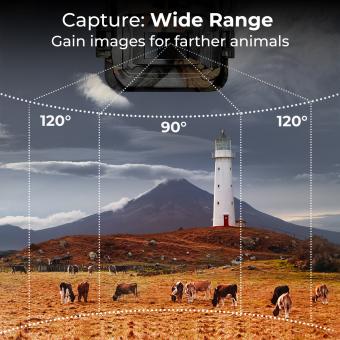
It is also important to consider the field of view of the camera. Cameras with a wide-angle lens can capture a larger area, reducing the number of cameras needed. However, it is important to ensure that the camera is not obstructed by any objects or walls.
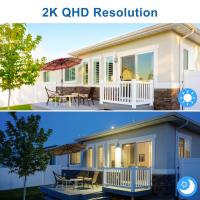
Another important factor to consider is lighting. Cameras should be placed in areas with adequate lighting to ensure that the footage is clear and usable. If the area is poorly lit, it may be necessary to install additional lighting.
In conclusion, Camera Placement is a critical aspect of setting up home surveillance cameras. By identifying the areas that need to be monitored, placing cameras at eye level or higher, considering the field of view, and ensuring adequate lighting, homeowners can ensure that their surveillance system is effective in deterring intruders and protecting their property.
2、 Camera Types
How to set up home surveillance cameras:
1. Determine your needs: Before purchasing any cameras, determine what areas of your home you want to monitor and what features you need in a camera. Do you need night vision? Motion detection? Remote access?
2. Choose camera types: There are several types of cameras to choose from, including wired, wireless, indoor, outdoor, and hidden cameras. Wired cameras require a physical connection to a recording device, while wireless cameras transmit footage over Wi-Fi. Indoor cameras are designed for use inside the home, while outdoor cameras are weatherproof and can withstand harsh conditions. Hidden cameras are designed to be discreet and can be disguised as everyday objects.
3. Install the cameras: Once you have chosen your cameras, it's time to install them. Follow the manufacturer's instructions carefully, and make sure the cameras are positioned in the areas you want to monitor.
4. Set up a recording device: To record footage from your cameras, you will need a recording device. This can be a DVR or NVR, or you can use cloud storage. Make sure the recording device is compatible with your cameras.
5. Monitor your cameras: Once your cameras are set up and recording, you can monitor them from your smartphone or computer. Many cameras come with apps that allow you to view footage remotely, so you can keep an eye on your home even when you're away.
The latest point of view on home surveillance cameras is that they are becoming increasingly popular as a way to deter crime and keep homes safe. With advances in technology, cameras are becoming more affordable and easier to install, making them accessible to more homeowners. However, it's important to remember that surveillance cameras can also raise privacy concerns, so it's important to use them responsibly and respect your neighbors' privacy.
3、 Recording and Storage
Recording and Storage is an essential aspect of setting up home surveillance cameras. It is crucial to ensure that the cameras are recording and storing the footage correctly to provide evidence in case of any incidents. Here are some steps to follow when setting up recording and storage for your home surveillance cameras.
First, choose the right type of camera that suits your needs. There are wired and wireless cameras, and each has its advantages and disadvantages. Wired cameras are more reliable and offer better video quality, but they require professional installation. Wireless cameras are easy to install and can be placed anywhere, but they may have connectivity issues.
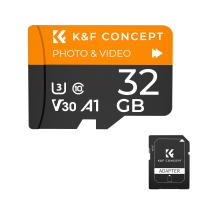
Next, choose a recording device. You can use a digital video recorder (DVR) or a network video recorder (NVR). A DVR is suitable for analog cameras, while an NVR is suitable for IP cameras. Both devices allow you to record and store footage from multiple cameras.
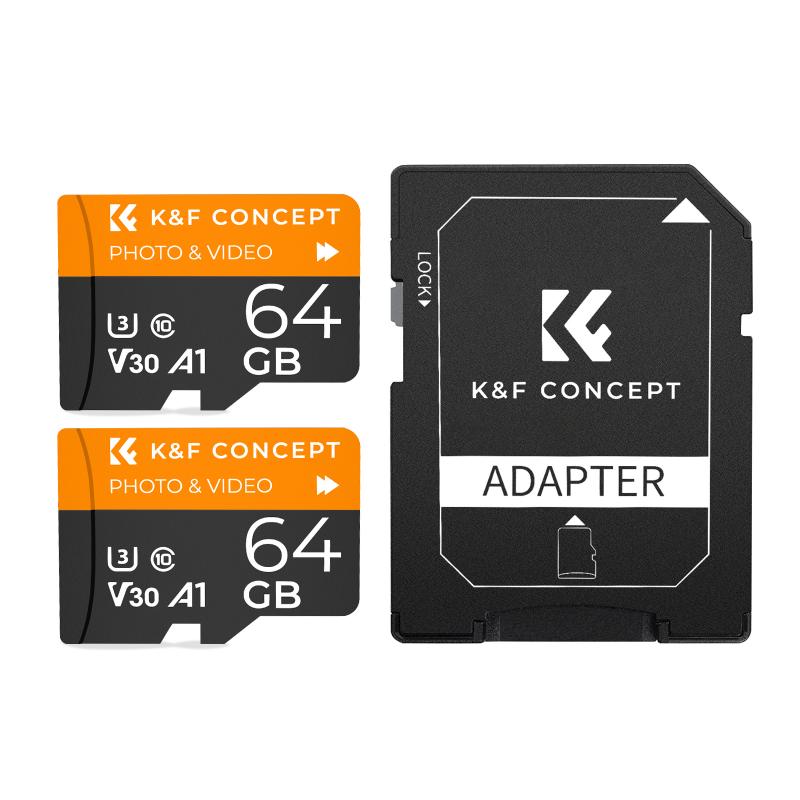
Ensure that you have enough storage space for your recordings. You can use a hard drive or cloud storage to store your footage. Hard drives are more reliable, but they can fail, and you may lose your recordings. Cloud storage is more convenient, but it can be expensive.
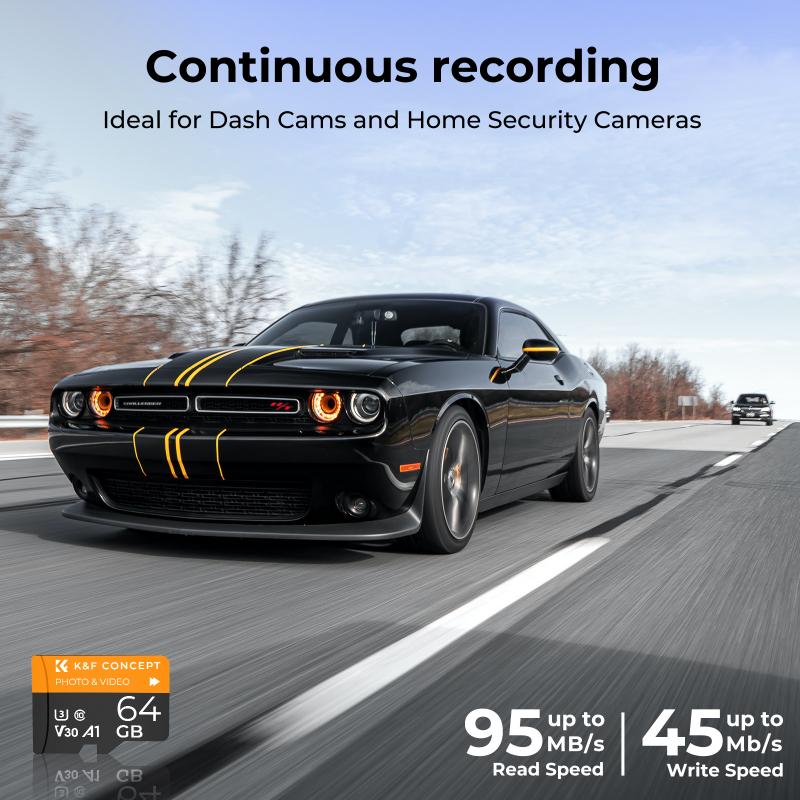
Finally, set up your cameras to record continuously or on motion detection. Continuous recording provides a complete record of events, while motion detection saves storage space and only records when there is movement.
In conclusion, recording and storage are crucial aspects of setting up home surveillance cameras. By following these steps, you can ensure that your cameras are recording and storing footage correctly, providing you with evidence in case of any incidents.
4、 Remote Access
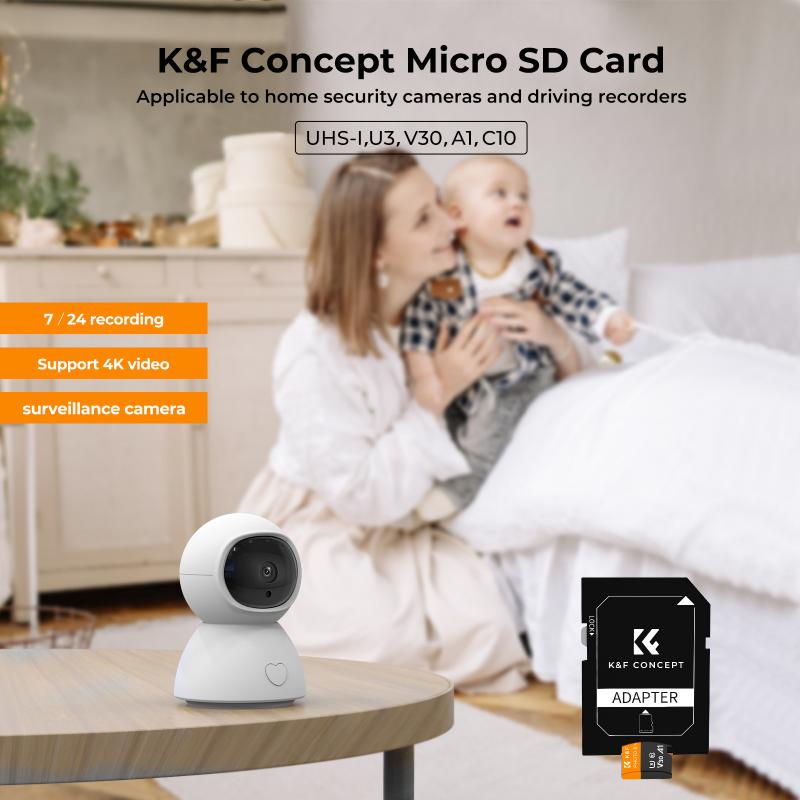
Remote Access is an essential feature of home surveillance cameras that allows you to monitor your home from anywhere in the world. To set up home surveillance cameras with remote access, follow these steps:
1. Choose the right camera: Select a camera that suits your needs and budget. There are many options available in the market, ranging from basic to advanced features.
2. Install the camera: Follow the manufacturer's instructions to install the camera in the desired location. Make sure the camera is connected to a power source and the internet.
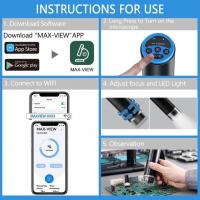
3. Set up remote access: Download the camera's app on your smartphone or tablet and create an account. Follow the instructions to connect the camera to your account and enable remote access.
4. Configure the settings: Customize the camera's settings according to your preferences. You can adjust the motion detection sensitivity, set up alerts, and schedule recording times.
5. Test the camera: Once you have set up the camera and remote access, test it to ensure it is working correctly. Check the live feed and playback recordings to make sure everything is functioning correctly.
The latest point of view on remote access is that it has become an essential feature for home surveillance cameras. With the rise of smart homes and the internet of things, remote access allows homeowners to monitor their homes from anywhere in the world. It provides peace of mind and enhances home security. Additionally, many cameras now offer advanced features such as facial recognition, two-way audio, and cloud storage, making them even more convenient and effective.

