How To Set Up Outdoor Wifi Camera ?
To set up an outdoor WiFi camera, follow these steps:
1. Choose a location: Select a location for your camera that provides a clear view of the area you want to monitor.
2. Install the camera: Mount the camera on a wall or other surface using the included hardware.
3. Connect the camera to power: Plug the camera into an electrical outlet or use a battery pack if available.
4. Connect the camera to WiFi: Follow the manufacturer's instructions to connect the camera to your WiFi network.
5. Configure the camera: Use the manufacturer's app or web interface to configure the camera settings, such as motion detection, recording schedules, and alerts.
6. Test the camera: Verify that the camera is working properly by viewing the live feed and testing the motion detection and alerts.
7. Secure the camera: Change the default login credentials and enable any security features provided by the manufacturer to protect your camera from unauthorized access.
8. Maintain the camera: Regularly check the camera for updates and perform any necessary maintenance, such as cleaning the lens or replacing the battery.
1、 Camera Placement
Camera Placement is a crucial aspect of setting up an outdoor WiFi camera. The camera should be placed in a location that provides a clear view of the area you want to monitor. It should also be placed in a location that is not easily accessible to potential thieves or vandals. The camera should be mounted at a height that provides a clear view of the area, but not so high that it is difficult to access for maintenance or adjustments.
When setting up an outdoor WiFi camera, it is important to consider the range of the camera's WiFi signal. The camera should be placed within range of your WiFi network to ensure a stable connection. If the camera is too far away from your WiFi network, the signal may be weak or unstable, which can result in poor video quality or loss of connection.
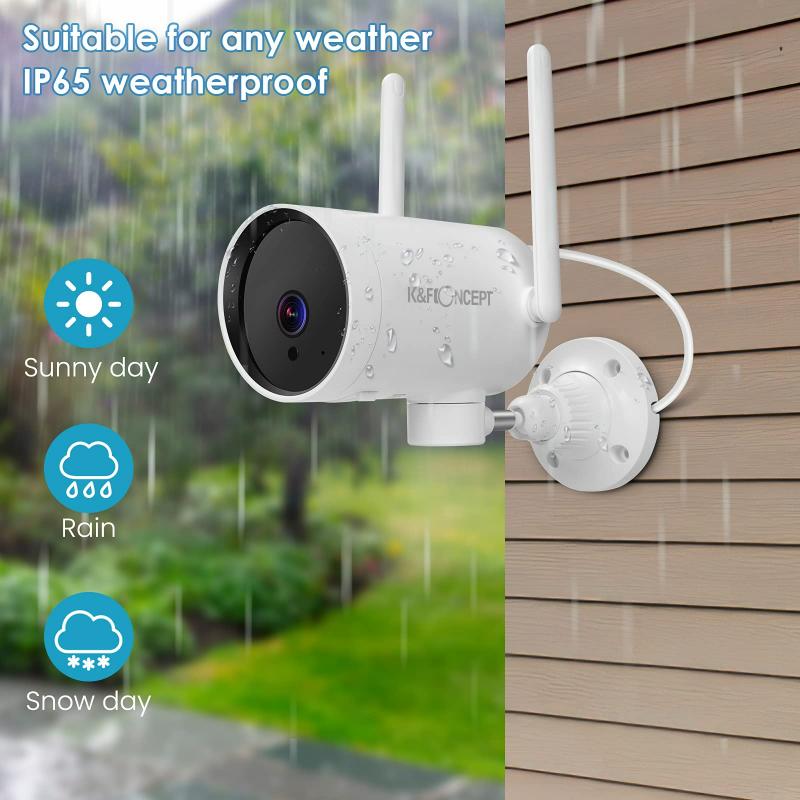
Another important consideration when setting up an outdoor WiFi camera is weatherproofing. The camera should be designed to withstand the elements, including rain, snow, and extreme temperatures. It is also important to ensure that the camera is securely mounted to prevent it from being blown around by strong winds.
In addition to these considerations, it is important to follow the manufacturer's instructions for setting up the camera and connecting it to your WiFi network. This may involve downloading an app or software to your smartphone or computer, and following a step-by-step process to connect the camera to your network.
Overall, setting up an outdoor WiFi camera requires careful consideration of camera placement, WiFi signal range, weatherproofing, and following the manufacturer's instructions. With these factors in mind, you can ensure that your camera provides reliable and high-quality surveillance of your outdoor space.
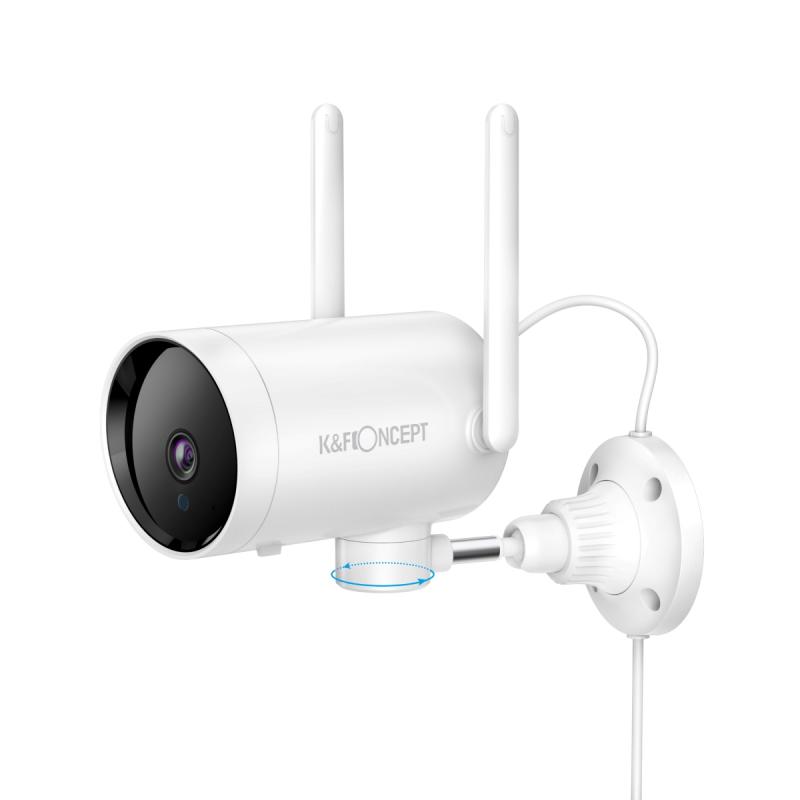
2、 Power Source
How to set up outdoor wifi camera: Power Source
One of the most important aspects of setting up an outdoor wifi camera is ensuring that it has a reliable power source. There are several options available, each with its own advantages and disadvantages.
The most common power source for outdoor wifi cameras is a traditional power outlet. This requires running a power cable from the camera to an outlet, which can be challenging if the camera is located far from the nearest outlet. However, this option provides a consistent and reliable power source, and eliminates the need for frequent battery changes.
Another option is to use a battery-powered camera. These cameras are easy to install and can be placed anywhere without the need for a power outlet. However, they require regular battery changes, which can be inconvenient and costly over time.
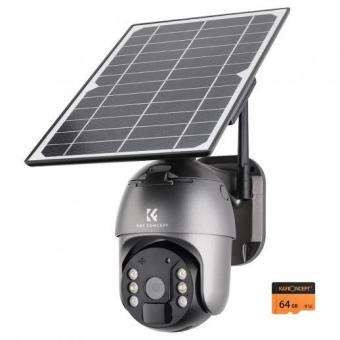
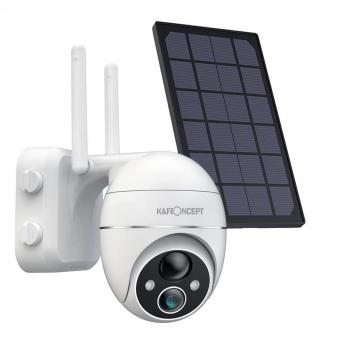
Solar-powered cameras are becoming increasingly popular, as they provide a sustainable and cost-effective power source. These cameras use solar panels to convert sunlight into energy, which is stored in a battery for use at night or during cloudy weather. While they require an initial investment, they can save money in the long run and are environmentally friendly.
Finally, some outdoor wifi cameras are designed to be powered by Ethernet cables. These cameras use Power over Ethernet (PoE) technology to transmit both data and power over a single cable. This option is ideal for locations where power outlets are not available, but Ethernet cables can be run.
In conclusion, choosing the right power source for your outdoor wifi camera depends on your specific needs and preferences. Consider factors such as location, accessibility, and sustainability when making your decision.
3、 Network Connection
How to set up outdoor wifi camera: Network Connection
Setting up an outdoor wifi camera can be a great way to keep an eye on your property and ensure its safety. One of the most important aspects of setting up an outdoor wifi camera is establishing a strong network connection. Here are some steps to follow:
1. Choose a location for your camera that is within range of your wifi network. Make sure there are no obstructions that could interfere with the signal.
2. Connect your camera to a power source. Most outdoor wifi cameras require a power source to operate.
3. Download the camera's app and follow the instructions to connect it to your wifi network. Make sure you have the correct wifi network name and password.
4. Once the camera is connected to your network, you can access it through the app on your smartphone or tablet. You may need to create an account and log in to access the camera.
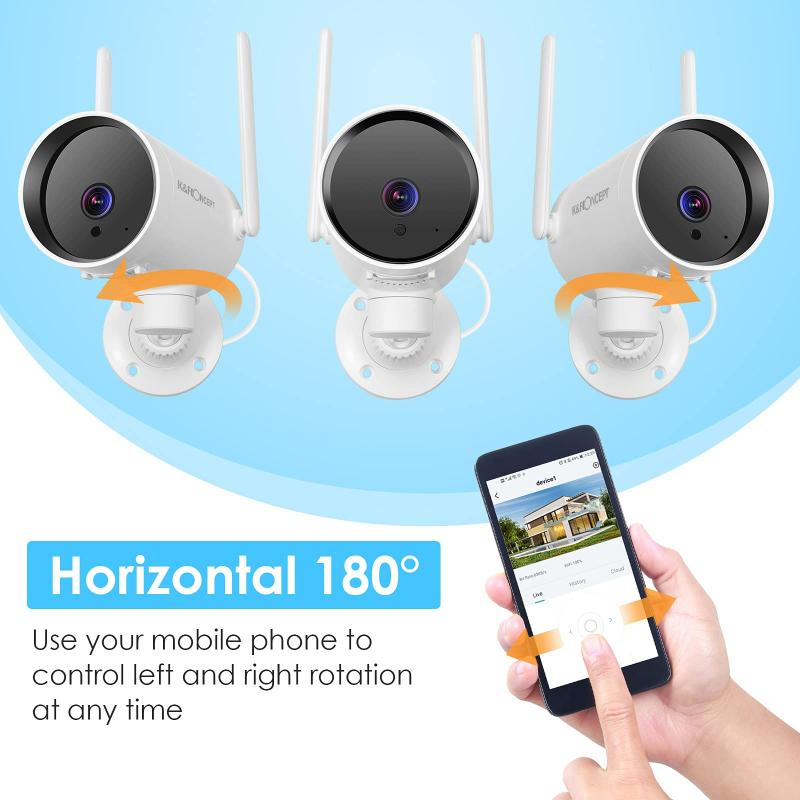
5. Adjust the camera's settings to suit your needs. You can set up motion detection, adjust the camera's angle, and more.
It's important to note that the latest point of view on outdoor wifi cameras is that they can be vulnerable to hacking. To ensure the security of your camera and network, make sure to use strong passwords and keep your camera's firmware up to date. Additionally, consider using a virtual private network (VPN) to encrypt your network traffic and protect your privacy.
4、 Camera Configuration
How to set up outdoor wifi camera:
1. Choose the right camera: Before setting up an outdoor wifi camera, it is important to choose the right camera that suits your needs. Look for a camera that has a high resolution, night vision, motion detection, and weatherproof features.
2. Install the camera: Once you have chosen the right camera, install it in the desired location. Make sure the camera is mounted securely and is facing the right direction.
3. Connect the camera to wifi: Connect the camera to your wifi network by following the manufacturer's instructions. This usually involves downloading an app and scanning a QR code to connect the camera to your network.
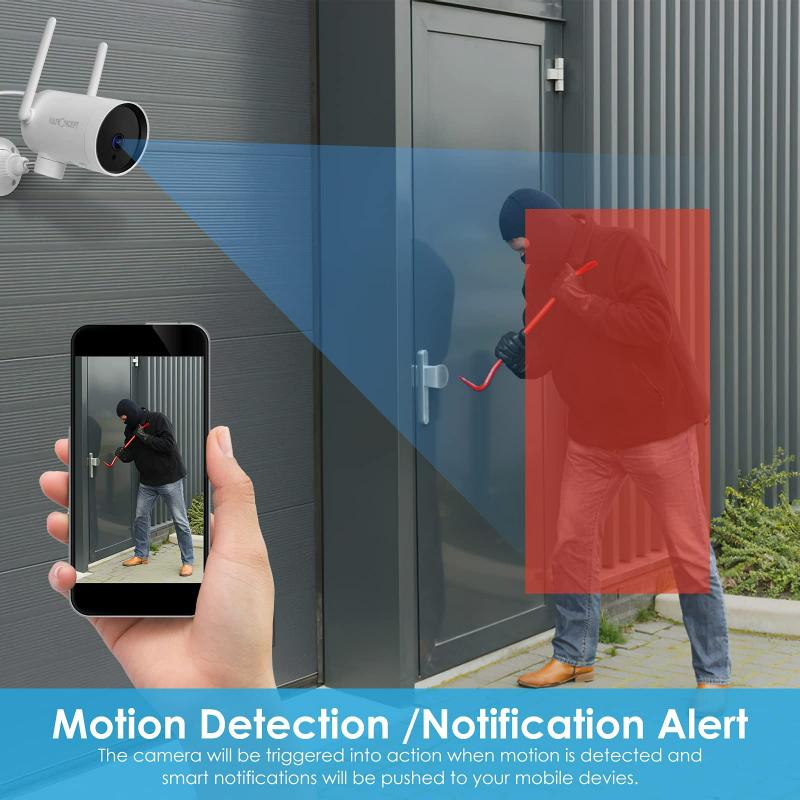
4. Configure the camera: Once the camera is connected to your wifi network, configure it by setting up motion detection, adjusting the camera angle, and setting up alerts. You can also set up a recording schedule and adjust the camera's settings to suit your needs.
5. Test the camera: After configuring the camera, test it to make sure it is working properly. Check the live feed and make sure the camera is capturing the desired area. You can also test the motion detection and alerts to make sure they are working properly.
Camera Configuration:
In addition to the above steps, it is important to configure your camera's settings to ensure optimal performance. This includes adjusting the camera's resolution, frame rate, and bitrate to suit your needs. You can also set up a recording schedule and adjust the camera's settings to suit your needs. Additionally, you can set up cloud storage or a local storage device to store your camera's footage. It is also important to keep your camera's firmware up to date to ensure it is running smoothly and securely.
