How To Set Up Tripod For Iphone ?
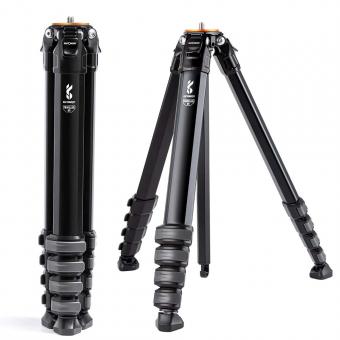
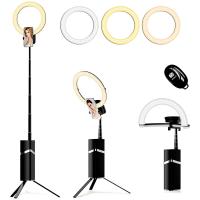
To set up a tripod for an iPhone, first, ensure that you have a tripod compatible with your iPhone model. Attach the iPhone holder or mount to the tripod head securely. Adjust the tripod legs to your desired height and stability. Place your iPhone into the holder, making sure it is secure. Adjust the angle and position of the iPhone as needed. Finally, tighten any knobs or locks to secure the tripod and iPhone in place.
1、 Adjusting tripod height for optimal iPhone positioning
Adjusting tripod height for optimal iPhone positioning is crucial to capture the best shots and videos. Whether you are a professional photographer or simply an enthusiast, setting up a tripod for your iPhone can greatly enhance the quality of your content. Here's how you can do it:
1. Choose the right tripod: Look for a tripod that is compatible with your iPhone. There are various options available in the market, ranging from compact and lightweight tripods to more sturdy and professional ones.
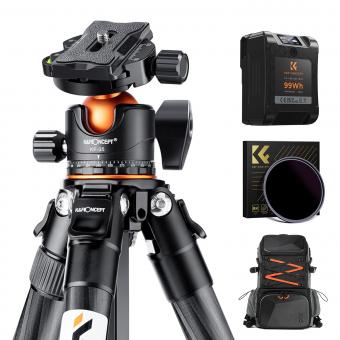
2. Attach the iPhone mount: Most tripods come with a detachable mount specifically designed for smartphones. Attach the mount securely to the tripod head, ensuring that it is stable and can hold the weight of your iPhone.
3. Adjust the tripod height: Extend the tripod legs to your desired height. Consider the type of shot you want to capture and the environment you are in. For example, if you are shooting a landscape, you may want to set the tripod at a higher height to capture a wider view.
4. Level the tripod: Use the built-in bubble level or a separate leveling tool to ensure that the tripod is perfectly level. This will prevent any tilting or unevenness in your shots.
5. Mount your iPhone: Place your iPhone securely in the mount, making sure it is tightly held. Double-check that it is positioned correctly and won't slip or fall during use.
6. Fine-tune the positioning: Adjust the tripod head to position your iPhone at the desired angle and orientation. This will depend on the subject you are capturing and your creative vision.
7. Lock the tripod: Once you have achieved the optimal positioning, tighten the tripod locks to secure the legs and the tripod head. This will prevent any accidental movement or shaking during shooting.
Remember to always keep the latest point of view in mind when setting up your tripod for iPhone. Stay updated with the latest trends and techniques in smartphone photography to make the most out of your tripod setup. Experiment with different heights and angles to unleash your creativity and capture stunning visuals with your iPhone.
2、 Securing iPhone onto tripod mount securely
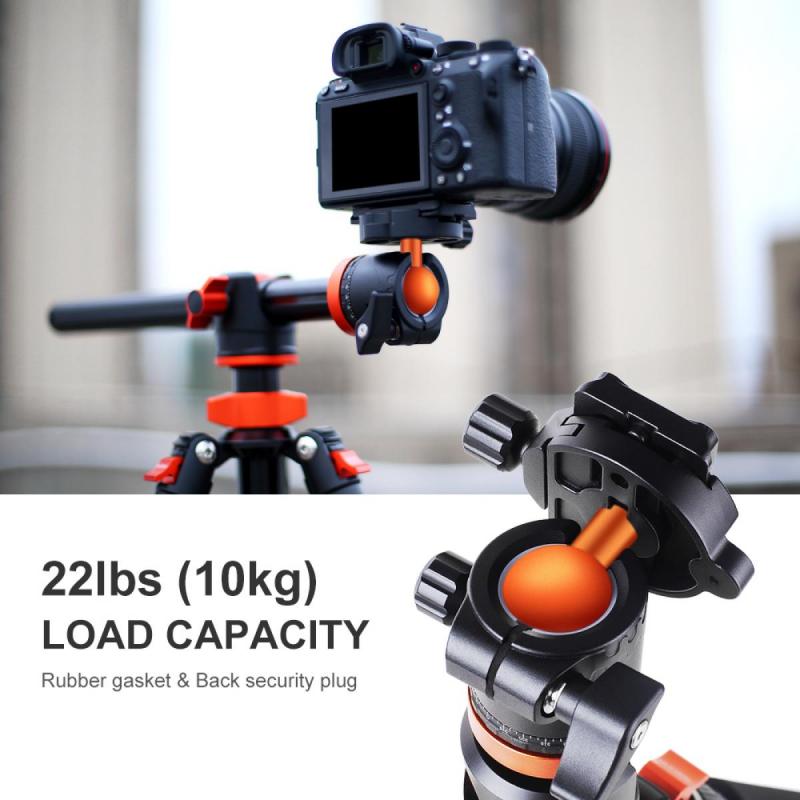
Securing an iPhone onto a tripod mount securely is essential for capturing stable and professional-looking photos and videos. Here's a step-by-step guide on how to set up a tripod for an iPhone:
1. Choose a tripod: Look for a tripod that is compatible with iPhones and has a mount specifically designed for smartphones. There are various options available in the market, ranging from compact and portable tripods to more robust ones.
2. Attach the mount: Once you have your tripod, attach the mount securely to the tripod head. Make sure it is tightened properly to avoid any wobbling or movement.
3. Adjust the mount: Most tripod mounts have adjustable arms or clamps to accommodate different phone sizes. Adjust the mount to fit your iPhone snugly, ensuring that it is centered and balanced.
4. Secure the iPhone: Gently place your iPhone into the mount, making sure it is aligned with the camera lens facing forward. Some mounts have additional features like rubber grips or spring-loaded mechanisms to hold the phone securely in place.
5. Double-check stability: Before you start shooting, give the iPhone a gentle shake to ensure it is firmly secured. If there is any movement or instability, readjust the mount or tighten the tripod head further.
6. Fine-tune positioning: Once your iPhone is securely mounted, use the tripod's adjustable legs and head to position it at the desired angle and height. This will help you achieve the best composition for your shots.
It's worth noting that technology is constantly evolving, and new tripod mounts and accessories are being introduced regularly. Therefore, it's always a good idea to stay updated with the latest options available in the market to ensure the best possible setup for your iPhone on a tripod.
3、 Ensuring stability and balance of tripod setup
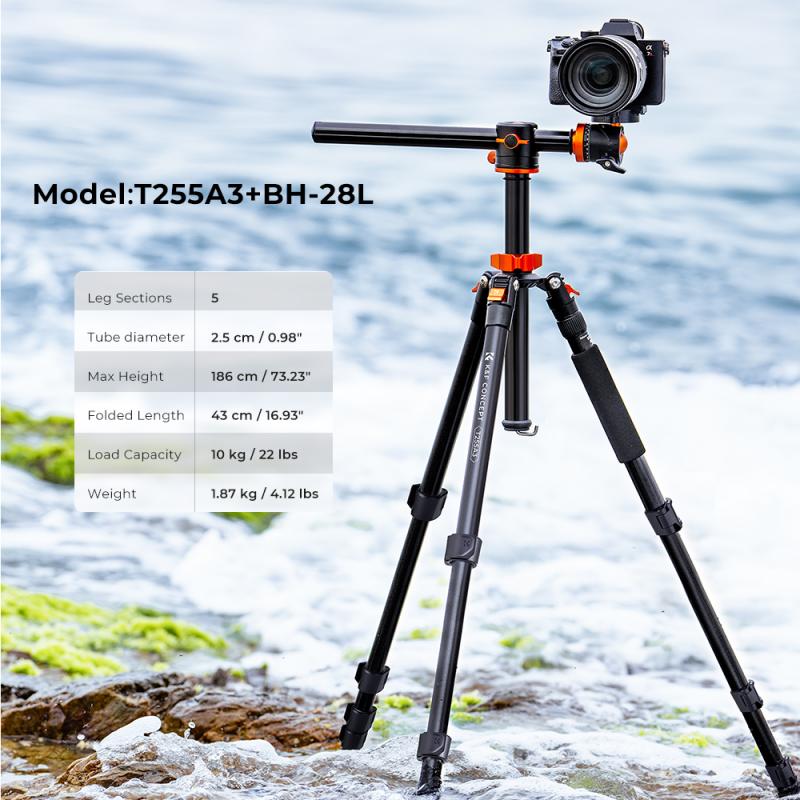
Ensuring stability and balance of tripod setup is crucial for capturing steady and professional-looking photos and videos with your iPhone. Here's a step-by-step guide on how to set up a tripod for your iPhone:
1. Choose a sturdy tripod: Look for a tripod that is specifically designed for smartphones and offers stability. There are various options available in the market, ranging from compact tabletop tripods to full-sized ones.
2. Attach the smartphone mount: Most tripods come with a smartphone mount that securely holds your iPhone. Attach the mount to the tripod head by screwing it in place. Make sure it is tightened properly to avoid any wobbling.
3. Adjust the tripod height: Extend the tripod legs to your desired height. For added stability, it is recommended to keep the tripod legs wider apart. This will distribute the weight evenly and minimize the chances of the tripod tipping over.
4. Level the tripod: Use the built-in bubble level or a separate leveling tool to ensure that the tripod is perfectly level. This will help in maintaining balance and avoiding any tilting or slanted shots.
5. Attach your iPhone: Place your iPhone in the smartphone mount and adjust it to your desired angle. Ensure that it is securely fastened to prevent any accidental falls.
6. Use a remote shutter or self-timer: To further minimize any movement or shaking, consider using a remote shutter or the self-timer feature on your iPhone. This will allow you to trigger the camera without physically touching the device.
7. Test stability: Gently tap the tripod to check if it remains stable. If it wobbles or feels unsteady, adjust the tripod legs or tighten the mount to achieve a more secure setup.
In addition to these steps, it is important to stay updated with the latest advancements in tripod technology. Some tripods now come with features like built-in stabilizers or smartphone apps that offer additional stability and control. Keeping an eye on such developments can help enhance your tripod setup and improve the quality of your iPhone photography and videography.
4、 Utilizing tripod features for versatile iPhone photography/videography
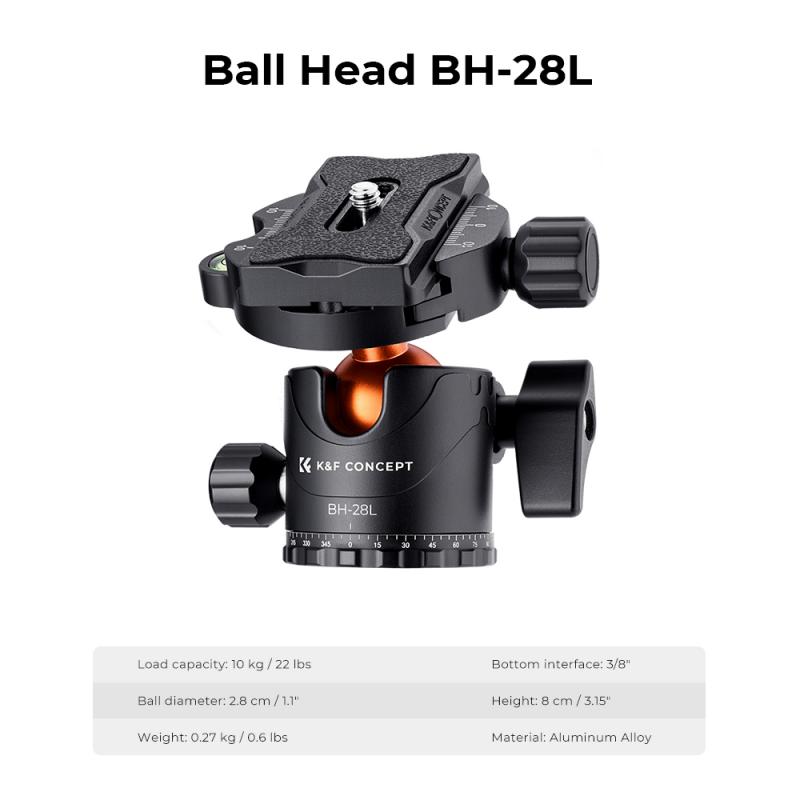
Utilizing tripod features for versatile iPhone photography/videography
Setting up a tripod for your iPhone is a simple yet effective way to enhance your photography and videography skills. With the latest advancements in smartphone cameras, the need for stable shots has become increasingly important. Here's a step-by-step guide on how to set up a tripod for your iPhone:
1. Choose the right tripod: Look for a tripod that is compatible with your iPhone model and offers stability. There are various options available, ranging from compact and portable tripods to more professional-grade ones.
2. Attach the iPhone mount: Most tripods come with a detachable mount specifically designed for smartphones. Attach the mount securely to the tripod head, ensuring it is tight enough to hold your iPhone in place.
3. Adjust the tripod height: Extend the tripod legs to your desired height. If you're shooting on uneven ground, make sure to adjust the individual leg lengths accordingly to maintain stability.
4. Mount your iPhone: Place your iPhone into the mount, ensuring it is secure. Double-check that the mount is tightened properly to prevent any accidental slips.
5. Adjust the angle: Use the tripod's pan and tilt features to adjust the angle of your iPhone. This allows you to capture shots from different perspectives and eliminates any shakiness caused by handholding.
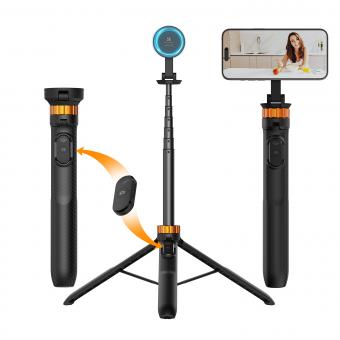
6. Utilize additional tripod features: Some tripods offer additional features such as a remote control or a built-in level. These can be handy for capturing self-portraits or ensuring your shots are perfectly aligned.
7. Experiment and have fun: Now that your iPhone is securely mounted on the tripod, you can explore various photography and videography techniques. Try long-exposure shots, time-lapse videos, or even capturing stable footage while on the move.
In conclusion, setting up a tripod for your iPhone opens up a world of possibilities for your photography and videography. It provides stability, eliminates shakiness, and allows you to experiment with different angles and techniques. So, grab your tripod, mount your iPhone, and start capturing stunning shots with ease.
