How To Setup A Tripod Stand ?
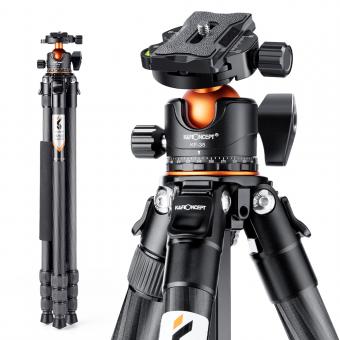
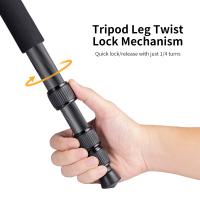
To set up a tripod stand, start by extending the legs of the tripod fully. Make sure the legs are spread evenly for stability. Then, adjust the height of the tripod by loosening the leg locks and extending or retracting the legs to the desired height. Once the legs are at the desired height, tighten the leg locks to secure them in place. Next, attach the camera or equipment to the tripod head by screwing it onto the mounting plate. Ensure that it is securely attached. Adjust the position and angle of the camera by using the pan and tilt controls on the tripod head. Finally, check that the tripod is stable and level by adjusting the tripod legs if necessary.
1、 Choosing the Right Tripod Stand for Your Needs
Choosing the Right Tripod Stand for Your Needs
A tripod stand is an essential tool for photographers and videographers, providing stability and support for capturing steady shots. However, with so many options available on the market, it can be overwhelming to choose the right tripod stand for your specific needs. Here are some key factors to consider when setting up a tripod stand:
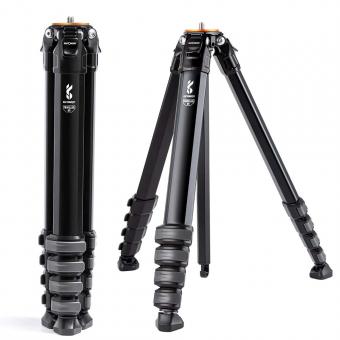
1. Weight and Portability: Consider the weight of your camera equipment and the locations you plan to shoot in. If you frequently travel or shoot on location, a lightweight and portable tripod stand would be ideal. Look for materials like carbon fiber, which offer a good balance between weight and stability.
2. Height and Stability: Determine the maximum height you require for your shots. Tripod stands come in various sizes, so choose one that can extend to your desired height. Additionally, stability is crucial to avoid any camera shake. Look for tripod stands with sturdy legs and a center column that can be locked securely.
3. Load Capacity: Consider the weight of your camera and any additional accessories you plan to use, such as lenses or external flashes. Ensure that the tripod stand you choose can support the total weight of your equipment.
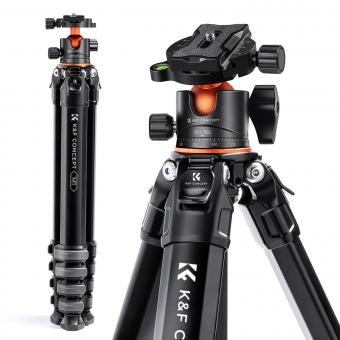
4. Head Type: Tripod stands typically come with different types of heads, such as ball heads or pan-tilt heads. Ball heads offer quick and easy adjustments, while pan-tilt heads provide more precise control. Choose a head type that suits your shooting style and preferences.
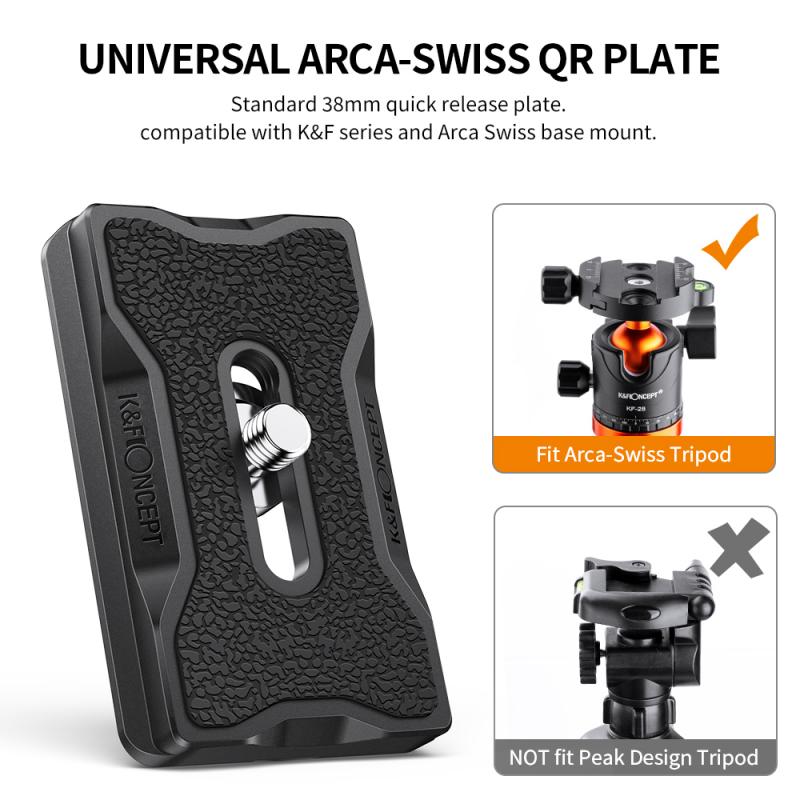
5. Additional Features: Some tripod stands come with additional features like a built-in level, quick-release plate, or a hook for hanging a bag to add stability. Consider these features based on your specific needs.
Setting up a tripod stand is relatively straightforward. Start by extending the legs to your desired height and locking them in place. Attach the camera to the tripod stand using the quick-release plate or by screwing it onto the head. Adjust the head to the desired angle and tighten the knobs to secure it. Finally, make any necessary adjustments to ensure the camera is level and stable.
In conclusion, choosing the right tripod stand involves considering factors such as weight, height, stability, load capacity, head type, and additional features. By carefully evaluating your specific needs and preferences, you can select a tripod stand that will provide the necessary support for your photography or videography endeavors.
2、 Assembling and Extending the Tripod Legs
To set up a tripod stand, follow these steps:
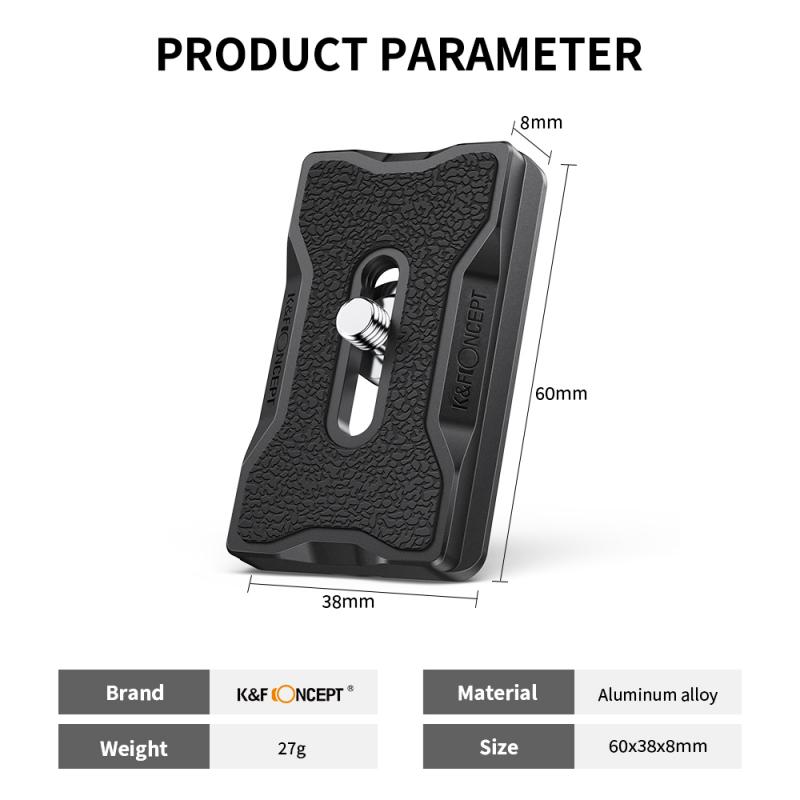
1. Assembling and Extending the Tripod Legs: Start by unpacking the tripod and ensuring all the parts are present. Most tripods consist of three legs, a center column, and a mounting plate. Attach the mounting plate to the top of the center column by aligning the screw holes and tightening the screws. Then, extend the tripod legs by unlocking the leg locks and pulling each leg outward until they are fully extended. Make sure the leg locks are securely tightened to prevent any wobbling.
2. Adjusting the Tripod Height: Once the legs are extended, adjust the tripod height to your desired level. Most tripods have adjustable leg sections with multiple locking positions. To adjust the height, loosen the leg locks and slide the leg sections up or down. Ensure that all the legs are at the same height for stability.
3. Securing the Tripod: Once you have set the desired height, tighten the leg locks to secure the tripod in place. Give each leg a gentle shake to ensure it is stable and doesn't wobble. If needed, make further adjustments to the leg height or tighten the locks for added stability.
4. Mounting the Camera: To mount your camera, locate the mounting plate on the tripod head. Align the camera's mounting screw hole with the plate's screw hole and attach the camera securely. Use the camera's built-in level or a separate bubble level to ensure the camera is perfectly level.
5. Fine-tuning the Position: Adjust the tripod head to position the camera exactly where you want it. Most tripods have a pan and tilt mechanism that allows you to move the camera horizontally and vertically. Use the control handles or knobs to make precise adjustments.
Remember to always check the tripod's weight capacity and ensure it can support your camera and any additional equipment you may be using. Additionally, be cautious of the terrain and environment where you set up the tripod to avoid any accidents or damage.
3、 Mounting and Adjusting the Tripod Head
To set up a tripod stand, follow these steps:
1. Unfold the tripod legs: Start by releasing the leg locks and extending each leg to the desired height. Make sure the legs are evenly spread for stability.
2. Adjust the tripod height: Most tripods have a center column that can be raised or lowered to adjust the height. Adjust it to your preferred height and lock it in place.
3. Secure the leg locks: Once you have set the desired height, tighten the leg locks to ensure the tripod legs are stable and won't collapse during use.
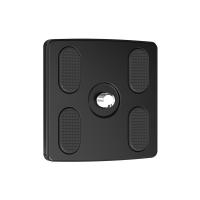
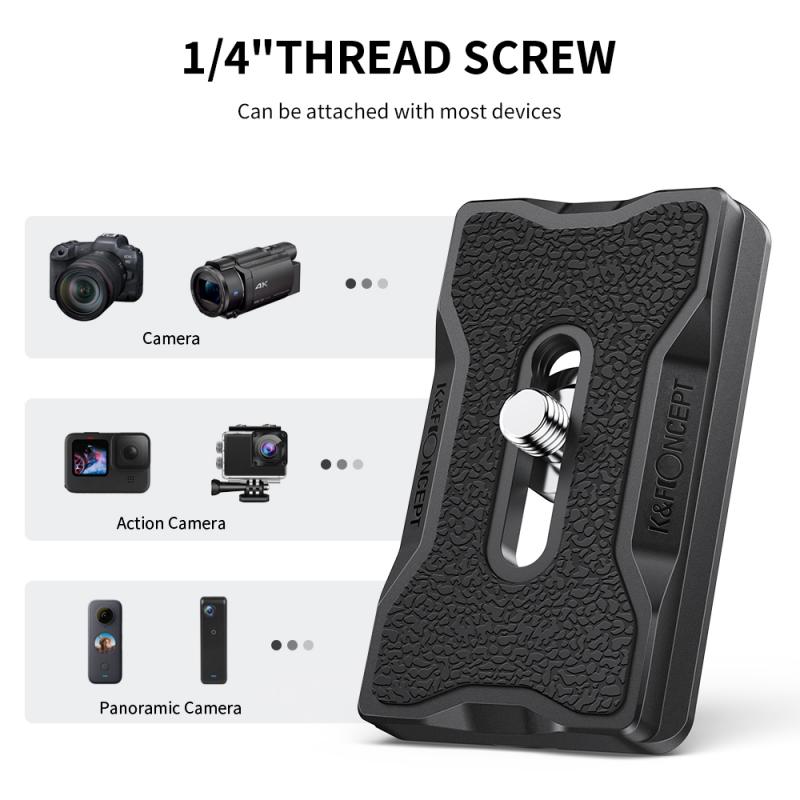
4. Mounting and Adjusting the Tripod Head: The tripod head is the part that holds your camera or other equipment. To mount the head, locate the mounting plate on the tripod head and attach it to the bottom of your camera or equipment. Make sure it is securely fastened.
5. Adjust the tripod head: Most tripod heads have multiple adjustment knobs. The main ones are the pan and tilt knobs. The pan knob allows you to rotate the camera horizontally, while the tilt knob allows you to adjust the vertical angle. Use these knobs to position your camera or equipment as desired.
6. Level the tripod: Use the built-in bubble level or a separate leveling tool to ensure the tripod is perfectly level. This is important for capturing straight and balanced shots.
7. Test stability: Give the tripod a gentle shake to ensure it is stable and won't wobble during use. If it feels unstable, double-check the leg locks and adjust them if necessary.
Remember to always follow the manufacturer's instructions for your specific tripod model, as different tripods may have slightly different setup procedures. Additionally, it's important to keep up with the latest advancements in tripod technology, such as lightweight materials and innovative features, to ensure you are using the most efficient and reliable equipment available.
4、 Achieving Stability and Leveling the Tripod Stand
How to Setup a Tripod Stand: Achieving Stability and Leveling the Tripod Stand
Setting up a tripod stand properly is essential for achieving stability and ensuring that your camera or other equipment remains steady during use. Here are some steps to help you set up your tripod stand effectively:
1. Choose a suitable location: Look for a flat and stable surface to place your tripod stand. Avoid areas with uneven ground or potential hazards that could cause the tripod to tip over.
2. Extend the legs: Start by extending the tripod legs to their full length. Most tripod stands have adjustable leg sections that can be locked into place. Make sure all the leg locks are securely tightened to prevent any accidental collapses.
3. Adjust the leg angles: Many tripod stands have legs with adjustable angles, allowing you to set up on uneven terrain. Adjust the leg angles as needed to ensure stability. If the ground is particularly uneven, you may need to use additional accessories like tripod leg extensions or spikes to provide extra stability.
4. Attach the center column: If your tripod stand has a center column, attach it to the tripod head. The center column can be extended to provide additional height if needed. Ensure that the column is securely tightened to prevent any wobbling.
5. Level the tripod: Use a bubble level or the built-in level on your tripod stand to ensure that it is perfectly level. Adjust the leg lengths or angles as necessary to achieve a level position. A level tripod is crucial for capturing straight and balanced shots.
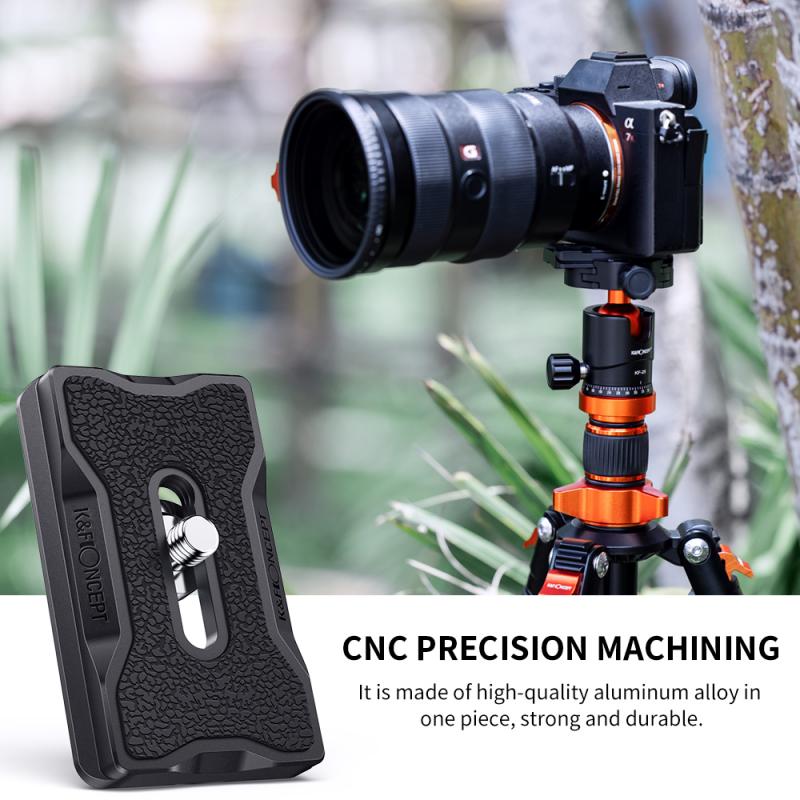
6. Attach your equipment: Once the tripod stand is stable and level, attach your camera or other equipment to the tripod head. Make sure it is securely fastened to prevent any accidental falls.
7. Fine-tune the positioning: Use the tripod's pan and tilt controls to adjust the position of your equipment. Take your time to find the desired framing and composition.
In recent years, some tripod stands have introduced innovative features such as quick-release mechanisms, which allow for faster and easier attachment and detachment of equipment. Additionally, some tripods now come with built-in bubble levels and leveling indicators, making it even simpler to achieve a perfectly level setup.
Remember, achieving stability and leveling your tripod stand is crucial for capturing sharp and steady images or videos. Take the time to set up your tripod properly, and you'll be rewarded with professional-looking results.
