How To Setup Canon Digital Camera ?
To set up a Canon digital camera, follow these steps:
1. Insert the battery into the camera and charge it using the provided charger.
2. Insert a memory card into the camera.
3. Turn on the camera by pressing the power button.
4. Set the date and time by following the on-screen instructions.
5. Choose the shooting mode that you want to use.
6. Adjust the settings such as ISO, aperture, and shutter speed according to your preferences.
7. Focus on your subject by half-pressing the shutter button.
8. Press the shutter button fully to take a photo.
You can also connect your camera to a computer using a USB cable to transfer photos and videos. Make sure to install the necessary software and drivers before connecting the camera.
1、 Battery and Memory Card Installation

Battery and Memory Card Installation:
To set up your Canon digital camera, the first step is to install the battery and memory card. Here are the steps to follow:
1. Turn off the camera and open the battery compartment cover.
2. Insert the battery into the compartment with the contacts facing the camera.
3. Close the battery compartment cover.
4. Locate the memory card slot on the camera.
5. Insert the memory card into the slot with the label facing the camera.
6. Push the memory card in until it clicks into place.
7. Close the memory card slot cover.
It is important to note that different Canon digital cameras may have slightly different battery and memory card installation procedures. Therefore, it is recommended to refer to the user manual that comes with your camera for specific instructions.
Additionally, it is important to use the correct type of battery and memory card for your camera model. Using the wrong type of battery or memory card can damage your camera and void the warranty.
In the latest point of view, some Canon digital cameras now come with rechargeable batteries that can be charged using a USB cable. This eliminates the need for a separate battery charger and makes it more convenient to charge the battery on the go. Some cameras also have dual memory card slots, allowing you to use two memory cards at once for increased storage capacity or backup purposes.
2、 Powering On and Off
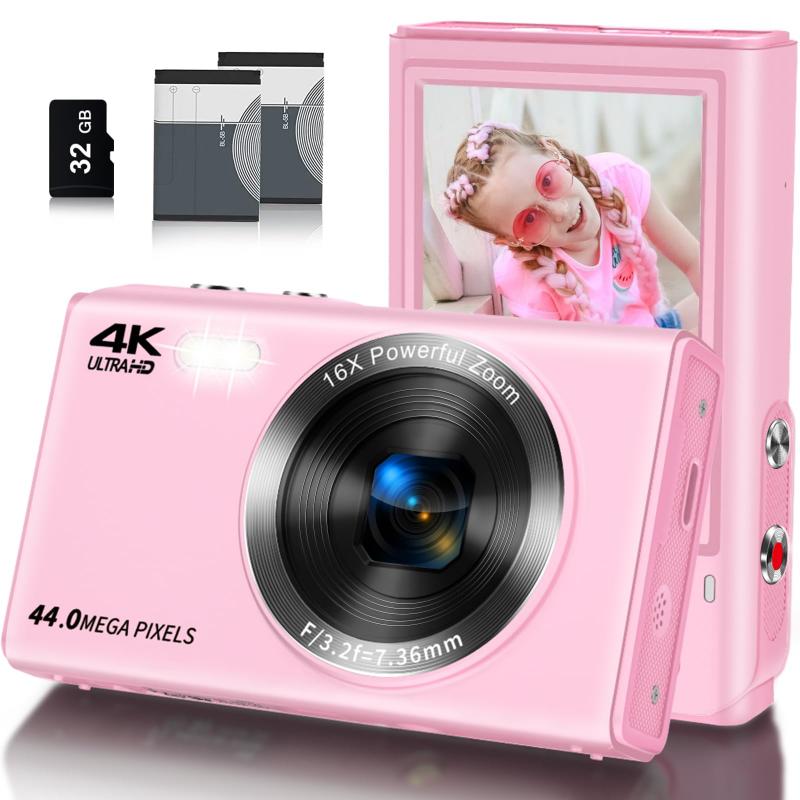
How to Setup Canon Digital Camera: Powering On and Off
Powering on and off your Canon digital camera is a simple process that can be done in a few easy steps. Here's how to do it:
1. Locate the power button: The power button is usually located on the top or back of the camera. It is usually marked with a power symbol.
2. Press the power button: Press and hold the power button until the camera turns on. The camera will usually display the Canon logo or a welcome screen.
3. Wait for the camera to initialize: Once the camera is turned on, it will take a few seconds to initialize. During this time, the camera may display a message or a progress bar.
4. Start taking photos: Once the camera is initialized, you can start taking photos. Simply aim the camera at your subject and press the shutter button.
To power off your Canon digital camera, simply press and hold the power button until the camera turns off. It is important to wait for the camera to fully power down before removing the battery or memory card.
In the latest point of view, some Canon digital cameras now have a power saving mode that automatically turns off the camera after a certain period of inactivity. This feature helps to conserve battery life and can be adjusted in the camera settings. Additionally, some cameras may have a quick start-up mode that allows the camera to turn on faster, making it easier to capture spontaneous moments.
3、 Setting Date and Time

How to setup Canon digital camera? One of the first things you should do is set the date and time. This is important because it will help you keep track of when your photos were taken and organize them accordingly. To set the date and time on your Canon digital camera, follow these steps:
1. Turn on your camera and press the Menu button.
2. Use the arrow keys to navigate to the Setup menu.
3. Select Date/Time and press the Set button.
4. Use the arrow keys to set the correct date and time.
5. Press the Set button to confirm your selection.
It's important to note that some Canon digital cameras have a feature called "Auto Date/Time" which automatically sets the date and time based on your location. If your camera has this feature, you can enable it in the Date/Time menu.
In addition to setting the date and time, you may also want to consider setting the time zone and daylight saving time settings. This will ensure that your camera displays the correct time even when you travel to different time zones.
Overall, setting the date and time on your Canon digital camera is a simple process that can greatly improve the organization and management of your photos.
4、 Choosing Shooting Mode

Choosing Shooting Mode is an essential step in setting up your Canon digital camera. It determines the type of photo you want to take and the camera settings required to achieve it. The shooting mode options vary depending on the camera model, but most Canon cameras have the following modes: Auto, Program, Aperture Priority, Shutter Priority, Manual, and Scene.
Auto mode is the default setting and is suitable for beginners who want the camera to do all the work. Program mode allows you to adjust the ISO, white balance, and exposure compensation while the camera sets the aperture and shutter speed. Aperture Priority mode lets you control the aperture while the camera sets the shutter speed, while Shutter Priority mode lets you control the shutter speed while the camera sets the aperture.
Manual mode gives you full control over the camera settings, allowing you to adjust the aperture, shutter speed, and ISO to your liking. Scene mode is suitable for specific shooting situations, such as portraits, landscapes, and sports.
To set up your Canon digital camera, turn it on and press the Mode button to access the shooting mode options. Use the arrow keys to select the desired mode and press the Set button to confirm. You can also refer to the camera manual for more detailed instructions.
In conclusion, choosing the right shooting mode is crucial in setting up your Canon digital camera. It allows you to take photos that match your creative vision and ensures that the camera settings are optimized for the situation. With practice and experimentation, you can master the different shooting modes and take stunning photos with your Canon camera.

