How To Setup Gimbal Stabilizer ?
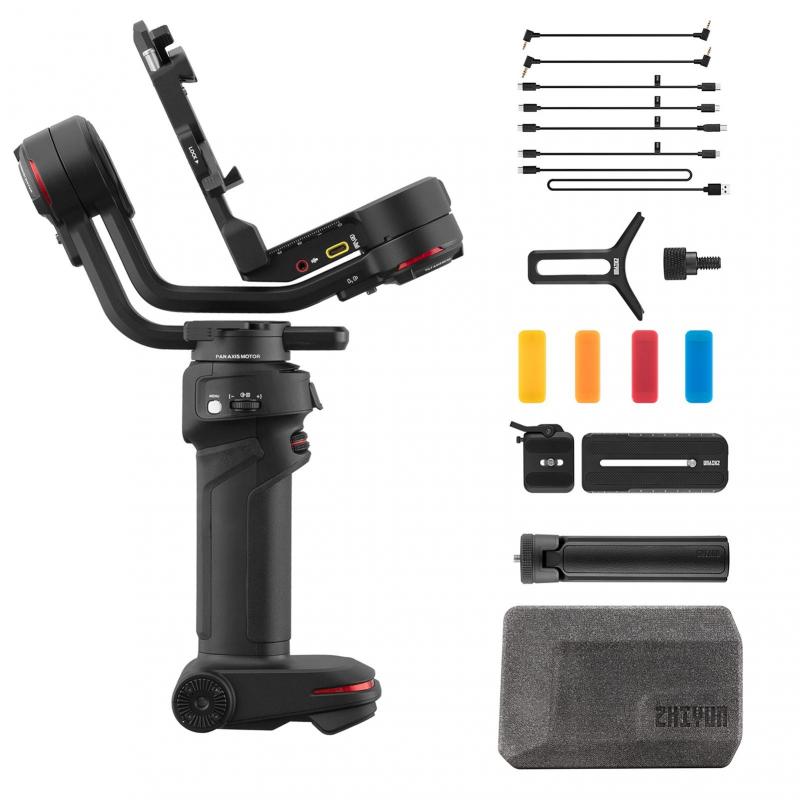
To set up a gimbal stabilizer, first, attach the camera to the gimbal using the appropriate mounting plate or bracket. Make sure the camera is securely fastened to the gimbal to prevent any movement or accidents. Next, balance the gimbal by adjusting the different axes (pan, tilt, and roll) to ensure that the camera remains level and stable during operation. This typically involves adjusting the position of the camera and counterweights on the gimbal. Once the gimbal is balanced, power it on and calibrate it according to the manufacturer's instructions. This may involve performing a calibration routine or using a smartphone app to fine-tune the settings. Finally, hold the gimbal with both hands and test its stability and responsiveness by moving it around gently. Adjust any settings or parameters as needed to achieve the desired stabilization effect.
1、 Balancing the gimbal stabilizer for optimal performance
To set up a gimbal stabilizer for optimal performance, follow these steps:
1. Mount the camera: Start by attaching your camera securely to the gimbal. Make sure it is centered and balanced on the mounting plate. Use the appropriate mounting plate or adapter for your camera model.
2. Power on the gimbal: Turn on the gimbal stabilizer and ensure it is properly charged. Some gimbals may require firmware updates, so check for any available updates and install them before proceeding.
3. Balance the gimbal: This is a crucial step to ensure smooth and stable footage. Begin by adjusting the tilt axis, followed by the roll and pan axes. Use the provided knobs or sliding plates to make precise adjustments. The goal is to achieve a perfect balance where the camera stays level and doesn't tilt or drift when the gimbal is powered on.
4. Adjust the settings: Most gimbals come with various settings that can be customized to suit your shooting style. These settings may include motor strength, follow speed, and joystick sensitivity. Experiment with different settings to find the optimal configuration for your needs.
5. Test and fine-tune: Once the gimbal is balanced and the settings are adjusted, test it by moving it in different directions. Check for any vibrations, shakiness, or drifting. If necessary, make minor adjustments to the balance or settings until you achieve the desired stability.
6. Practice and learn: Using a gimbal stabilizer effectively requires practice. Experiment with different shooting techniques, such as walking, running, or panning, to master the gimbal's capabilities. Consider watching tutorials or joining online communities to learn from experienced users and stay updated with the latest tips and techniques.
Remember, each gimbal stabilizer may have specific instructions and features, so always refer to the user manual for detailed setup instructions and troubleshooting guidance.

2、 Adjusting the motor strength and responsiveness on the gimbal
To set up a gimbal stabilizer, follow these steps:
1. Mount the camera: Attach your camera securely to the gimbal using the appropriate mounting plate or bracket. Make sure it is balanced properly to prevent any strain on the motors.
2. Power on the gimbal: Turn on the gimbal and ensure it is properly charged or connected to a power source. Some gimbals may require you to calibrate the motors before use, so refer to the manufacturer's instructions for this step.
3. Adjust the motor strength: Most gimbals allow you to adjust the motor strength to accommodate different camera setups. This can usually be done through the gimbal's control panel or smartphone app. Increase the motor strength if your camera setup is heavy or decrease it if it is lightweight. Finding the right balance will ensure smooth and stable footage.
4. Set the responsiveness: The responsiveness of the gimbal determines how quickly it reacts to your movements. This can also be adjusted through the control panel or app. Increase the responsiveness for fast-paced action shots or decrease it for slower, more controlled movements. Experiment with different settings to find the right balance for your shooting style.
5. Fine-tune the settings: Once you have adjusted the motor strength and responsiveness, test the gimbal by moving it in different directions. Pay attention to any vibrations, shakiness, or uneven movements. If necessary, make further adjustments to the settings until you achieve the desired stability.
It's important to note that the specific steps and options may vary depending on the brand and model of your gimbal. Always refer to the manufacturer's instructions for detailed guidance on setting up your particular gimbal stabilizer.
In recent years, gimbal stabilizers have become more advanced, offering additional features such as auto-tracking, time-lapse modes, and even gesture control. These advancements have made it easier than ever to capture smooth and professional-looking footage. Additionally, some gimbals now come with built-in sensors and algorithms that automatically adjust the motor strength and responsiveness based on the camera's weight and movement. This can save time and effort in the setup process, allowing users to focus more on their creative vision.
3、 Calibrating the gimbal stabilizer for accurate stabilization
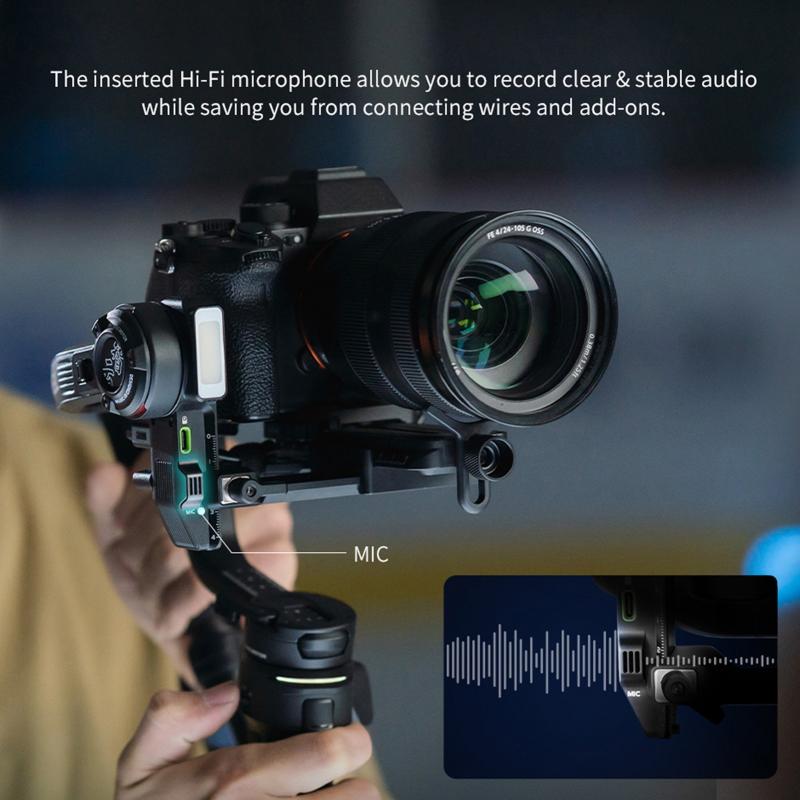
Calibrating a gimbal stabilizer is an essential step to ensure accurate stabilization and smooth footage. Here's a step-by-step guide on how to set up a gimbal stabilizer:
1. Mount the camera: Begin by attaching your camera securely to the gimbal stabilizer. Make sure it is balanced properly to prevent any strain on the motors.
2. Power on the stabilizer: Turn on the gimbal stabilizer and wait for it to initialize. Some stabilizers may require you to connect to a smartphone app or remote control for further setup.
3. Balance the gimbal: Adjust the position of the camera on the stabilizer until it is perfectly balanced. This involves adjusting the tilt, roll, and pan axes to ensure the camera stays level and doesn't tilt or drift.
4. Set the camera settings: Configure the camera settings such as frame rate, resolution, and stabilization options according to your preferences. Some stabilizers may have additional features like follow focus or zoom control, which can be set up at this stage.
5. Calibrate the stabilizer: Most gimbal stabilizers have a calibration process to ensure accurate stabilization. This typically involves placing the gimbal on a flat surface and following the instructions provided by the manufacturer. Calibration helps the stabilizer understand its range of motion and ensures precise stabilization.
6. Test and fine-tune: Once the calibration is complete, test the stabilizer by moving it around and checking if the camera stays level and stable. If you notice any issues, consult the user manual or manufacturer's website for troubleshooting tips.
It's important to note that the specific steps may vary depending on the brand and model of the gimbal stabilizer. Always refer to the user manual or manufacturer's instructions for the most accurate setup process.
In recent years, gimbal stabilizers have become more advanced, offering features like auto-calibration and intelligent tracking. These advancements have made the setup process more user-friendly and efficient. Additionally, some stabilizers now come with smartphone apps that provide step-by-step instructions and allow for further customization of settings.
Overall, setting up a gimbal stabilizer involves mounting the camera, balancing the gimbal, calibrating the stabilizer, and fine-tuning the settings. Following these steps will help you achieve accurate stabilization and capture smooth, professional-looking footage.

4、 Fine-tuning the control settings for smooth camera movements
To set up a gimbal stabilizer, follow these steps:
1. Mount the camera: Attach your camera securely to the gimbal using the appropriate mounting plate or bracket. Make sure it is balanced properly to prevent any strain on the motors.
2. Power on the gimbal: Turn on the gimbal and ensure it is properly charged or connected to a power source. Some gimbals may require you to calibrate them before use, so refer to the manufacturer's instructions for specific details.
3. Balance the gimbal: Adjust the position of the camera on the gimbal to achieve proper balance. This involves adjusting the tilt, roll, and pan axes until the camera remains level and doesn't tilt or drift when the gimbal is powered on.
4. Fine-tune the control settings: Most gimbals offer control settings that allow you to adjust the sensitivity and responsiveness of the motors. Experiment with these settings to find the right balance for smooth camera movements. Increasing the sensitivity can make the gimbal more responsive, but it may also introduce more vibrations or jerky movements. Decreasing the sensitivity can result in smoother but slower camera movements.
5. Test and practice: Once you have set up the gimbal, take some test shots and practice using it. Pay attention to any vibrations, noise, or unwanted movements and make adjustments accordingly. It may take some time to get used to the gimbal and find the optimal settings for your specific camera and shooting style.
From the latest point of view, some gimbals now come with advanced features like follow modes, object tracking, and smartphone app integration. These features can enhance your shooting experience and provide more control over the camera movements. Additionally, some gimbals offer firmware updates that can improve stability and add new functionalities, so it's worth checking for updates regularly.
Remember, practice and experimentation are key to mastering the use of a gimbal stabilizer. With time and experience, you'll be able to achieve smooth and professional-looking camera movements for your videos.
