How To Setup Tripod ?
To set up a tripod, start by extending the legs of the tripod to your desired height. Make sure the legs are securely locked in place. Next, attach the camera mounting plate to the tripod head by aligning the plate with the camera's tripod socket and tightening the screw. Once the plate is securely attached, place the camera onto the plate and tighten the screw to hold it in place. Adjust the position and angle of the camera as needed. Finally, check that the tripod is stable and level by adjusting the leg angles and using a bubble level if necessary.
1、 Choosing the Right Tripod for Your Needs
Choosing the right tripod for your needs is essential for capturing stable and high-quality photographs or videos. With so many options available in the market, it can be overwhelming to decide which tripod is best suited for you. Here are some key factors to consider when setting up a tripod:
1. Stability: Look for a tripod that offers excellent stability. This is crucial to prevent any camera shake or movement during long exposures or when shooting in challenging conditions. Tripods with sturdy legs and a robust center column are ideal for providing stability.
2. Weight and Portability: Consider the weight and portability of the tripod. If you frequently travel or shoot on location, a lightweight and compact tripod would be more convenient. However, if you primarily work in a studio or have heavier camera equipment, a heavier tripod may be more suitable for added stability.
3. Height and Adjustability: Ensure that the tripod can reach your desired shooting height. Look for a tripod with adjustable legs and a center column that can be extended to the required height. Additionally, check if the tripod has a ball head or a pan-tilt head, which allows for smooth and precise adjustments.
4. Material and Durability: Tripods are typically made of aluminum or carbon fiber. Aluminum tripods are more affordable, but carbon fiber tripods are lighter and more durable. Consider your budget and the level of durability you require for your photography or videography needs.
5. Additional Features: Some tripods come with extra features such as a built-in level, quick-release plate, or a hook for adding weight to increase stability. These features can enhance your shooting experience and make your workflow more efficient.
In conclusion, setting up a tripod involves considering factors such as stability, weight, height adjustability, material, and additional features. By carefully evaluating these aspects, you can choose the right tripod that suits your specific needs and enhances your photography or videography endeavors.
2、 Assembling the Tripod Components Correctly
Assembling the Tripod Components Correctly
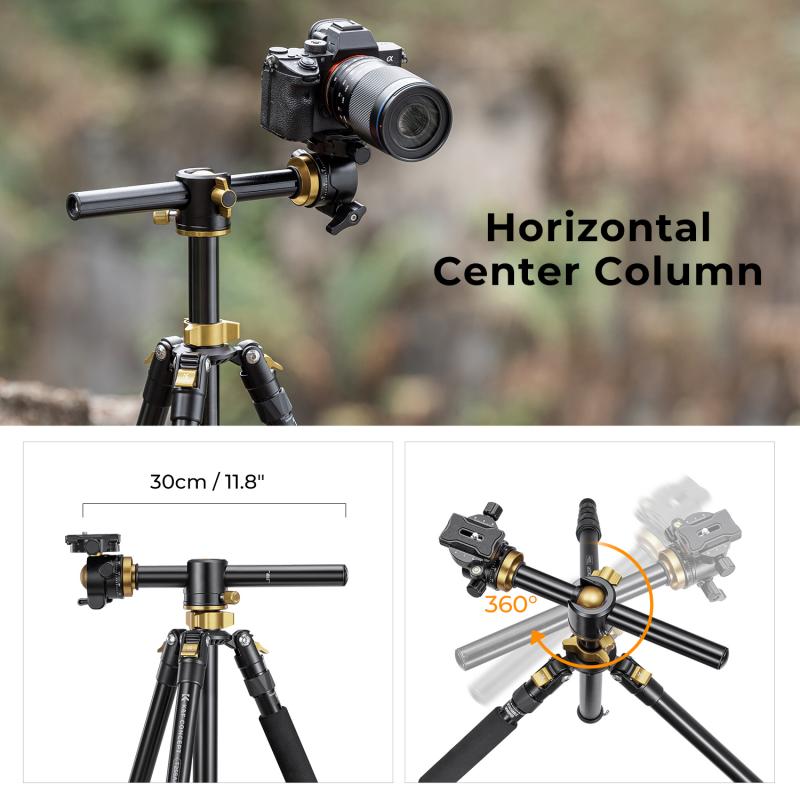
Setting up a tripod may seem like a simple task, but it is crucial to do it correctly to ensure stability and safety for your camera equipment. Here is a step-by-step guide on how to assemble a tripod properly:
1. Start by laying out all the tripod components on a clean and flat surface. These typically include the tripod legs, center column, tripod head, and any additional accessories.
2. Extend the tripod legs by unlocking the leg locks and pulling them out to the desired height. Make sure all the leg sections are fully extended and locked securely in place.
3. Once the legs are extended, spread them out evenly to create a stable base. Most tripods have a center brace that can be extended to provide additional stability.
4. Attach the center column to the tripod legs. The center column is usually inserted into a socket at the top of the tripod legs and secured with a locking mechanism. Ensure that the column is firmly attached and locked in place.
5. Next, attach the tripod head to the center column. The tripod head is where you will mount your camera. It is typically attached using a quick-release plate or a screw mechanism. Follow the manufacturer's instructions to securely attach the head to the column.
6. Once the tripod head is attached, adjust the position and angle of the head to your desired shooting position. Most tripod heads have knobs or levers that allow you to pan, tilt, and lock the camera in place.
7. Finally, double-check all the connections and tighten any loose components. Give the tripod a gentle shake to ensure it is stable and secure.
It is worth noting that different tripods may have slight variations in their assembly process, so always refer to the manufacturer's instructions for specific details.
In recent years, there have been advancements in tripod technology, such as lightweight carbon fiber materials and innovative leg-locking mechanisms. These advancements have made tripods more portable and user-friendly. Additionally, some tripods now come with built-in levels and bubble indicators to help achieve perfect alignment and balance.
Remember, setting up a tripod correctly is essential for capturing sharp and steady images. Taking the time to assemble the tripod components properly will ensure a stable platform for your camera and help you achieve professional-looking results.
3、 Adjusting the Tripod Height and Leg Positioning
To set up a tripod, follow these steps:
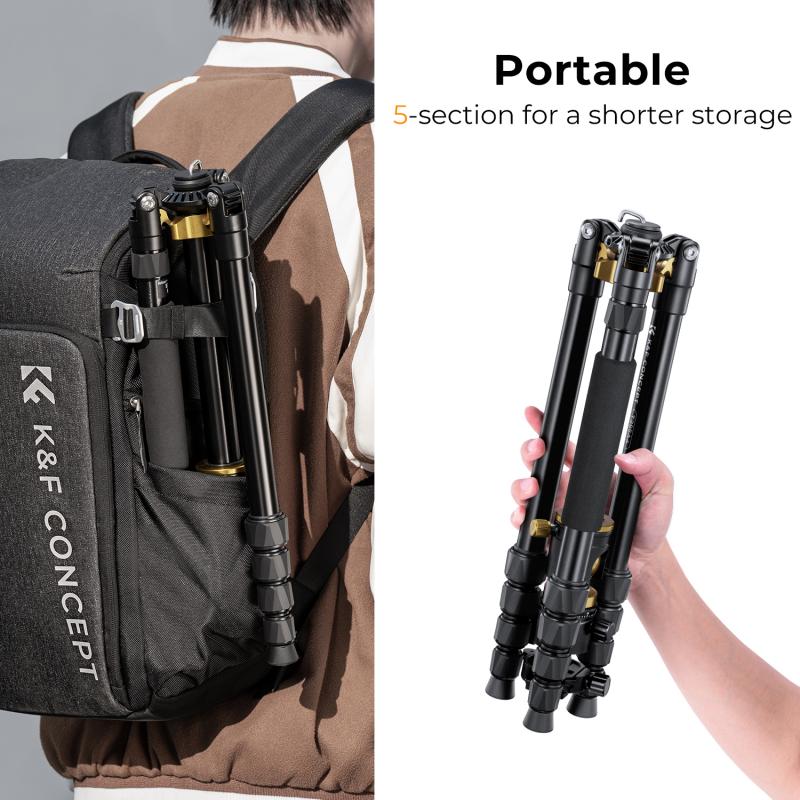
1. Unfold the tripod legs: Start by releasing the leg locks and extending the legs to their full length. Make sure the legs are spread evenly for stability.
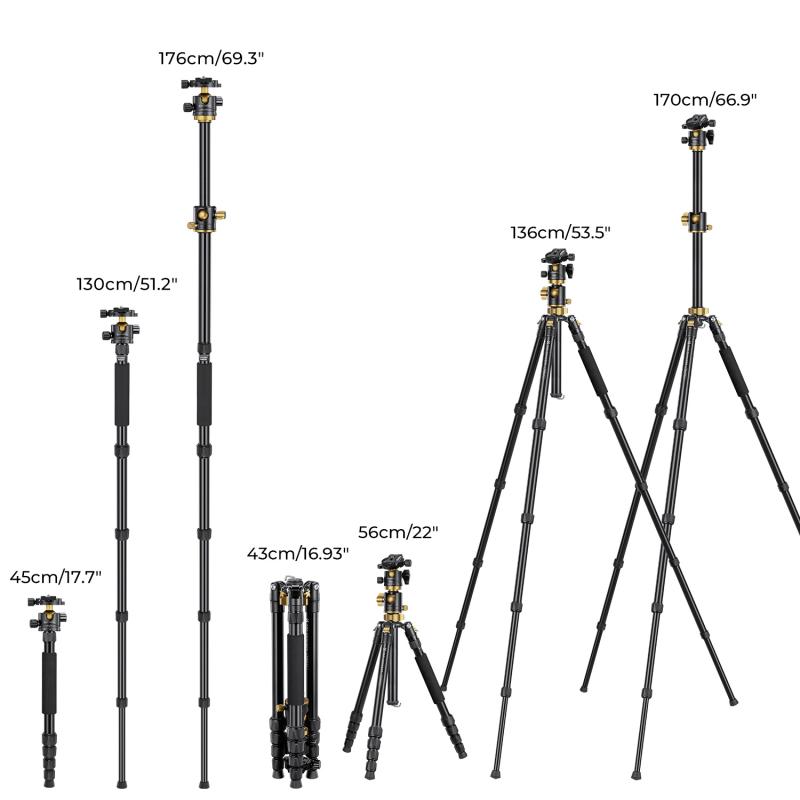
2. Adjust the tripod height: Most tripods have a center column that can be raised or lowered to adjust the height. Loosen the center column lock and raise or lower it to your desired height. Ensure that the tripod is level by using a bubble level or by visually aligning it with the horizon.
3. Secure the center column: Once you have set the desired height, tighten the center column lock to secure it in place. This will prevent any accidental movement while you are using the tripod.
4. Position the tripod legs: Depending on the terrain and your shooting needs, you can adjust the leg angles and position. Most tripods have adjustable leg angles that allow you to set them at different positions, such as wide or narrow stances. This helps in achieving stability on uneven surfaces.
5. Lock the leg positions: After positioning the legs, tighten the leg locks to secure them in place. Ensure that all the leg locks are tightened properly to prevent any wobbling or movement during use.
6. Test stability: Give the tripod a gentle shake to check if it is stable. If it wobbles, readjust the leg positions and tighten the locks until it is stable.
7. Mount your camera: Once the tripod is set up, attach your camera to the tripod head using the appropriate mounting plate or quick-release system. Make sure the camera is securely attached before starting to shoot.
Remember to always follow the manufacturer's instructions for your specific tripod model, as the setup process may vary slightly. Additionally, consider the latest advancements in tripod technology, such as lightweight carbon fiber materials or innovative leg-locking mechanisms, which can enhance stability and ease of use.
4、 Mounting and Securing Your Camera onto the Tripod
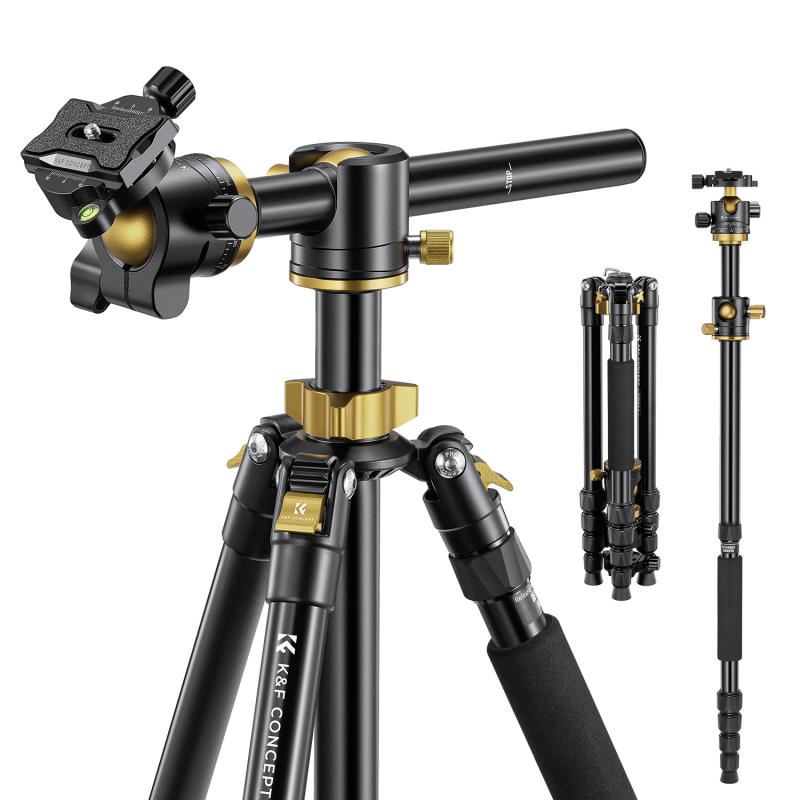
Mounting and securing your camera onto a tripod is a crucial step in achieving stable and shake-free shots. Here's a step-by-step guide on how to set up a tripod properly:
1. Choose a stable location: Find a flat and sturdy surface to place your tripod. Avoid areas with vibrations or uneven ground that could compromise stability.
2. Extend the tripod legs: Unlock the leg locks and extend each leg to your desired height. Make sure all three legs are extended evenly to maintain balance.
3. Adjust the tripod head: Most tripods have a detachable head that allows you to adjust the camera's position. Align the head with the center of the tripod and tighten the locking mechanism.
4. Attach the quick-release plate: The quick-release plate is a small metal or plastic plate that attaches to the bottom of your camera. Slide it into the designated slot on the tripod head and secure it tightly.
5. Mount your camera: Carefully place your camera onto the quick-release plate and ensure it is securely attached. Double-check that the camera is balanced and not tilting to one side.
6. Secure the camera: Once your camera is mounted, tighten the locking mechanism on the tripod head to prevent any movement. Ensure that the camera is stable and doesn't wobble when touched.
7. Fine-tune the position: Adjust the tripod head to position your camera at the desired angle and height. Use the tripod's pan and tilt controls to achieve the desired framing.
8. Test stability: Gently nudge the tripod to check if it remains stable. If it wobbles or feels unsteady, readjust the legs or tighten the locking mechanisms.
Remember, it's essential to follow the manufacturer's instructions for your specific tripod model, as the setup process may vary slightly. Additionally, always be cautious when handling your camera and tripod to avoid any accidental damage.











There are no comments for this blog.