How To Shoot Cooking Video With Tripod ?
To shoot a cooking video with a tripod, first, set up your tripod in a stable position in your kitchen or cooking area. Make sure it is at a height and angle that captures the cooking process effectively. Attach your camera securely to the tripod and adjust the settings as desired. Ensure that the camera is focused on the cooking area and that the frame includes all the necessary elements. Start recording and proceed with your cooking demonstration, making sure to keep the cooking area within the frame. Use smooth and steady movements when moving around the kitchen, and avoid sudden jerks or shaky motions. Monitor the recording periodically to ensure that everything is captured properly. Once you have finished recording, review the footage to ensure it meets your requirements before editing or sharing it.
1、 Camera setup and positioning for cooking video with tripod
Camera setup and positioning for shooting a cooking video with a tripod is essential to ensure that you capture the best angles and shots. Here's a step-by-step guide on how to shoot a cooking video with a tripod:
1. Choose the right camera: Use a camera that has good video quality and manual controls. A DSLR or mirrorless camera with a flip-out screen is ideal as it allows you to monitor the framing while shooting.
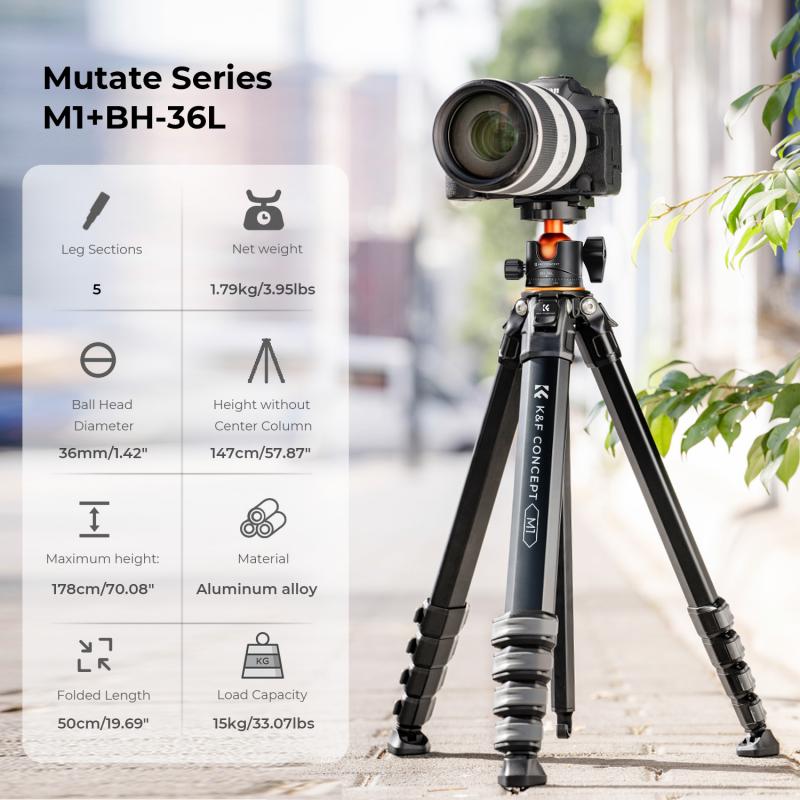
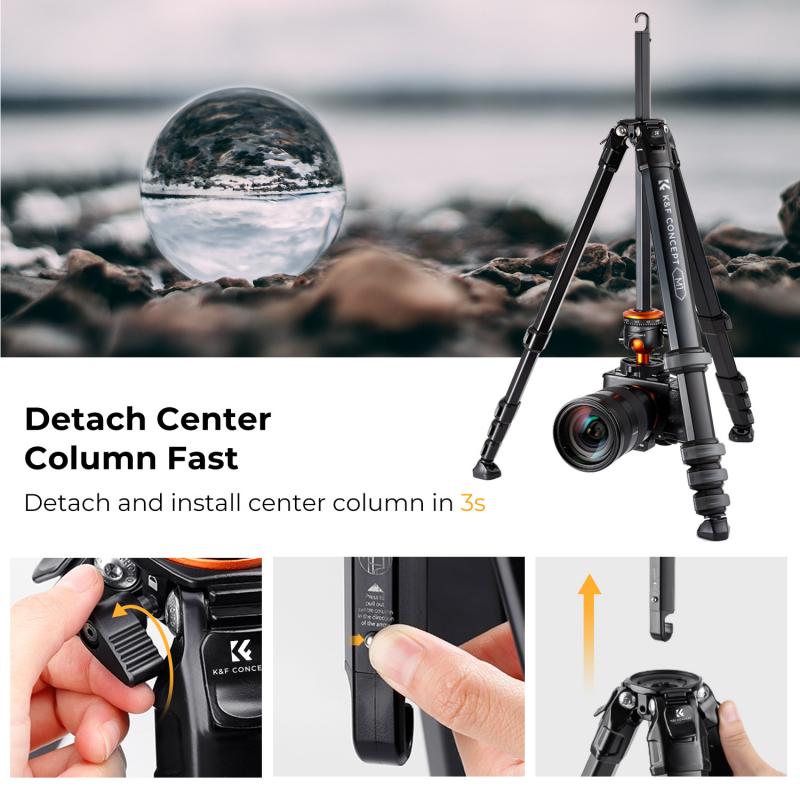
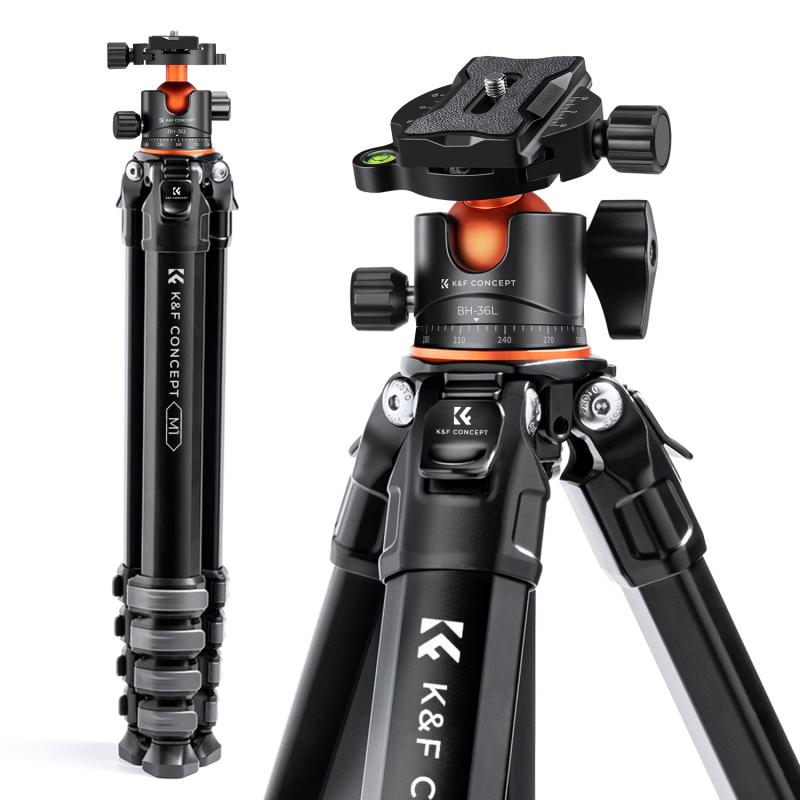
2. Set up the tripod: Place the tripod in a stable position near your cooking area. Make sure it is at a comfortable height and adjust the legs accordingly. Ensure that the tripod head is level.
3. Position the camera: Mount the camera securely onto the tripod head. Position the camera at an angle that captures the cooking area and your hands. Consider shooting from a slightly higher angle to give a better view of the ingredients and cooking process.
4. Frame the shot: Use the rule of thirds to compose your shot. Place the main subject, such as the cutting board or stovetop, slightly off-center. Leave some space around the edges to avoid cutting off any important elements.
5. Focus and exposure: Set the focus on the main subject, ensuring it remains sharp throughout the video. Adjust the exposure settings to ensure proper lighting. Consider using natural light or additional lighting sources to enhance the visibility of the cooking process.
6. Monitor the shot: If your camera has a flip-out screen, use it to monitor the framing and make any necessary adjustments. This will help you ensure that everything is in focus and properly framed.
7. Start recording: Once everything is set up, press the record button and start shooting your cooking video. Make sure to capture all the necessary steps and ingredients, and consider adding close-up shots for more detail.
Remember to experiment with different angles and shots to add variety to your cooking video. By following these steps and using your creativity, you can create engaging and visually appealing cooking videos with a tripod.
2、 Lighting techniques for capturing a cooking video with tripod
Lighting techniques for capturing a cooking video with a tripod are crucial to ensure that your food looks appetizing and visually appealing. Here are some tips to help you achieve the best lighting for your cooking videos:
1. Natural Light: Whenever possible, utilize natural light as your primary source. Position your tripod near a window or in a well-lit area of your kitchen. Natural light provides a soft and flattering illumination that enhances the colors and textures of your food.
2. Diffuse Harsh Light: If the natural light is too harsh or direct, use a diffuser to soften it. You can use a sheer curtain, white fabric, or a professional diffuser to create a more even and gentle lighting effect.
3. Fill Light: To reduce shadows and create a more balanced lighting setup, add a fill light. This can be achieved by using a reflector or a second light source, such as a softbox or a LED panel, positioned opposite the main light source. The fill light helps to illuminate the darker areas and adds depth to your video.
4. Backlighting: Consider adding a backlight behind your subject to create separation and depth. This can be achieved by placing a light source behind the food, slightly off to the side. Backlighting adds a beautiful glow and highlights the textures of the food.
5. White Balance: Ensure that your camera's white balance is set correctly to accurately capture the colors of your food. You can use a white balance card or manually adjust the settings to match the lighting conditions.
6. Experiment and Adjust: Every kitchen and setup is different, so don't be afraid to experiment with different lighting techniques and angles. Take test shots and adjust the lighting as needed to achieve the desired look.
Remember, the key to capturing a visually appealing cooking video is to have well-lit and properly exposed shots. By following these lighting techniques, you can create mouthwatering videos that engage your audience and make them want to try your recipes.
3、 Framing and composition tips for shooting a cooking video with tripod
Framing and composition are crucial elements when shooting a cooking video with a tripod. Here are some tips to help you capture the best shots and create an engaging cooking video:
1. Plan your shots: Before you start filming, have a clear idea of the shots you want to capture. Consider the different angles and perspectives that will showcase the cooking process effectively.
2. Use the rule of thirds: Divide your frame into a 3x3 grid and position your subject along the lines or at the intersections. This technique adds balance and visual interest to your shots.
3. Experiment with different angles: Try shooting from various angles to add variety to your video. Capture close-ups of ingredients being chopped, overhead shots of the cooking process, and wide shots of the entire cooking area.
4. Pay attention to lighting: Good lighting is essential for a high-quality cooking video. Utilize natural light as much as possible, positioning your setup near a window. If needed, use artificial lighting to ensure your subject is well-lit and colors are accurate.
5. Consider the background: Choose a clean and clutter-free background that complements your subject. Avoid distractions that may take away from the focus of the video.
6. Utilize camera movements: Add dynamic elements to your video by incorporating camera movements. Slow pans or tilts can help highlight specific actions or ingredients.
7. Keep the camera steady: Use a tripod to ensure your shots are stable and smooth. This will prevent shaky footage and provide a professional look to your video.
8. Edit with precision: After shooting, carefully select the best shots and edit them together to create a cohesive cooking video. Trim any unnecessary footage and add transitions or text overlays as needed.
Remember, the latest point of view in shooting cooking videos is to create content that is visually appealing and engaging. Incorporate your own unique style and personality to make your videos stand out.
4、 Camera settings and adjustments for filming a cooking video with tripod
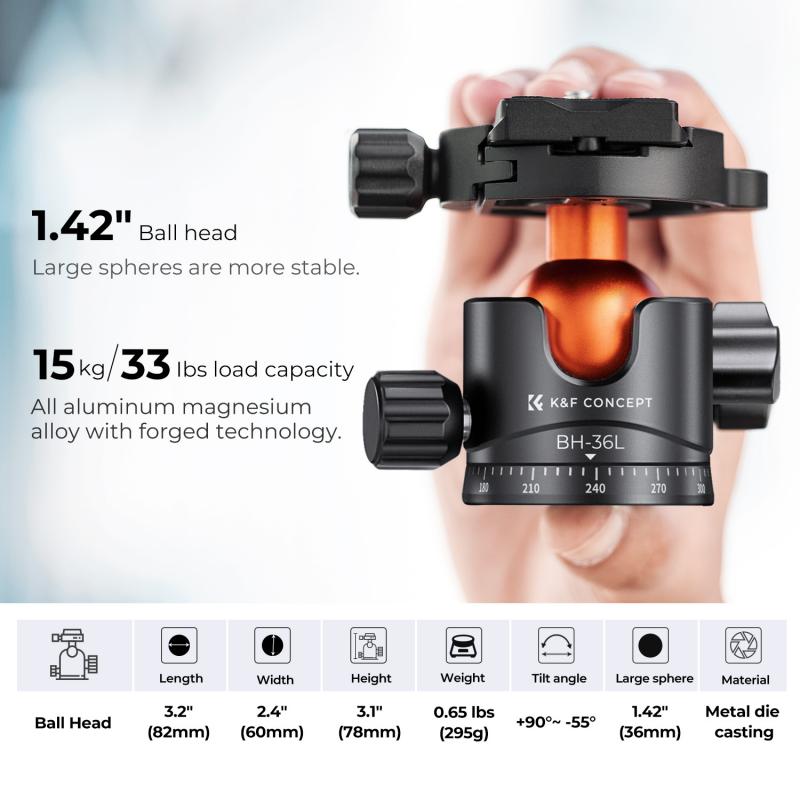
To shoot a cooking video with a tripod, there are a few key considerations to keep in mind. First, ensure that your tripod is sturdy and stable, as you don't want any wobbling or shaking during filming. Set up your tripod at a suitable height and angle that allows for a clear view of the cooking area.
Next, consider the camera settings and adjustments for filming. Start by setting your camera to manual mode, as this gives you more control over the exposure and focus. Adjust the ISO to the appropriate level for the lighting conditions in your kitchen. Generally, a lower ISO is preferred to minimize noise in the footage.
For the aperture, choose a setting that provides a wide depth of field, so that both the ingredients and the cooking process are in focus. A range between f/4 and f/8 is often a good starting point. Adjust the shutter speed accordingly to achieve proper exposure, keeping in mind that a slower shutter speed may result in motion blur if there is movement in the frame.
Consider using a remote shutter release or the self-timer function to avoid any camera shake when pressing the shutter button. This will help ensure sharp and steady footage.
Lastly, don't forget to white balance your camera to accurately capture the colors of the food. You can either set a custom white balance using a gray card or adjust it manually based on the lighting conditions in your kitchen.
Remember, these settings can vary depending on your specific camera model and the lighting conditions in your kitchen. It's always a good idea to experiment and make adjustments as needed to achieve the desired results.
