How To Shoot Portrait On A Tripod ?
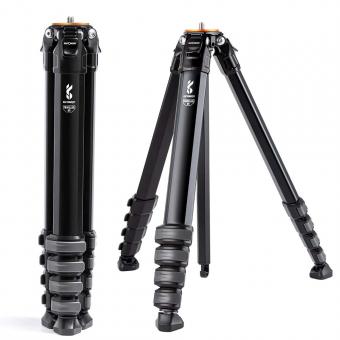
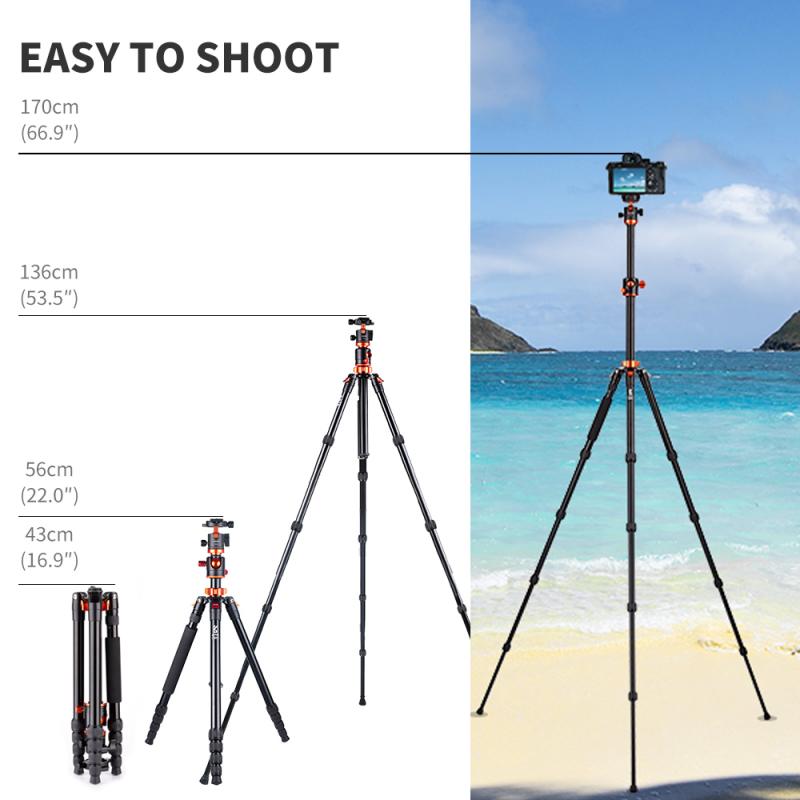
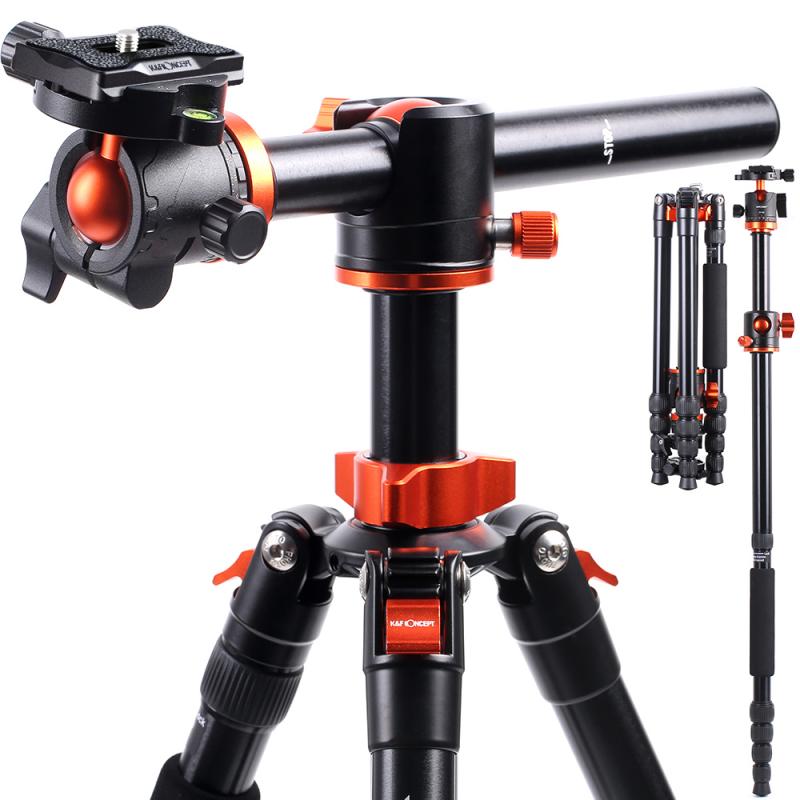
To shoot a portrait on a tripod, first, set up your tripod at a suitable height and position. Ensure that the tripod is stable and secure. Next, attach your camera to the tripod using the appropriate mounting plate or attachment. Adjust the camera settings according to your desired exposure and composition. Consider using a wide aperture (low f-stop number) to achieve a shallow depth of field and blur the background. Position your subject in the frame, ensuring that they are well-lit and in focus. Communicate with your subject to achieve a desired pose or expression. Once everything is set, use a remote shutter release or a self-timer to capture the portrait without any camera shake. Review the image on your camera's LCD screen and make any necessary adjustments. Experiment with different angles, lighting, and compositions to capture unique and compelling portraits.
1、 Camera Settings for Portrait Photography on a Tripod
Camera Settings for Portrait Photography on a Tripod
When shooting portraits on a tripod, it is important to consider the camera settings that will help you capture stunning and sharp images. Here are some key settings to keep in mind:
1. Aperture: Choose a wide aperture (small f-number) to create a shallow depth of field, which will help your subject stand out from the background. This will also create a pleasing bokeh effect. However, be cautious not to use an aperture that is too wide, as it may result in a very narrow depth of field, causing parts of your subject to be out of focus.
2. ISO: Set your ISO to the lowest possible value to minimize noise in your images. When shooting in well-lit conditions, a low ISO such as 100 or 200 will suffice. However, if you are shooting in low light, you may need to increase the ISO to maintain a proper exposure.
3. Shutter Speed: Since you are shooting on a tripod, you have the luxury of using a slower shutter speed without worrying about camera shake. This allows you to capture more light and detail in your images. However, if your subject is moving, you may need to adjust the shutter speed accordingly to avoid motion blur.
4. White Balance: Pay attention to the white balance settings to ensure accurate color reproduction. You can either set it manually based on the lighting conditions or use the auto white balance mode.
5. Focus: When shooting portraits, it is crucial to have precise focus on your subject's eyes. Use manual focus or select a single-point autofocus mode to ensure sharpness where it matters most.
6. Composition: While not a camera setting, composition plays a vital role in portrait photography. Experiment with different angles, framing, and poses to capture the essence of your subject.
Remember, these settings can vary depending on the lighting conditions, the desired effect, and the specific camera you are using. It is always a good idea to experiment and adjust accordingly to achieve the best results.
2、 Lighting Techniques for Portrait Photography on a Tripod
Lighting Techniques for Portrait Photography on a Tripod
When shooting portraits on a tripod, it is important to pay attention to lighting techniques to ensure that your subjects are well-lit and the overall composition is visually appealing. Here are some tips to help you achieve great results:
1. Utilize natural light: Position your subject near a window or in an outdoor setting where natural light is abundant. This will provide a soft and flattering light source for your portraits. Experiment with different angles and positions to find the most flattering light.
2. Use reflectors: Reflectors are a great tool to bounce light back onto your subject and fill in any shadows. Place a reflector opposite the light source to create a more balanced and even lighting effect. Reflectors come in various colors, so choose one that complements your subject's skin tone.
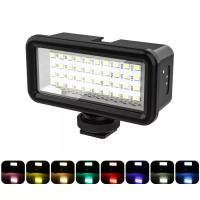
3. Consider artificial lighting: If natural light is not sufficient or available, consider using artificial lighting. Studio lights or off-camera flashes can be positioned to create the desired lighting effect. Use diffusers or softboxes to soften the light and avoid harsh shadows.
4. Experiment with different lighting setups: Depending on the mood and style you want to achieve, try different lighting setups. For example, a classic three-point lighting setup with a key light, fill light, and backlight can create a well-balanced and dimensional portrait. Alternatively, you can experiment with low-key or high-key lighting for more dramatic effects.
5. Pay attention to the background: A well-lit subject can be easily overshadowed by a distracting or poorly lit background. Ensure that the background complements your subject and does not take away from the overall composition. Consider using a backdrop or adjusting the lighting on the background to create separation between the subject and the surroundings.
Remember, lighting is a crucial aspect of portrait photography, and shooting on a tripod allows you to have more control over the composition. Experiment with different lighting techniques, be creative, and adapt to the specific needs of each portrait session.
3、 Posing and Composition Tips for Portrait Photography on a Tripod
Posing and Composition Tips for Portrait Photography on a Tripod
When shooting portraits on a tripod, there are several key factors to consider in order to capture stunning and well-composed images. Here are some tips to help you achieve the best results:
1. Choose the right location: Select a location that complements your subject and enhances the overall mood of the portrait. Consider the background, lighting conditions, and any potential distractions that may affect the composition.
2. Set up your tripod: Ensure that your tripod is stable and positioned at the desired height and angle. Take your time to find the perfect framing for your subject, keeping in mind the rule of thirds or other composition techniques.
3. Communicate with your subject: Establish a rapport with your subject and guide them through the posing process. Provide clear instructions and suggestions to help them feel comfortable and confident in front of the camera.
4. Pay attention to body language: Encourage your subject to adopt natural and relaxed poses. Avoid stiff or awkward positions by asking them to shift their weight, vary their facial expressions, or interact with their surroundings.
5. Experiment with different angles: While shooting on a tripod may limit your mobility, you can still explore various angles by adjusting the height and position of your tripod. Try shooting from a lower or higher perspective to add depth and interest to your portraits.
6. Utilize the environment: Incorporate elements from the surroundings to enhance the composition. This could include using leading lines, framing your subject with objects, or utilizing natural light to create a specific mood.
7. Focus on details: Pay attention to small details such as hand placement, facial expressions, and body positioning. These subtle nuances can greatly impact the overall feel and message of the portrait.
In conclusion, shooting portraits on a tripod requires careful attention to posing and composition. By selecting the right location, communicating effectively with your subject, and experimenting with angles and environmental elements, you can capture stunning and impactful portraits that truly stand out.
4、 Focusing and Depth of Field in Portrait Photography on a Tripod
Focusing and Depth of Field in Portrait Photography on a Tripod
When shooting portraits on a tripod, there are a few key factors to consider in order to achieve sharp focus and control over depth of field. Here's a guide on how to shoot portrait photography on a tripod:
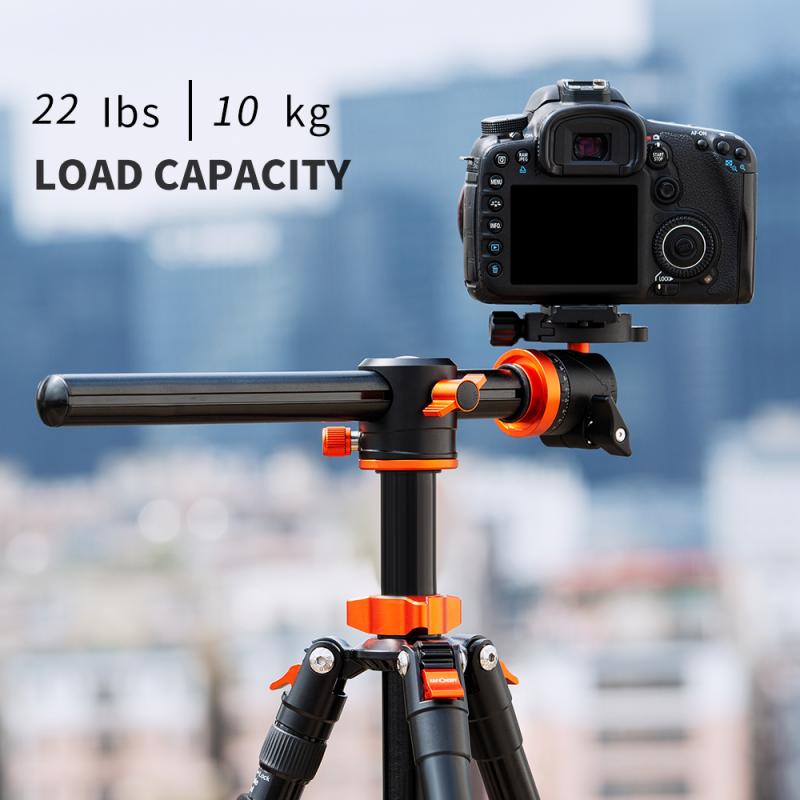
1. Set up your tripod: Choose a sturdy tripod and adjust its height and position to frame your subject. Ensure that the tripod is stable and won't move during the shoot.
2. Select the appropriate aperture: Aperture plays a crucial role in controlling depth of field. For portraits, it's common to use a wide aperture (small f-number) to achieve a shallow depth of field, which helps to isolate the subject from the background. However, the exact aperture setting will depend on the desired effect and the lens you're using.
3. Use manual focus: When shooting on a tripod, it's best to switch to manual focus mode. This allows you to have complete control over where you want to focus. Use the camera's focus assist tools, such as focus peaking or magnification, to ensure precise focus on the subject's eyes or the desired focal point.
4. Consider the distance: The distance between the subject and the camera affects depth of field. The closer the subject is to the camera, the shallower the depth of field will be. Experiment with different distances to achieve the desired effect.
5. Utilize a remote shutter release or self-timer: To avoid camera shake when pressing the shutter button, use a remote shutter release or the camera's self-timer function. This ensures that the camera remains perfectly still during the exposure.
6. Check the lighting: Proper lighting is essential for portrait photography. Consider using natural light or artificial lighting setups to enhance the subject's features and create the desired mood.
In recent years, advancements in technology have introduced features like eye-tracking autofocus, which can be beneficial when shooting portraits on a tripod. These features help to ensure accurate focus on the subject's eyes, resulting in sharper and more engaging portraits.
Remember, practice is key to mastering portrait photography on a tripod. Experiment with different settings, compositions, and lighting conditions to develop your own unique style and capture stunning portraits.
