How To Shoot With A Monopod ?
To shoot with a monopod, start by attaching your camera securely to the monopod's mounting plate. Adjust the height of the monopod to a comfortable position, ensuring that it provides stability. Hold the monopod firmly with one hand while using your other hand to operate the camera controls. Keep your body and arms relaxed to minimize camera shake. Use the monopod as a support to stabilize your camera while shooting. Maintain a steady posture and try to keep the monopod as still as possible. Additionally, consider using a remote shutter release or the camera's self-timer function to further reduce any potential camera shake. Experiment with different shooting angles and positions to achieve the desired composition. Practice and experience will help you improve your technique and capture steady shots with a monopod.
1、 Proper monopod setup and positioning for stable shooting
Proper monopod setup and positioning for stable shooting is essential to achieve steady and sharp images. Here's a step-by-step guide on how to shoot with a monopod:
1. Choose the right monopod: Select a monopod that suits your needs and equipment. Consider its weight capacity, height, and stability.
2. Attach your camera: Securely mount your camera onto the monopod using a quick-release plate or a compatible mounting system. Ensure it is tightly fastened to avoid any wobbling.
3. Adjust the monopod height: Extend the monopod to a comfortable height that allows you to shoot without straining. Avoid fully extending it as it may compromise stability.
4. Position your feet: Stand with your feet shoulder-width apart and slightly bend your knees. This stable stance will help minimize any unwanted movement.
5. Hold the monopod correctly: Grip the monopod firmly with one hand, closer to the top, while using your other hand to control the camera settings and shutter release.
6. Use a tripod head: Consider using a tripod head with a ball or tilt function to allow for smooth panning and tilting movements.
7. Stabilize the monopod: Lean the monopod against a solid object like a wall or tree to provide additional stability. Alternatively, you can use your body as a brace by pressing the monopod against your chest or shoulder.
8. Practice proper technique: Keep your elbows tucked in and your movements slow and deliberate. Avoid sudden jerks or movements that can introduce camera shake.
9. Utilize image stabilization: If your camera or lens has image stabilization, activate it to further reduce any potential shake.
10. Experiment and adjust: Try different shooting positions and angles to find what works best for your specific situation. Practice regularly to improve your stability and shooting technique.
It's worth noting that while a monopod provides stability compared to handheld shooting, it may not offer the same level of stability as a tripod. Therefore, it's important to choose the right shooting technique and equipment based on your specific needs and shooting conditions.
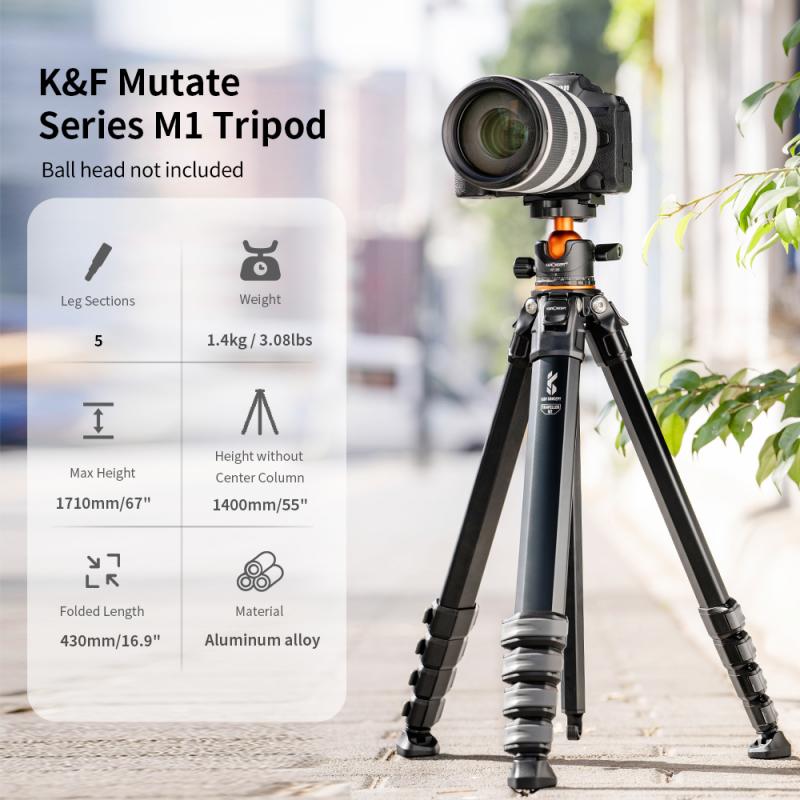
2、 Adjusting monopod height and angle for desired composition
To shoot with a monopod, the first step is to adjust the monopod's height and angle for your desired composition. This will ensure stability and help you capture the best possible shots.
Start by extending the monopod to a comfortable height. It should be tall enough to reach your eye level when you're holding it, but not so tall that it becomes difficult to control. Most monopods have adjustable sections that can be locked into place at different heights.
Next, consider the angle at which you want to shoot. This will depend on the subject and the type of shot you're aiming for. For example, if you're shooting a landscape, you may want to keep the monopod straight up and down. However, if you're capturing a low-angle shot, you can tilt the monopod slightly forward.
Once you have adjusted the height and angle, make sure to tighten the locks on the monopod to secure it in place. This will prevent any unwanted movement or wobbling during the shoot.
When shooting, hold the monopod firmly with one hand and use your other hand to operate the camera. This will provide additional stability and control. Keep your body relaxed and use slow, steady movements to pan or tilt the camera as needed.
Remember to practice and experiment with different heights and angles to find what works best for your specific shooting style and subject. With time and experience, you'll develop a better understanding of how to shoot with a monopod and capture stunning images.
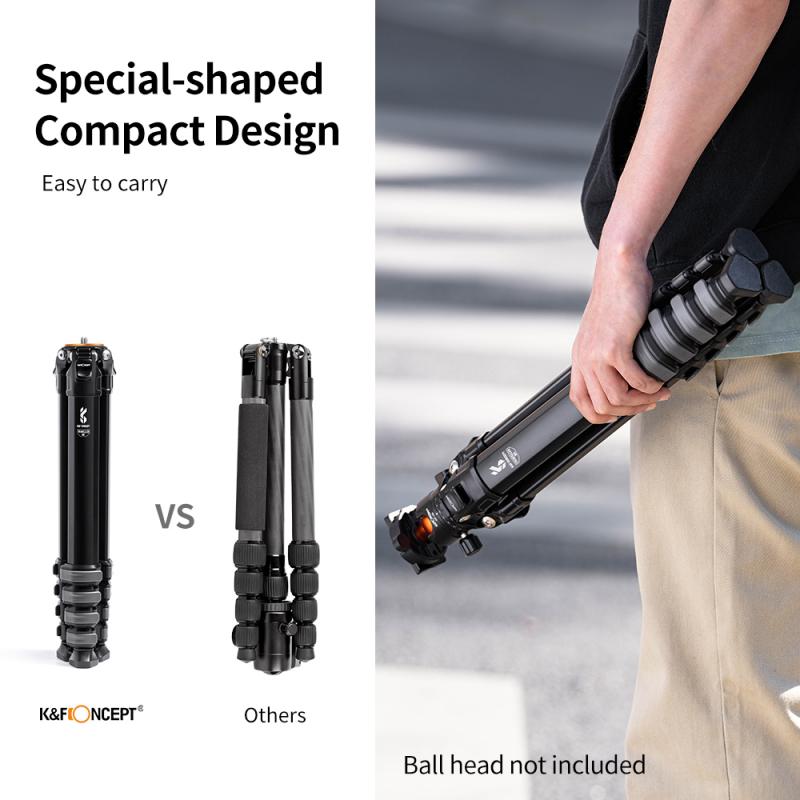
3、 Techniques for maintaining balance and reducing camera shake
How to shoot with a monopod:
Using a monopod can greatly improve stability and reduce camera shake while shooting. Here are some techniques to help you maintain balance and capture steady shots:
1. Proper grip: Hold the monopod firmly with one hand, while keeping your other hand on the camera. This will provide stability and control over your equipment.
2. Stance: Stand with your feet shoulder-width apart and slightly bend your knees. This will help you maintain balance and absorb any movement or vibrations.
3. Use a tripod head: Consider using a tripod head with a quick-release plate to attach your camera securely to the monopod. This will allow for smooth panning and tilting movements.
4. Adjust the height: Set the monopod's height to a comfortable level, ensuring that it reaches your eye level when extended. This will help you maintain a steady shooting position.
5. Lean against a support: If available, lean against a wall, tree, or any other stable object to further stabilize yourself and the monopod.
6. Use image stabilization: If your camera or lens has built-in image stabilization, activate it to further reduce camera shake.
7. Control your breathing: Take a deep breath, exhale slowly, and press the shutter release gently during the exhale. This technique can help minimize any movement caused by your breathing.
8. Shoot in burst mode: Capture multiple frames in quick succession to increase the chances of getting a sharp image.
9. Practice and experiment: Familiarize yourself with shooting techniques using a monopod by practicing in different scenarios. Experiment with different settings and angles to find what works best for you.
In recent years, advancements in technology have introduced monopods with additional features such as built-in stabilizers or gimbals. These can further enhance stability and reduce camera shake. Additionally, some monopods now come with wireless remote controls or smartphone apps, allowing you to trigger the camera remotely and minimize any movement caused by pressing the shutter release button.
Remember, while a monopod can significantly improve stability, it is not a substitute for a tripod in situations that require maximum stability, such as long exposures or heavy telephoto lenses. However, with the right techniques and practice, shooting with a monopod can help you achieve sharp and steady shots in a variety of situations.
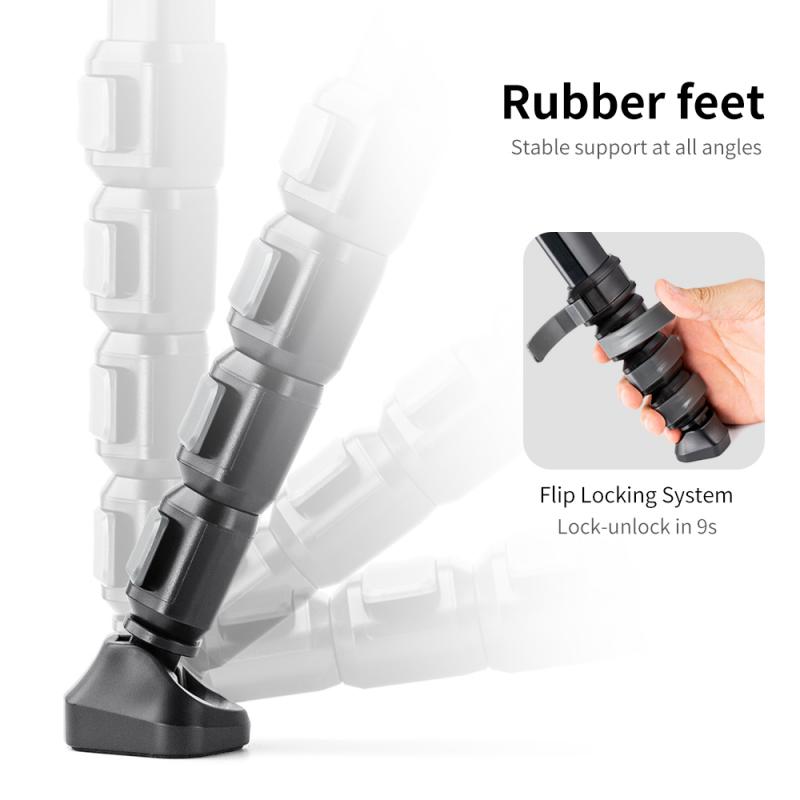
4、 Using monopod with different camera lenses and focal lengths
Using a monopod can greatly improve the stability of your shots, especially when using longer lenses or shooting in low light conditions. Here's a guide on how to shoot with a monopod and how to adapt it to different camera lenses and focal lengths.
1. Attach your camera securely: Start by attaching your camera to the monopod using a quick-release plate or a tripod mount. Make sure it is securely fastened to avoid any accidents.
2. Adjust the monopod height: Extend the monopod to a comfortable height that allows you to shoot without straining your arms. Most monopods have adjustable sections that can be locked in place.
3. Hold the monopod correctly: Grip the monopod firmly with one hand, keeping it steady. This hand will act as a stabilizer while shooting. Use your other hand to operate the camera controls.
4. Stabilize your stance: Stand with your feet shoulder-width apart and slightly bend your knees. This will provide a stable base and help minimize any unwanted movement.
5. Use a remote shutter release: To further reduce camera shake, use a remote shutter release or the self-timer function on your camera. This will prevent any movement caused by pressing the shutter button.
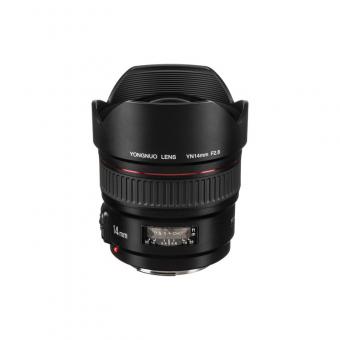
6. Adapt to different lenses and focal lengths: When using longer lenses or shooting at higher focal lengths, it's important to be extra cautious. The longer the lens, the more susceptible it is to camera shake. Consider using a lens with image stabilization or a faster shutter speed to compensate for any movement.
7. Experiment and practice: Shooting with a monopod may take some getting used to. Experiment with different techniques and practice regularly to improve your stability and achieve sharper images.
In conclusion, shooting with a monopod can greatly enhance the stability of your shots, allowing you to capture sharper images. By following these steps and adapting to different lenses and focal lengths, you can make the most out of your monopod and achieve professional-looking results.





There are no comments for this blog.