How To Stabilize A Monopod ?
To stabilize a monopod, you can use various techniques and accessories. One common method is to use your body as a counterbalance by leaning against the monopod while shooting. Another option is to attach a weight or a sandbag to the base of the monopod to provide additional stability. Additionally, using a monopod with a built-in stabilizing feature, such as a retractable tripod base or a three-legged foot, can help improve stability.
1、 Adjusting the monopod height and leg angle for stability
How to stabilize a monopod: Adjusting the monopod height and leg angle for stability
When using a monopod for photography or videography, it is essential to stabilize it properly to ensure steady shots. While a monopod offers more mobility compared to a tripod, it can still be prone to shaking or wobbling. Here are some tips on how to stabilize a monopod effectively:
1. Adjust the monopod height: The height of the monopod plays a crucial role in stability. Extend the monopod to a height that allows you to comfortably hold it while keeping your camera at eye level. Avoid fully extending the monopod as it can make it more susceptible to vibrations. Instead, leave a few sections retracted to provide better stability.
2. Set the leg angle: Most monopods come with adjustable leg angles. Experiment with different angles to find the one that offers the best stability for your specific shooting situation. Generally, a wider leg angle provides more stability, especially when shooting in windy conditions or on uneven surfaces.
3. Use a monopod with a stabilizing foot: Some monopods come with a detachable stabilizing foot or a tripod base. These accessories can significantly enhance stability by providing a wider base of support. Attach the stabilizing foot when shooting in situations that require maximum stability, such as low-light conditions or when using heavy lenses.
4. Utilize proper hand placement: To further stabilize the monopod, grip it firmly with your dominant hand while keeping your other hand on the camera. This technique helps to minimize any unwanted movement or shaking.
5. Lean against a stable object: When shooting in challenging conditions, such as in crowded areas or during long exposures, lean against a wall, tree, or any other stable object. This additional support can help reduce any potential movement and improve stability.
6. Consider using image stabilization: If your camera or lens has built-in image stabilization, activate it. This feature compensates for small movements and vibrations, resulting in sharper images.
It is important to note that while these tips can significantly improve stability, they may not completely eliminate all vibrations. Therefore, it is always recommended to use proper shooting techniques, such as maintaining a steady posture and using a remote shutter release or timer, to further minimize any potential camera shake.
2、 Using a weighted base or tripod attachment for added stability
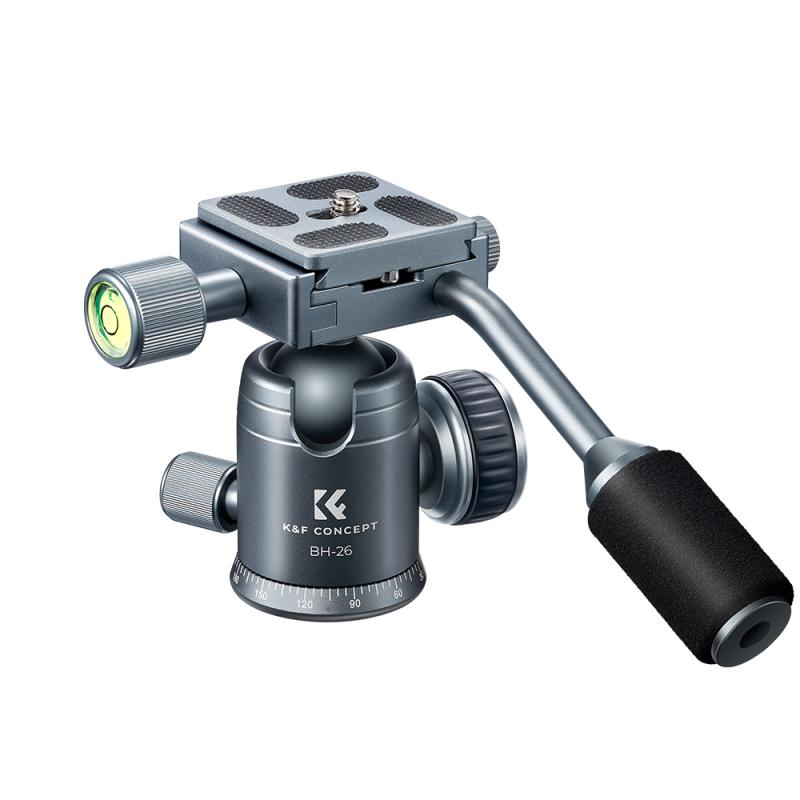
How to stabilize a monopod? One effective method is to use a weighted base or tripod attachment for added stability. By attaching a weighted base or tripod to the bottom of the monopod, you can significantly reduce the chances of it tipping over or shaking during use.
A weighted base is a simple and convenient solution. It typically consists of a flat, heavy plate that can be attached to the bottom of the monopod. The weight of the base helps to counterbalance the weight of the camera and lens, providing a more stable platform. Some weighted bases also come with rubberized feet or spikes to further enhance stability on different surfaces.
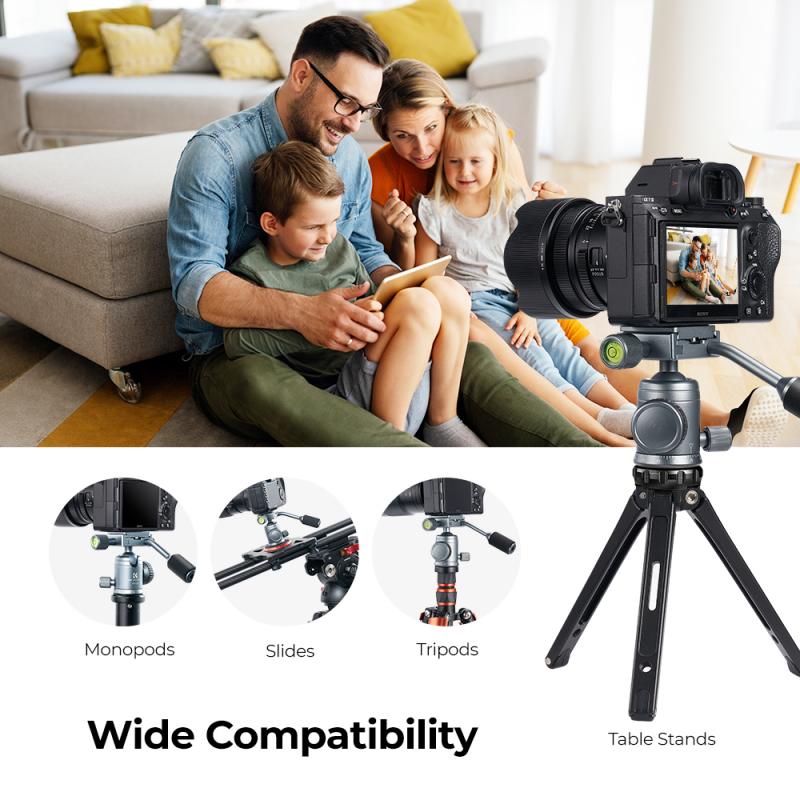
Alternatively, a tripod attachment can be used to stabilize a monopod. This attachment allows you to convert your monopod into a tripod by extending three legs from the base. The legs can be adjusted to different angles and heights, providing a solid and stable support for your camera. This option is particularly useful when shooting in low light conditions or when using heavy equipment.
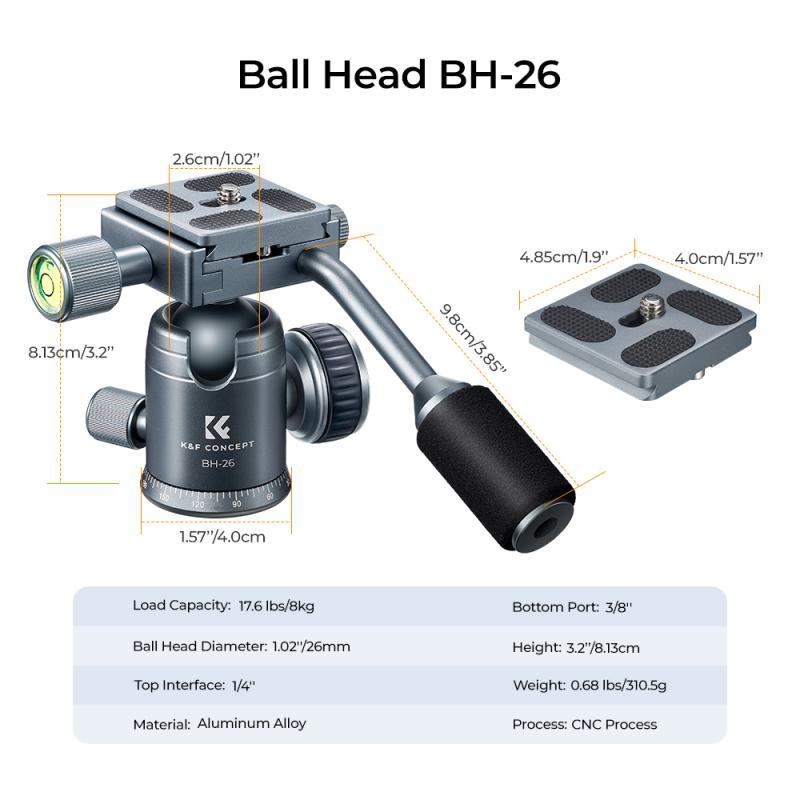
It is worth noting that advancements in technology have led to the development of monopods with built-in stabilization features. These monopods often come with a fluid head or a gimbal mechanism that helps to minimize camera shake and improve stability. These features can be especially beneficial for videographers or photographers who require smooth and steady shots.
In conclusion, stabilizing a monopod can be achieved by using a weighted base or tripod attachment. These accessories provide added stability and help to minimize camera shake, ensuring better image quality. Additionally, the latest monopods with built-in stabilization features offer even more options for achieving stable shots.
3、 Utilizing a monopod with a built-in stabilizing feature
Utilizing a monopod with a built-in stabilizing feature is an excellent way to stabilize your camera and capture steady shots. These monopods are designed with advanced technology to minimize camera shake and provide a stable platform for photography or videography.
To stabilize a monopod with a built-in stabilizing feature, follow these steps:
1. Extend the monopod to your desired height and lock it securely in place. Ensure that all the sections are tightly fastened to prevent any wobbling.
2. Attach your camera to the monopod using the quick-release plate or mounting screw. Make sure it is securely fastened to avoid any accidental falls.
3. Activate the built-in stabilizing feature on the monopod. This feature may vary depending on the model, but it usually involves a switch or button that engages the stabilization mechanism.
4. Hold the monopod firmly with one hand while gripping the camera with the other. This dual grip will provide additional stability and control over your shots.
5. Keep your body and arms relaxed while shooting. Avoid any sudden movements or jerks that could introduce camera shake.
6. Use proper posture and technique while shooting. Stand with your feet shoulder-width apart and slightly bend your knees for added stability. Keep your elbows close to your body and use your body as a natural stabilizer.
7. Take advantage of the monopod's swivel or tilt head to adjust the camera angle and composition. This will allow you to capture different perspectives while maintaining stability.
Utilizing a monopod with a built-in stabilizing feature can greatly enhance the quality of your photographs or videos. It provides a solid foundation and reduces the risk of blurry or shaky shots, even in challenging shooting conditions.
Remember to always check the manufacturer's instructions for your specific monopod model, as the stabilization features may vary. Additionally, staying up to date with the latest advancements in monopod technology can help you make informed decisions when choosing the right equipment for your needs.
4、 Applying proper hand placement and grip techniques
How to stabilize a monopod: Applying proper hand placement and grip techniques
Stabilizing a monopod is essential to ensure sharp and steady shots, especially when shooting with heavy equipment or in challenging conditions. While a monopod provides some stability compared to handheld shooting, it still requires proper hand placement and grip techniques to maximize its effectiveness.
Firstly, it is crucial to hold the monopod with both hands. Place one hand on the top of the monopod, near the camera mount, and the other hand on the middle or lower section of the monopod. This dual-hand grip provides better control and stability, allowing you to make precise adjustments and minimize camera shake.
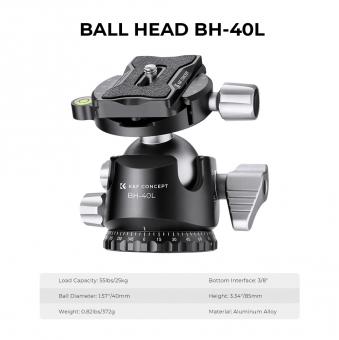
To further stabilize the monopod, consider using a tripod head with a quick-release plate. This allows you to securely attach your camera to the monopod and easily detach it when needed. The quick-release plate also adds stability by distributing the weight evenly and reducing the risk of the camera tipping over.
Another technique to stabilize the monopod is to lean against a solid object, such as a wall or tree, while shooting. This additional support helps to minimize any unwanted movement and provides a steady base for capturing your shots.
In recent years, advancements in technology have introduced monopods with built-in stabilization systems. These systems use gyroscopes and accelerometers to detect and counteract camera movement, resulting in smoother footage. While these electronic stabilization systems can be beneficial, it is still important to apply proper hand placement and grip techniques for optimal stability.
In conclusion, stabilizing a monopod involves applying proper hand placement and grip techniques. Holding the monopod with both hands, using a tripod head with a quick-release plate, and leaning against a solid object are effective ways to stabilize your shots. Additionally, the latest advancements in monopod technology offer built-in stabilization systems that can further enhance stability. By combining these techniques and utilizing the latest innovations, you can achieve sharp and steady footage with your monopod.












There are no comments for this blog.