How To Starp The Strap On A Camera ?
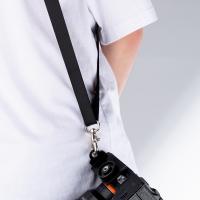
To start the strap on a camera, first locate the strap lugs on either side of the camera body. These are typically small metal loops or rings. Next, attach one end of the strap to one of the lugs by threading it through the loop and securing it with the provided clip or buckle. Repeat this process for the other end of the strap and the remaining lug. Adjust the length of the strap to your desired length and ensure that it is securely fastened to the camera before use.
1、 Identify the strap connectors on the camera
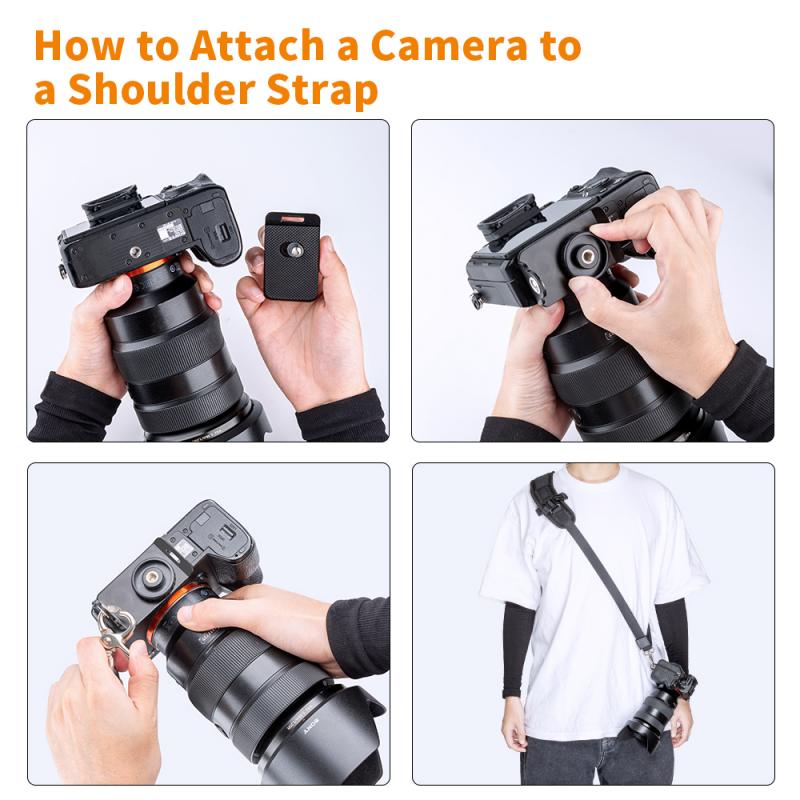
Identify the strap connectors on the camera. The strap connectors are usually located on the sides of the camera body, near the top. They are small metal loops or rings that are designed to attach the camera strap to the camera. Some cameras may have only one strap connector, while others may have two.
To strap on a camera, first, locate the strap connectors on the camera. Then, attach one end of the camera strap to one of the connectors. This is usually done by threading the strap through the loop or ring and then pulling it tight. Repeat the process for the other end of the strap and the other connector.
It is important to make sure that the strap is securely attached to the camera before using it. This will help prevent the camera from accidentally falling or slipping out of your hands.
In recent years, there has been a trend towards using more comfortable and ergonomic camera straps. These straps are designed to distribute the weight of the camera more evenly across your body, reducing strain and fatigue. Some straps also feature quick-release mechanisms that allow you to easily detach the camera from the strap when needed.
2、 Thread the strap through the connectors
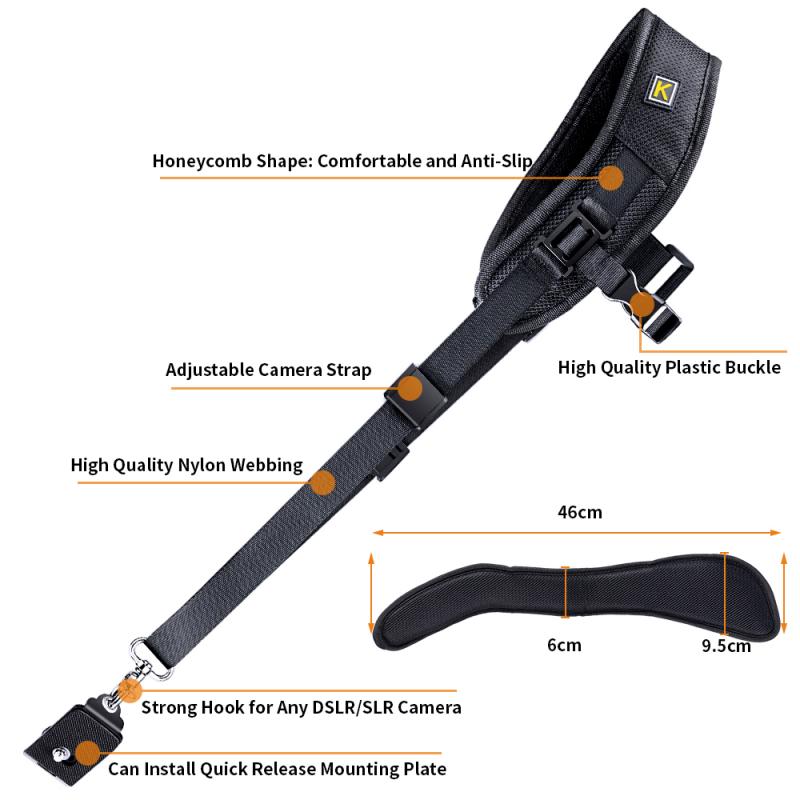
To start the strap on a camera, the first step is to locate the connectors on the camera body. These connectors are usually located on the sides of the camera and are designed to hold the strap securely in place. Once you have located the connectors, the next step is to thread the strap through them.
To do this, you will need to take one end of the strap and thread it through one of the connectors. Then, pull the strap through until it is snug against the connector. Repeat this process with the other end of the strap and the other connector.
It is important to ensure that the strap is threaded through the connectors securely to prevent the camera from falling or slipping. You can test the security of the strap by gently tugging on it to make sure it is firmly attached to the camera.
In recent years, there has been a trend towards using more comfortable and ergonomic camera straps. These straps are designed to distribute the weight of the camera more evenly across the body, reducing strain and fatigue. Some of these straps also feature quick-release mechanisms, making it easier to detach the camera from the strap when needed.
Overall, threading the strap through the connectors is a simple process that can be done quickly and easily. By taking the time to ensure that the strap is securely attached, you can enjoy peace of mind knowing that your camera is safe and secure while you are out shooting.
3、 Adjust the length of the strap to your preference
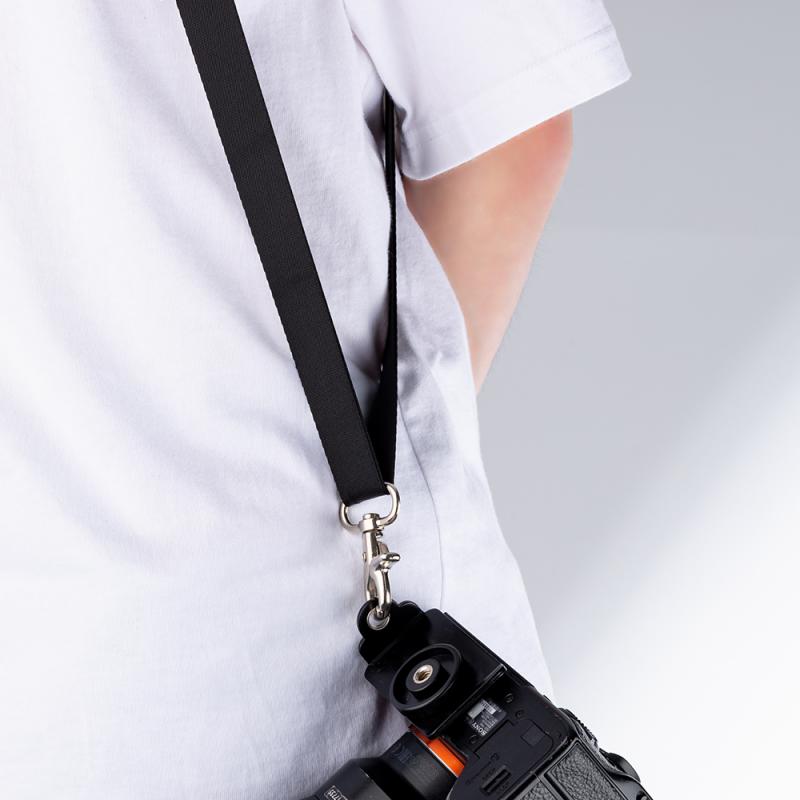
To start the strap on a camera, first, locate the strap lugs on either side of the camera body. These lugs are usually located near the top of the camera and are designed to hold the strap securely in place. Once you have located the lugs, attach the strap to the camera by threading it through the lugs and securing it in place.
Next, adjust the length of the strap to your preference. This is an important step as it will ensure that the camera is comfortable to wear and easy to access when you need it. To adjust the length of the strap, simply slide the adjuster up or down until you find the perfect length.
It is also important to consider the type of strap you are using. There are many different types of camera straps available, including neck straps, wrist straps, and shoulder straps. Each type of strap has its own advantages and disadvantages, so it is important to choose the one that best suits your needs.
Finally, make sure that the strap is securely attached to the camera before you start using it. This will help to prevent any accidents or damage to your camera.
In conclusion, starting the strap on a camera is a simple process that can be done in just a few minutes. By following these steps and choosing the right type of strap, you can ensure that your camera is comfortable to wear and easy to access whenever you need it.
4、 Ensure the strap is securely fastened
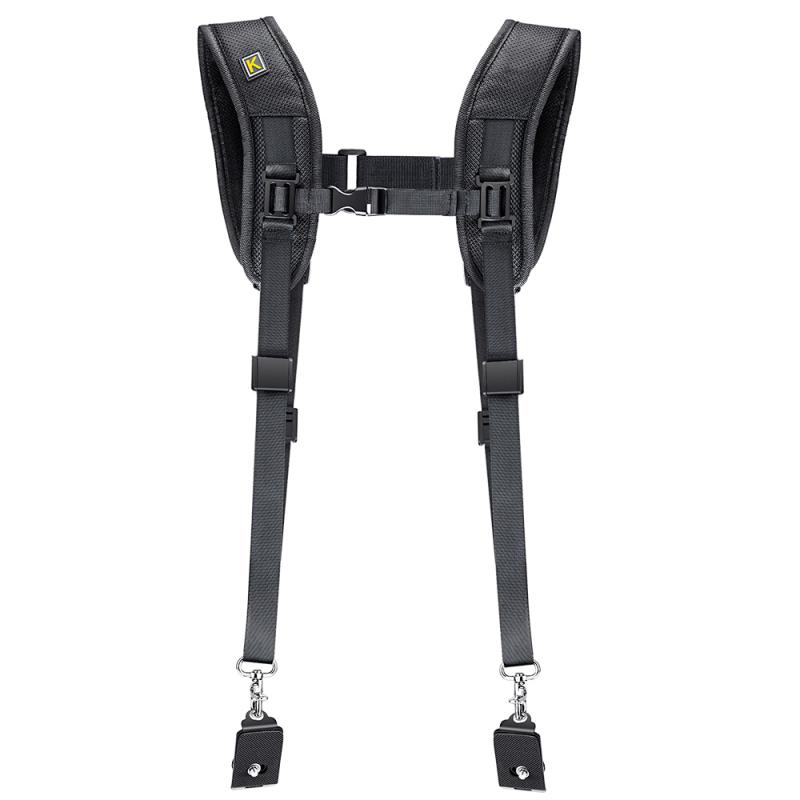
To start the strap on a camera, first, locate the strap lugs on either side of the camera body. These lugs are usually located near the top of the camera and are designed to hold the strap in place. Next, attach the strap to the lugs by threading the strap through the lug and securing it with the provided clip or buckle. Ensure the strap is securely fastened to prevent the camera from falling or slipping.
It is important to note that different cameras may have different types of strap lugs and attachment mechanisms. Some cameras may have built-in straps that cannot be removed, while others may require the use of a specific type of strap or attachment clip. Always refer to the camera's user manual for specific instructions on how to attach the strap.
Additionally, it is important to choose a strap that is appropriate for the weight and size of the camera. A heavy camera may require a wider and more padded strap to distribute the weight evenly and prevent discomfort or strain on the neck or shoulders. A smaller camera may be better suited for a thinner and lighter strap.
In recent years, there has been a trend towards using alternative camera straps, such as wrist straps or cross-body straps, which offer different levels of comfort and convenience. These straps may require different attachment mechanisms or may be designed to work with specific types of cameras. Always research and choose a strap that is compatible with your camera and meets your specific needs.












There are no comments for this blog.