How To Take Photo Through Telescope ?
To take a photo through a telescope, you will need to follow a few steps. First, attach your camera to the telescope using a T-ring adapter specific to your camera model. Next, ensure that your camera is set to manual mode and adjust the focus on the telescope to achieve a clear image. Use a remote shutter release or a timer to minimize camera shake. Experiment with different exposure settings to capture the desired image. Additionally, consider using a stable tripod or mount to minimize vibrations. It is also recommended to use a telescope with a tracking system to compensate for the Earth's rotation and keep the subject in view. Finally, practice patience and experiment with different techniques to achieve the best results.
1、 Telescope Photography Techniques: Capturing Stunning Images of Celestial Objects
Taking photos through a telescope can be a rewarding and exciting experience for any astronomy enthusiast. To capture stunning images of celestial objects, it is important to follow some telescope photography techniques.
1. Choose the right equipment: Invest in a good quality telescope with a sturdy mount and a camera adapter. Ensure that your camera is compatible with the telescope and can be attached securely.
2. Use a remote shutter release: To minimize vibrations and ensure sharp images, use a remote shutter release or a timer function on your camera. This will prevent any movement caused by pressing the camera's shutter button.
3. Use manual mode: Set your camera to manual mode to have full control over the exposure settings. Adjust the ISO, aperture, and shutter speed according to the object you are photographing and the lighting conditions.
4. Focus carefully: Achieving precise focus is crucial for capturing clear images. Use the telescope's focusing knobs to achieve a sharp focus on the celestial object. You can also use live view mode on your camera to fine-tune the focus.
5. Use longer exposure times: Celestial objects are often faint, so longer exposure times are necessary to capture their details. Experiment with different exposure times to find the right balance between capturing details and avoiding overexposure.
6. Consider stacking images: To enhance the quality of your images, consider stacking multiple exposures of the same object. This technique helps to reduce noise and bring out finer details.
7. Post-processing: After capturing your images, use photo editing software to enhance the final result. Adjust the levels, contrast, and color balance to bring out the best in your photographs.
It is important to note that telescope photography requires patience and practice. Keep experimenting with different techniques and settings to improve your skills and capture stunning images of celestial objects.
2、 Astrophotography: Tips for Taking Photos Through a Telescope
Astrophotography is a fascinating hobby that allows you to capture stunning images of celestial objects through a telescope. To take photos through a telescope, follow these steps:
1. Choose the right equipment: Invest in a good quality telescope with a sturdy mount and a camera adapter that connects your camera to the telescope. A DSLR camera with manual settings is ideal for astrophotography.
2. Set up your equipment: Mount your camera onto the telescope using the camera adapter. Ensure that the telescope is properly aligned and balanced to avoid vibrations.
3. Focus the telescope: Use the telescope's focusing knobs to achieve a sharp focus on the object you want to photograph. This can be challenging, especially for faint objects, so take your time and make small adjustments.
4. Adjust camera settings: Set your camera to manual mode and adjust the ISO, aperture, and shutter speed. Experiment with different settings to find the right exposure for the object you are photographing.
5. Use a remote shutter release: To minimize vibrations, use a remote shutter release or the camera's self-timer function to take the photo without touching the camera.
6. Take multiple exposures: Capture multiple exposures of the same object to reduce noise and increase the level of detail in your final image. This technique, known as stacking, involves combining multiple images using specialized software.
7. Post-processing: After capturing your images, use photo editing software to enhance the details, adjust the colors, and reduce noise. There are various software options available, such as Adobe Photoshop or specialized astrophotography software like DeepSkyStacker.
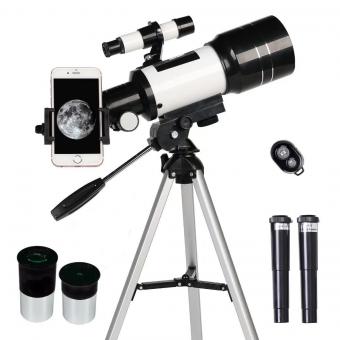
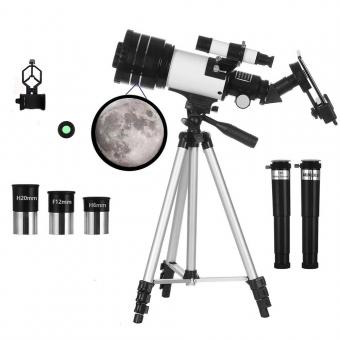
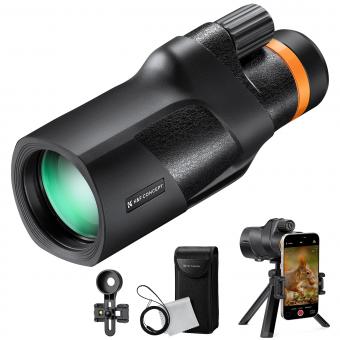
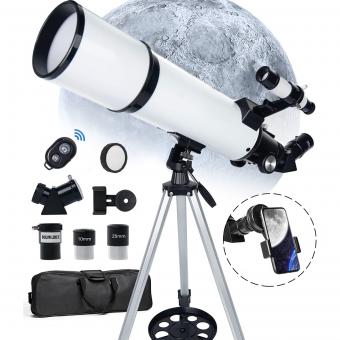
It's important to note that astrophotography requires patience and practice. The latest advancements in camera technology, such as mirrorless cameras, have made it easier to capture stunning images through a telescope. Additionally, there are now smartphone adapters available that allow you to attach your phone to the telescope for astrophotography.
Remember to check the weather conditions and choose a location away from light pollution for the best results. Happy stargazing and capturing the wonders of the universe!
3、 Camera Settings for Telescope Photography: Maximizing Image Quality
Taking photos through a telescope can be a rewarding experience, allowing you to capture stunning images of celestial objects. To maximize image quality, it is important to consider camera settings specifically tailored for telescope photography.
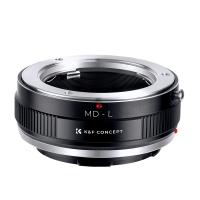
1. Attach your camera: Connect your camera to the telescope using a T-ring adapter that matches your camera's brand and model. This will ensure a secure and stable connection.
2. Manual mode: Switch your camera to manual mode to have full control over the settings. This allows you to adjust the exposure, focus, and other parameters.
3. ISO setting: Set your ISO to the lowest value possible (typically around ISO 100 or 200) to minimize noise and maximize image quality.
4. Shutter speed: Use longer exposure times to capture more light from distant objects. Start with a shutter speed of a few seconds and experiment to find the optimal exposure time for your specific subject.
5. Aperture: Set your aperture to the widest possible value (lowest f-number) to gather as much light as possible. This will help capture faint details in the night sky.
6. Focus: Achieving precise focus is crucial for sharp images. Use the telescope's focusing mechanism to bring the object into focus, and then fine-tune the focus using your camera's live view or manual focus assist.
7. Image stabilization: If your camera or lens has image stabilization, it is recommended to turn it off when attached to a telescope. The telescope's mount will provide the necessary stability.
8. Remote shutter release: To minimize camera shake, use a remote shutter release or a self-timer function to trigger the shutter without physically touching the camera.
9. Post-processing: After capturing your images, post-processing software can help enhance the final results. Adjustments such as contrast, brightness, and noise reduction can be applied to bring out the best in your photos.
It is important to note that telescope photography requires patience and practice. Experiment with different settings and techniques to find what works best for your specific equipment and desired results. Stay updated with the latest advancements in camera technology and astrophotography techniques to continually improve your skills and image quality.
4、 Image Stacking in Telescope Photography: Enhancing Details and Minimizing Noise
To take a photo through a telescope, you will need to follow a few steps:
1. Set up your telescope: Ensure that your telescope is properly aligned and focused. Make sure it is securely mounted on a stable tripod or mount.
2. Attach your camera: Connect your camera to the telescope using a T-ring adapter specific to your camera model. This will allow you to attach the camera directly to the telescope's eyepiece holder.
3. Use a remote shutter release: To minimize vibrations, use a remote shutter release or a timer function on your camera to take the photo without physically touching it.
4. Adjust exposure settings: Set your camera to manual mode and adjust the exposure settings. Start with a low ISO to minimize noise and choose a longer exposure time to capture more light.
5. Focus and frame your shot: Use the telescope's focusing knobs to achieve a sharp focus. Frame your shot by adjusting the telescope's position and zoom level.
6. Take multiple shots: To reduce noise and enhance details, take multiple shots of the same subject. This technique is known as image stacking.
7. Image stacking: Transfer the photos to your computer and use image stacking software like DeepSkyStacker or RegiStax to align and combine the images. This process helps to enhance details and minimize noise by averaging out the variations between individual frames.
From a latest point of view, advancements in technology have made it easier to capture high-quality images through telescopes. Some modern telescopes even come with built-in cameras or have the ability to connect directly to a computer for image capture and processing. Additionally, there are now smartphone adapters available that allow you to attach your phone to the telescope and capture images using specialized apps. These advancements have made telescope photography more accessible to amateur astronomers and enthusiasts.


