How To Take Photos With Tripod?
To take photos with a tripod, first, set up the tripod on a stable surface. Then, attach your camera to the tripod using the mounting plate. Adjust the height and angle of the tripod to frame your shot. Use the camera's timer or a remote shutter release to take the photo without shaking the camera. You can also adjust the camera's settings, such as aperture and shutter speed, to achieve the desired exposure. Finally, review the photo and make any necessary adjustments before taking additional shots.
1、 Setting up the tripod
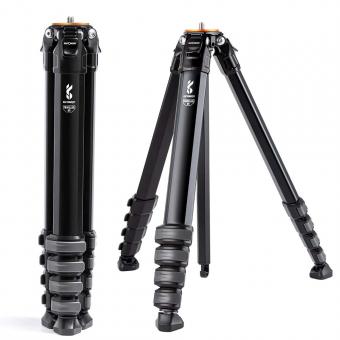
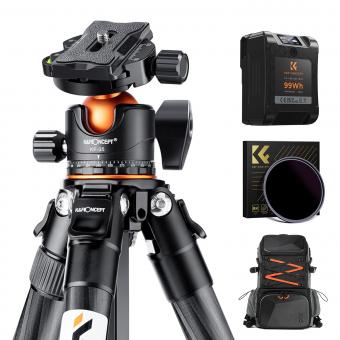
Setting up the tripod is the first step in taking photos with a tripod. To do this, start by extending the legs of the tripod to the desired height. Make sure the legs are securely locked in place to prevent the tripod from collapsing. Next, attach the camera to the tripod head using the mounting plate. Ensure that the camera is securely attached to the tripod head to prevent it from falling off.
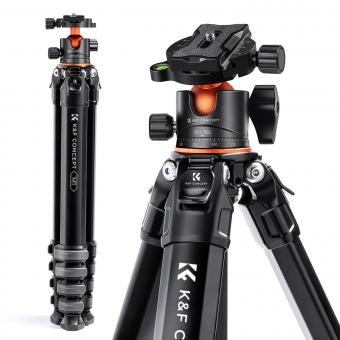
Once the camera is attached, adjust the tripod head to the desired angle and position. This will allow you to frame your shot and adjust the camera's position as needed. Use the tripod's built-in level to ensure that the camera is level and straight.
When taking photos with a tripod, it's important to use a remote shutter release or the camera's self-timer to prevent camera shake. This will help ensure that your photos are sharp and in focus. Additionally, consider using a tripod with a weight hook to add extra stability and prevent the tripod from tipping over in windy conditions.
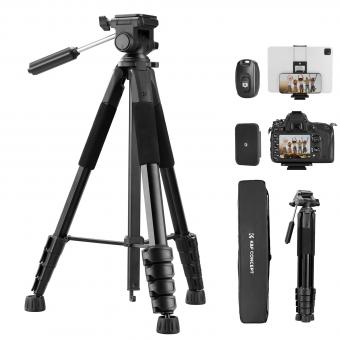
In recent years, there has been a rise in the popularity of travel tripods, which are lightweight and compact, making them ideal for photographers on the go. These tripods are designed to be easy to set up and use, while still providing the stability and support needed for high-quality photos. Some travel tripods even come with built-in smartphone mounts, making them a versatile option for both traditional cameras and mobile photography.

2、 Attaching the camera to the tripod
Attaching the camera to the tripod is a crucial step in taking photos with a tripod. First, ensure that the tripod is set up on a stable surface and the legs are fully extended. Then, locate the mounting plate on the tripod head and attach it to the bottom of the camera. Most cameras have a threaded hole on the bottom that matches the screw on the mounting plate. Tighten the screw securely to ensure that the camera is firmly attached to the tripod.
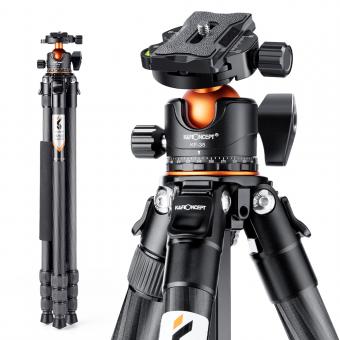
It is important to note that some tripods come with a quick-release system that allows you to attach and detach the camera quickly and easily. This system usually involves a plate that stays attached to the camera and can be quickly mounted onto the tripod head.
When attaching the camera to the tripod, it is also important to ensure that the camera is level. Most tripods have a built-in bubble level that can help you achieve this. Adjust the tripod legs as necessary to ensure that the camera is level and stable.
In addition to attaching the camera to the tripod, it is also important to use a remote shutter release or the camera's self-timer to avoid camera shake when taking photos. This will help ensure that your photos are sharp and clear.
Overall, attaching the camera to the tripod is a simple process that can greatly improve the quality of your photos. By following these steps and using a remote shutter release or self-timer, you can take sharp, stable photos with ease.

3、 Adjusting the tripod height and angle
How to take photos with a tripod? Well, there are a few steps you need to follow to ensure that your photos come out sharp and clear. One of the most important steps is adjusting the tripod height and angle.
Firstly, you need to set up your tripod on a stable surface. Make sure that the legs are fully extended and locked in place. Then, adjust the height of the tripod so that the camera is at the desired level. This will depend on the type of shot you want to take. For example, if you are taking a landscape shot, you may want to keep the camera low to the ground to capture more of the foreground.
Next, adjust the angle of the tripod head. Most tripod heads have a ball and socket joint that allows you to tilt the camera up and down and side to side. This will help you to frame your shot correctly and ensure that the horizon is level.
It's also important to use a remote shutter release or the self-timer function on your camera to avoid any camera shake when taking the photo. This will help to ensure that your photos come out sharp and clear.
In conclusion, adjusting the tripod height and angle is an essential step in taking photos with a tripod. By following these steps, you can ensure that your photos come out sharp and clear, and that you capture the perfect shot every time.

4、 Using a remote or timer to take the photo
How to take photos with a tripod? One of the most important things to consider when using a tripod is stability. Make sure that the tripod is set up on a level surface and that all of the legs are securely locked in place. Once you have your camera mounted on the tripod, you can use a remote or timer to take the photo.
Using a remote or timer to take the photo is a great way to ensure that your camera stays perfectly still while you take the shot. A remote allows you to trigger the shutter without touching the camera, which can help eliminate any camera shake that might occur if you were to press the shutter button manually. A timer, on the other hand, allows you to set a delay before the photo is taken, giving you time to step away from the camera and avoid any accidental movement.
In addition to stability, it's also important to consider the composition of your shot when using a tripod. Take the time to carefully frame your shot and adjust the height and angle of the tripod as needed to get the perfect composition. And don't be afraid to experiment with different settings and techniques to get the best possible results.
Overall, using a tripod can be a great way to take your photography to the next level. By following these tips and using a remote or timer to take your photos, you can ensure that your shots are sharp, clear, and perfectly composed.


