How To Take Pictures With Tripod ?
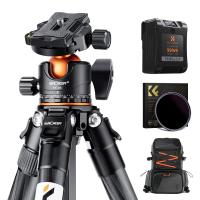
To take pictures with a tripod, first, attach your camera securely to the tripod's mounting plate. Make sure it is tightly fastened to avoid any movement or wobbling. Adjust the tripod's height and position according to your desired composition. Use the tripod's legs to stabilize it on the ground, ensuring it is level and balanced. Once set up, use the camera's timer or a remote shutter release to avoid any camera shake when pressing the shutter button. This will help capture sharp and steady images. Additionally, you can adjust the tripod's head to achieve the desired angle or tilt for your shot. Experiment with different settings and compositions to capture the best possible images using your tripod.
1、 Setting up the tripod for stability and balance
To take pictures with a tripod, it is essential to set it up properly for stability and balance. Here's a step-by-step guide on how to do it:
1. Choose a suitable location: Find a flat and stable surface to place your tripod. Avoid areas with strong vibrations or uneven ground, as they can affect the stability of your setup.
2. Extend the legs: Start by loosening the leg locks and extending the tripod legs to your desired height. Make sure all three legs are extended evenly to maintain balance.
3. Adjust the center column: If your tripod has a center column, adjust its height according to your needs. However, it's generally recommended to keep the center column as low as possible to minimize vibrations and increase stability.
4. Lock the legs and column: Once you have set the desired height, tighten the leg locks and column lock to secure the tripod in place. Ensure that all locks are tight enough to prevent any movement during shooting.
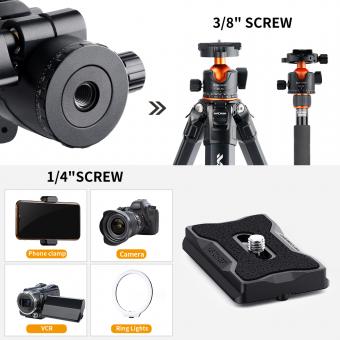
5. Attach the camera: Most tripods come with a quick-release plate or mounting platform. Attach it securely to the camera's tripod socket and then attach the plate to the tripod head. Make sure it is tightened properly to avoid any accidental slips.
6. Adjust the tripod head: Depending on the type of tripod head you have, you can adjust the tilt, pan, and rotation to frame your shot accurately. Take your time to find the right composition and make any necessary adjustments.
7. Use a remote or self-timer: To further minimize camera shake, use a remote shutter release or the self-timer function on your camera. This will allow you to trigger the shutter without physically touching the camera, resulting in sharper images.
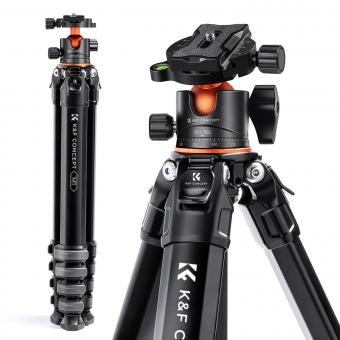
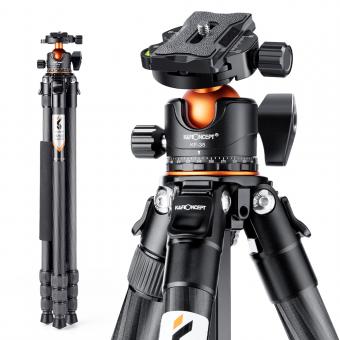
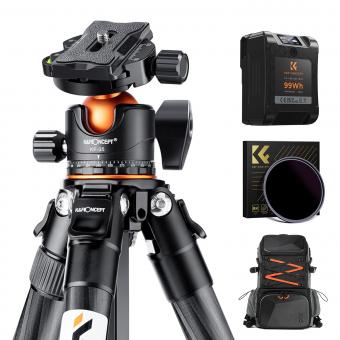
In recent years, advancements in tripod technology have introduced features like carbon fiber construction for lighter weight and increased stability, as well as innovative ball heads for smoother and quicker adjustments. Additionally, some tripods now come with built-in levels or bubble indicators to help ensure perfect alignment. These advancements have made it easier than ever to achieve stability and balance while taking pictures with a tripod.
Remember, taking pictures with a tripod not only helps eliminate camera shake but also allows for longer exposures, sharper images, and creative control over composition. So, take your time to set up your tripod correctly, and enjoy capturing stunning photographs with stability and balance.
2、 Adjusting the tripod height and angle for desired composition
To take pictures with a tripod, the first step is to adjust the tripod height and angle for the desired composition. This is crucial in order to achieve a stable and balanced shot. Here's how you can do it:
1. Set up the tripod: Find a flat and stable surface to place your tripod. Extend the legs and make sure they are securely locked in place. If your tripod has a center column, extend it to your desired height.
2. Adjust the height: Depending on your subject and composition, adjust the tripod height accordingly. If you want to capture a low-angle shot, lower the tripod by adjusting the leg sections. Conversely, if you want a higher perspective, extend the legs or the center column.
3. Level the tripod: Most tripods have a built-in bubble level or a leveling base. Use this feature to ensure that your tripod is perfectly level. This is especially important when shooting landscapes or architectural subjects.
4. Angle the tripod head: The tripod head allows you to adjust the camera's position and angle. Loosen the tripod head's locking mechanism and tilt it up or down to frame your shot. If you need to pan horizontally, loosen the tripod head's panning lock and rotate it smoothly.
5. Fine-tune the composition: Once you have adjusted the tripod height and angle, take a moment to review your composition through the camera's viewfinder or LCD screen. Make any necessary adjustments to achieve the desired framing and balance.
Remember, the key to using a tripod effectively is to take your time and make precise adjustments. This will help you capture sharp and well-composed images. Additionally, consider using a remote shutter release or the camera's self-timer to minimize camera shake when pressing the shutter button.
3、 Using a remote shutter release or self-timer for minimal camera shake
Taking pictures with a tripod is a great way to ensure sharp and stable images, especially in low light conditions or when using longer exposure times. To maximize the benefits of using a tripod, it is important to minimize any camera shake that can occur when pressing the shutter button. One effective method to achieve this is by using a remote shutter release or the self-timer function on your camera.
A remote shutter release is a device that allows you to trigger the camera's shutter without physically touching the camera. This eliminates the risk of introducing camera shake when pressing the shutter button. Remote shutter releases come in various forms, including wired and wireless options. They are easy to use and provide precise control over the timing of your shots.
Alternatively, most cameras have a self-timer function that delays the shutter release for a few seconds after pressing the button. This allows you to remove your hand from the camera and tripod before the picture is taken, minimizing any potential camera shake caused by your touch.
In recent years, some cameras and smartphones have introduced advanced features like Bluetooth or Wi-Fi connectivity, allowing you to control the camera remotely using a smartphone app. This provides even more flexibility and convenience when taking pictures with a tripod.
Overall, using a remote shutter release or the self-timer function is crucial for minimizing camera shake when using a tripod. These methods ensure that the camera remains completely still during the exposure, resulting in sharper and more professional-looking images.
4、 Selecting the appropriate camera settings for the desired effect
To take pictures with a tripod, it is important to not only set up the tripod correctly but also select the appropriate camera settings for the desired effect. Here's a step-by-step guide on how to achieve this:
1. Set up the tripod: Choose a stable location and extend the tripod legs to the desired height. Ensure that the tripod is level by adjusting the legs or using a built-in bubble level. Attach the camera securely to the tripod head.
2. Select the desired camera mode: Depending on the effect you want to achieve, choose the appropriate camera mode. For example, if you want full control over the settings, use manual mode. If you're new to photography, you can start with aperture priority or shutter priority mode.
3. Adjust the ISO: Set the ISO to the desired value based on the lighting conditions. Lower ISO values (e.g., 100) are ideal for well-lit environments, while higher ISO values (e.g., 800 or above) are suitable for low-light situations. Keep in mind that higher ISO values may introduce noise in the image.
4. Set the aperture: Adjust the aperture (f-stop) to control the depth of field. A lower f-stop (e.g., f/2.8) will result in a shallow depth of field, blurring the background and emphasizing the subject. A higher f-stop (e.g., f/11) will increase the depth of field, keeping more of the scene in focus.
5. Choose the shutter speed: Determine the appropriate shutter speed based on the lighting conditions and the effect you want to achieve. A faster shutter speed (e.g., 1/500th of a second) is suitable for freezing motion, while a slower shutter speed (e.g., 1/30th of a second) can create motion blur.
6. Use a remote shutter release or self-timer: To avoid camera shake, use a remote shutter release or the camera's self-timer function. This will ensure that the camera remains steady when capturing the image.
Remember, these settings can vary depending on the specific situation and your creative vision. Experiment with different settings to achieve the desired effect and don't be afraid to try new techniques.
