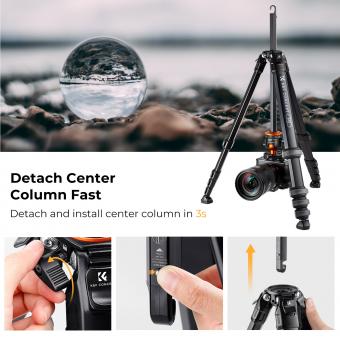
How To Take Video With Tripod ?
To take a video with a tripod, first, ensure that your tripod is set up on a stable surface. Attach your camera or smartphone securely to the tripod's mounting plate. Adjust the tripod's height and position to frame your shot as desired. Use the tripod's pan and tilt controls to smoothly move the camera while recording. Start recording by pressing the camera's record button or using a remote control if available. Keep the tripod steady and avoid touching it during the recording to maintain stability. When you are finished recording, stop the recording and carefully remove your camera from the tripod.
1、 Setting up the tripod for stable video recording
Setting up a tripod for stable video recording is essential to ensure smooth and professional-looking footage. Here's a step-by-step guide on how to take video with a tripod:
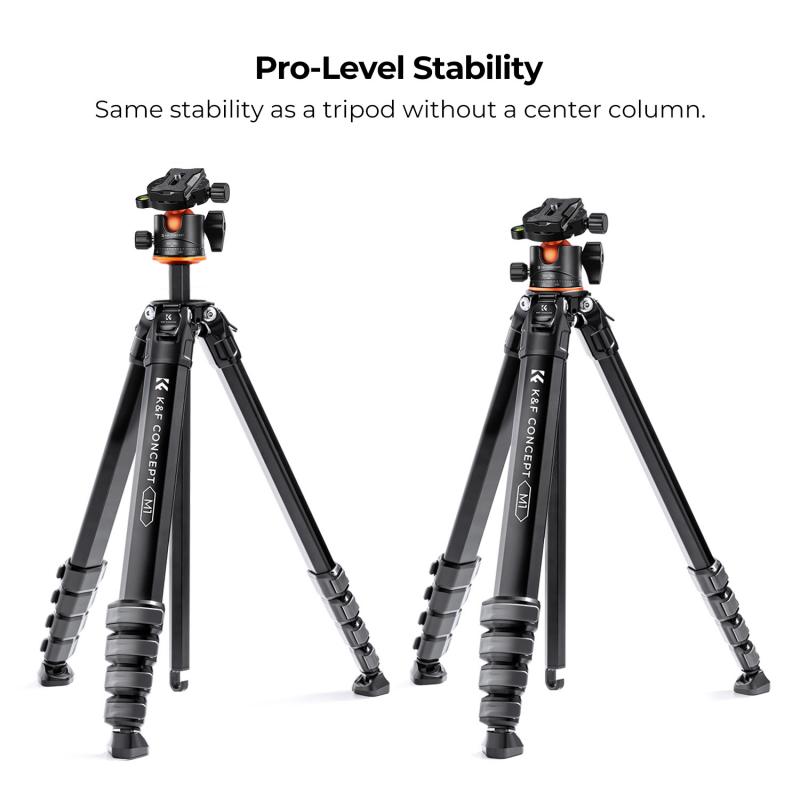
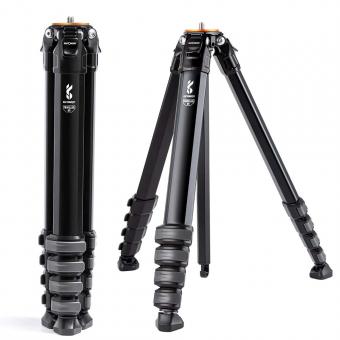
1. Choose the right tripod: Select a tripod that suits your camera's weight and size. Look for a sturdy and stable tripod that can support your equipment.
2. Find a suitable location: Set up your tripod on a flat and even surface to avoid any wobbling or shaking during recording. If shooting outdoors, consider using a sandbag or tripod weights to add extra stability.
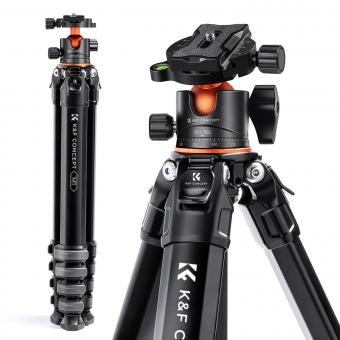
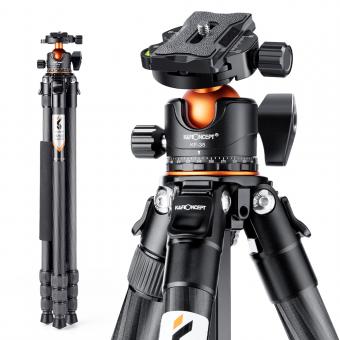
3. Adjust the tripod height: Extend the tripod legs to your desired height. Make sure the tripod is level by using a bubble level or the built-in level on the tripod head.
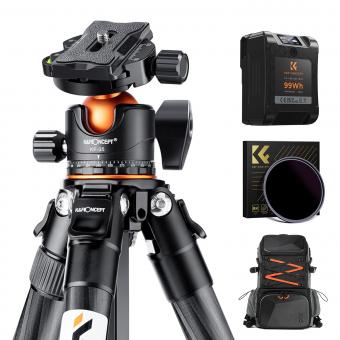
4. Attach the camera: Mount your camera securely onto the tripod head. Ensure it is tightly fastened to prevent any movement or slippage.
5. Adjust the camera angle: Use the tripod's pan and tilt controls to position the camera at the desired angle. Take your time to frame the shot properly and make any necessary adjustments.
6. Lock the tripod: Once you have set up the camera angle, lock the tripod's pan and tilt controls to prevent any accidental movement during recording.
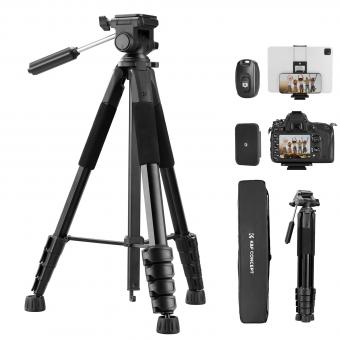
7. Use a remote or timer: To minimize camera shake, use a remote control or the camera's built-in timer to trigger the recording. This will help avoid any movement caused by pressing the camera's shutter button.
8. Monitor the shot: Keep an eye on the camera's LCD screen or use an external monitor to ensure the shot remains steady and in focus.
9. Make smooth movements: If you need to pan or tilt the camera during recording, do so slowly and smoothly to maintain stability. Consider using a fluid head tripod for smoother movements.
Remember, practice makes perfect. Experiment with different tripod positions and camera angles to find the best setup for your specific needs. Additionally, stay updated with the latest advancements in tripod technology, such as lightweight carbon fiber tripods or innovative stabilization systems, to enhance your video recording experience.
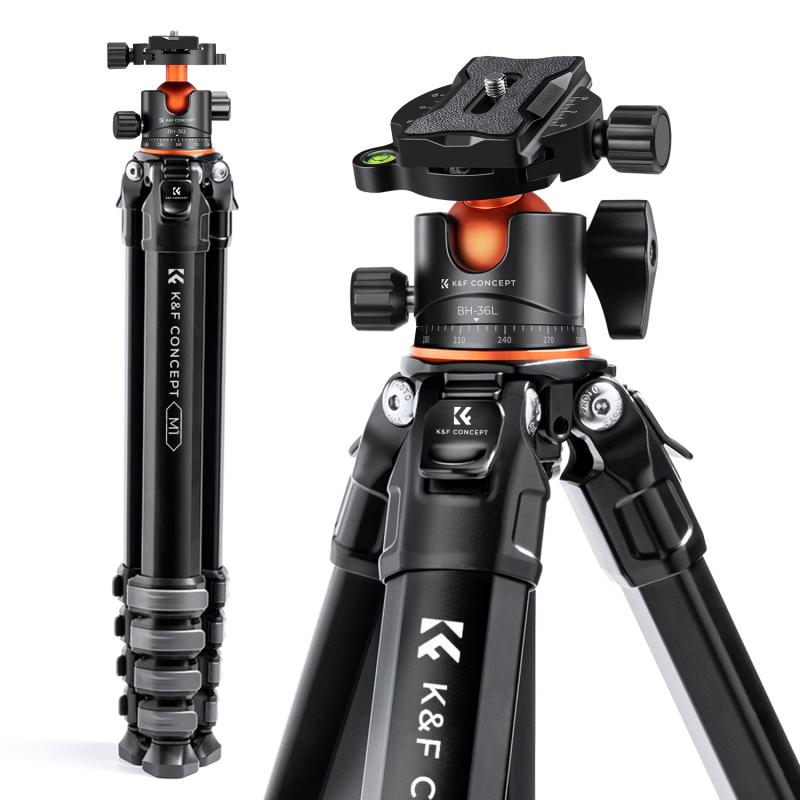
2、 Adjusting the tripod height and angle for optimal framing
To take a video with a tripod, you need to ensure that the height and angle of the tripod are adjusted properly for optimal framing. Here's a step-by-step guide on how to do it:
1. Set up the tripod: Start by extending the tripod legs to a comfortable height. Make sure the tripod is stable and secure on the ground.
2. Attach the camera: Mount your camera securely onto the tripod head. Ensure that it is tightly fastened to prevent any movement or wobbling during recording.
3. Adjust the tripod height: Depending on your desired shot, adjust the tripod height accordingly. If you want a low-angle shot, lower the tripod legs. For a higher perspective, extend the legs to a taller height. Ensure that the camera is at eye level or at the desired height for the best framing.
4. Level the tripod: Use the built-in bubble level or a separate leveling tool to ensure that the tripod is perfectly level. This will help avoid any tilted or slanted shots.
5. Adjust the tripod angle: Tilt the tripod head to the desired angle. This can be done by loosening the tilt lock and moving the camera up or down. Ensure that the camera is level and straight in the frame.
6. Fine-tune the framing: Look through the camera's viewfinder or use the camera's screen to frame your shot. Make any necessary adjustments to the tripod height and angle to achieve the desired composition.
7. Lock the tripod: Once you have achieved the optimal framing, tighten all the tripod locks to secure the camera in place. This will prevent any accidental movement or shaking during recording.
Remember, the latest point of view in videography is to experiment with different angles and perspectives. Don't be afraid to try unconventional shots or incorporate movement into your videos. The tripod is a versatile tool that can help you achieve stable and professional-looking footage.
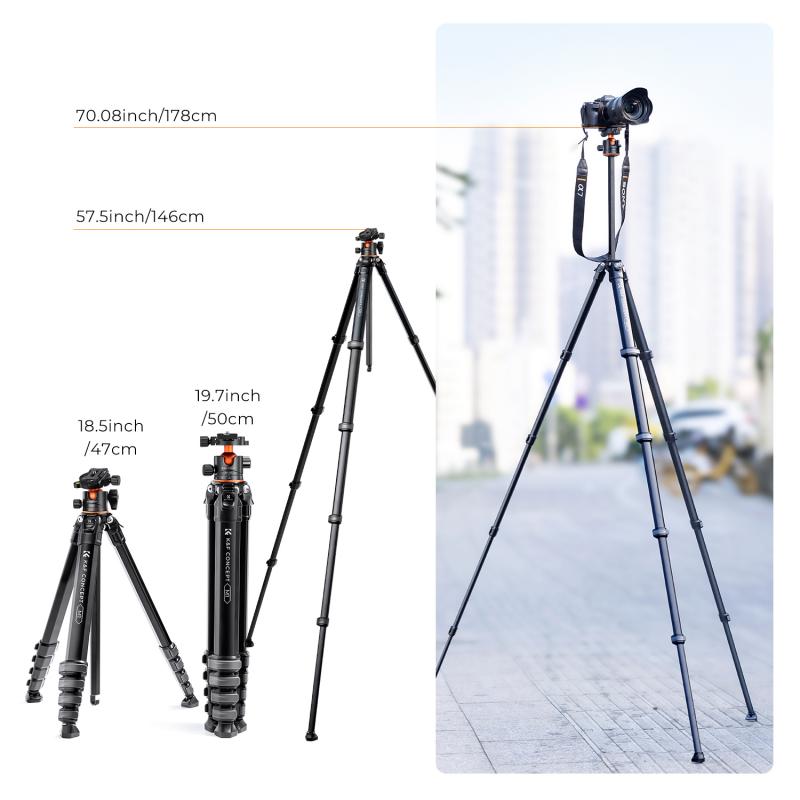
3、 Mounting the camera securely onto the tripod head
To take a video with a tripod, the first step is to mount the camera securely onto the tripod head. This ensures stability and eliminates any unwanted camera movements during recording.
Start by extending the tripod legs to a comfortable height. Make sure the tripod is on a level surface to avoid any tilting or wobbling. Most tripods have a quick-release plate system, which allows for easy attachment and detachment of the camera.
To mount the camera, locate the tripod head and loosen the mounting screw or lever. Place the quick-release plate onto the camera's base, aligning it with the camera's tripod socket. Tighten the mounting screw or lever to secure the plate onto the camera.
Next, locate the tripod head's mounting platform and attach the quick-release plate onto it. Ensure that the plate is securely locked in place by checking for any movement or play.
Once the camera is mounted, adjust the tripod head to the desired angle and lock it in place. This can be done by tightening the pan and tilt locks on the tripod head.
Before starting the video recording, it is essential to check the camera's settings, such as focus, exposure, and white balance, to ensure optimal image quality. Additionally, using a remote control or the camera's self-timer function can help minimize any camera shake caused by pressing the record button.
In conclusion, mounting the camera securely onto the tripod head is crucial for capturing stable and professional-looking videos. It provides a solid foundation and allows for smooth panning and tilting movements.
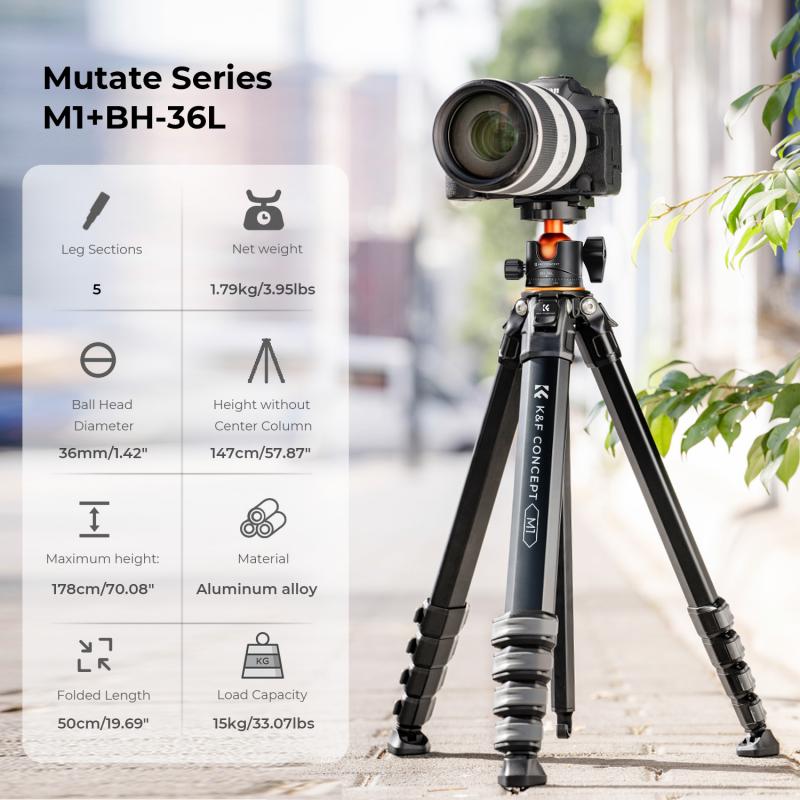
4、 Using the tripod's pan and tilt controls for smooth camera movements
To take a video with a tripod, you need to utilize the tripod's pan and tilt controls for smooth camera movements. These controls allow you to adjust the camera's position and angle, ensuring steady and professional-looking footage.
First, set up your tripod on a stable surface and ensure it is securely locked in place. Attach your camera to the tripod's mounting plate and make sure it is tightly secured.
Next, adjust the tripod's height and position according to your desired shot. Use the tripod's legs to achieve the desired height, and spread them wide for added stability.
Once your camera is mounted and the tripod is set up, you can start using the pan and tilt controls. The pan control allows you to move the camera horizontally, while the tilt control enables vertical movements. These controls are usually located on the tripod head.
To achieve smooth camera movements, it's important to make slow and controlled adjustments. Avoid jerky or sudden movements, as they can result in shaky footage. Instead, use gentle and fluid motions to pan or tilt the camera.
Additionally, consider using a remote control or a timer to trigger the camera's recording. This will help minimize any accidental camera movements caused by pressing the record button.
In conclusion, using a tripod's pan and tilt controls is essential for capturing smooth and professional-looking videos. By making slow and controlled adjustments, you can achieve steady camera movements and enhance the overall quality of your footage.
