How To Transfer From Camcorder To Computer ?
To transfer videos from a camcorder to a computer, you can follow these general steps:
1. Connect the camcorder to the computer using a USB cable or Firewire cable, depending on the type of camcorder and computer ports available.
2. Turn on the camcorder and set it to the appropriate mode for transferring files.
3. On the computer, open the file explorer or finder to locate the connected camcorder. It should appear as a removable storage device.
4. Open the camcorder folder and navigate to the folder containing the videos you want to transfer.
5. Select the videos you wish to transfer and copy them by right-clicking and choosing "Copy" or using the keyboard shortcut (Ctrl+C or Command+C).
6. Open the destination folder on your computer where you want to save the transferred videos.
7. Paste the copied videos into the destination folder by right-clicking and choosing "Paste" or using the keyboard shortcut (Ctrl+V or Command+V).
8. Wait for the transfer process to complete, which may take some time depending on the file sizes and transfer speed.
9. Once the transfer is finished, safely disconnect the camcorder from the computer by ejecting or safely removing the device.
10. You can now access and view the transferred videos on your computer.
1、 Connecting the camcorder to the computer via USB cable
To transfer videos from a camcorder to a computer, the most common method is by connecting the camcorder to the computer via a USB cable. This method allows for a direct transfer of files and is relatively simple to execute.
First, ensure that your camcorder is powered on and in the appropriate mode for transferring files. Then, locate the USB port on your camcorder and connect one end of the USB cable to it. The other end of the cable should be plugged into an available USB port on your computer.
Once the camcorder is connected to the computer, it should be recognized as a removable storage device. Depending on your operating system, a notification may appear on your computer screen indicating that a new device has been connected.
Open the file explorer or finder on your computer and navigate to the camcorder's storage. You should be able to see the video files stored on the camcorder. From here, you can simply drag and drop the desired video files onto your computer's hard drive or a specific folder.
It's worth noting that some newer camcorders may require additional software or drivers to be installed on your computer before the transfer can take place. In such cases, it is recommended to visit the manufacturer's website and download the necessary software or drivers.
Overall, connecting the camcorder to the computer via USB cable remains a reliable and straightforward method for transferring videos. However, it's always a good idea to consult the user manual or manufacturer's website for specific instructions related to your camcorder model.
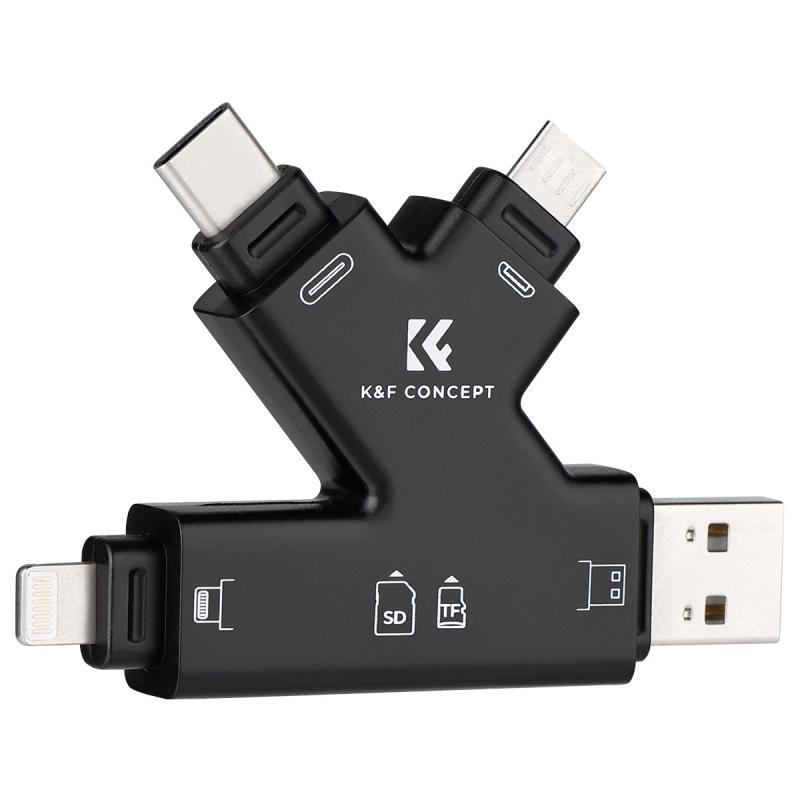
2、 Importing the video files using video editing software
To transfer videos from a camcorder to a computer, one of the most common methods is to import the video files using video editing software. This method allows for easy organization, editing, and sharing of the videos. Here's a step-by-step guide on how to do it:
1. Connect the camcorder to the computer using a USB cable or Firewire cable, depending on the type of camcorder and computer ports available. Ensure that both devices are powered on.
2. Open the video editing software on your computer. There are various options available, such as Adobe Premiere Pro, Final Cut Pro, or Windows Movie Maker.
3. In the video editing software, look for the option to import media files or footage. This is usually located in the File or Import menu.
4. Click on the import option and navigate to the location where the video files are stored on the camcorder. Select the desired videos and click on the import button.
5. The software will then begin transferring the video files from the camcorder to the computer. The time it takes will depend on the size of the files and the speed of the connection.
6. Once the transfer is complete, the video files will appear in the media library or project panel of the video editing software. From here, you can organize the files, edit them, add effects or transitions, and export the final video in the desired format.
It's worth noting that some newer camcorders may also offer wireless transfer options, allowing you to transfer videos directly to your computer without the need for cables. However, the method described above is still widely used and reliable.
In conclusion, importing video files using video editing software is a straightforward and efficient way to transfer videos from a camcorder to a computer. It provides the flexibility to organize, edit, and share the videos according to your preferences.
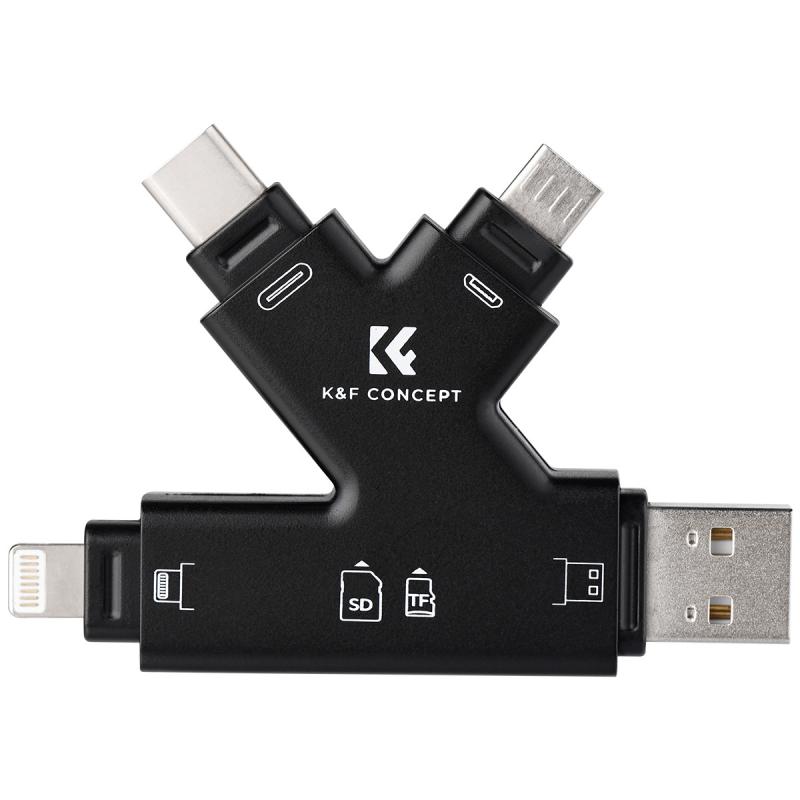
3、 Transferring the footage using an SD card reader
Transferring footage from a camcorder to a computer can be done in various ways, but one of the most common and convenient methods is by using an SD card reader. This method allows you to easily transfer your footage without the need for any additional cables or software.
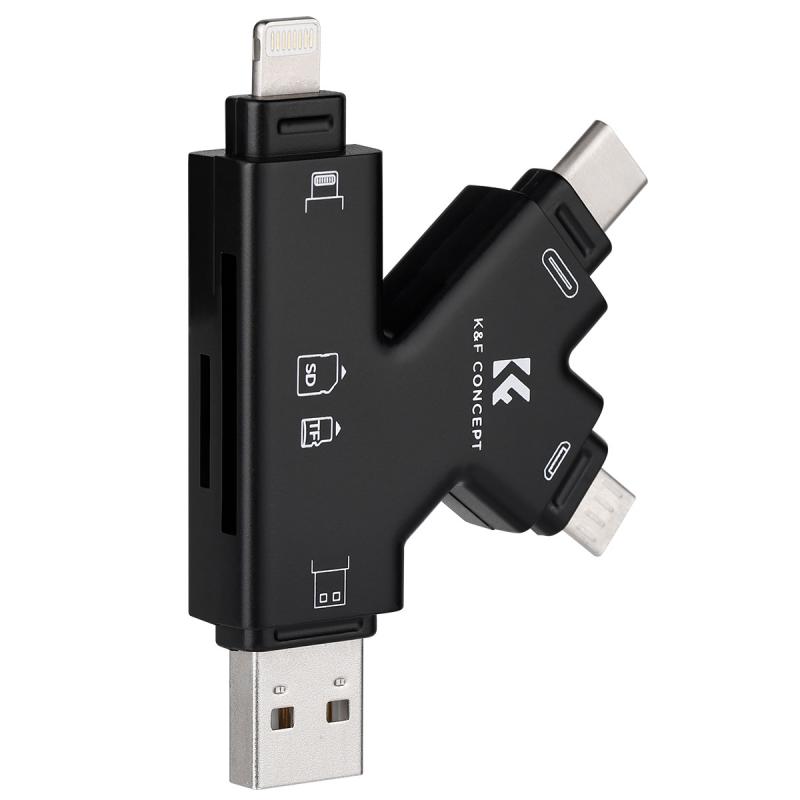
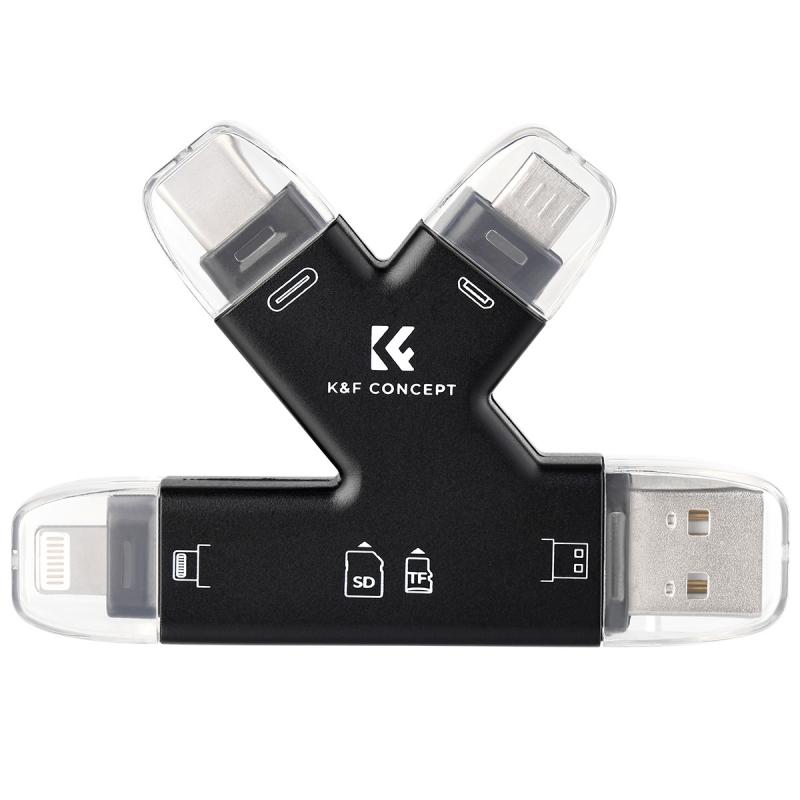
To begin, you will need an SD card reader that is compatible with the type of SD card used in your camcorder. Most modern computers have built-in SD card readers, but if your computer doesn't have one, you can purchase an external SD card reader that connects to your computer via USB.
First, power off your camcorder and remove the SD card from it. Insert the SD card into the SD card reader. If using an external reader, connect it to your computer's USB port.
Once the SD card is inserted, your computer should recognize it as a removable storage device. Open the file explorer on your computer and locate the SD card. You should see a folder containing your footage files.
To transfer the footage, simply select the files you want to transfer and copy them to a location on your computer's hard drive. You can create a new folder specifically for your camcorder footage to keep things organized.
It's worth noting that some camcorders may require you to convert the footage files into a compatible format before they can be played on your computer. In such cases, you may need to use video editing software or a video converter to convert the files.
Overall, transferring footage from a camcorder to a computer using an SD card reader is a straightforward process that allows for easy and efficient file transfer.
4、 Using a FireWire cable to transfer the videos
To transfer videos from a camcorder to a computer, one of the most common and efficient methods is by using a FireWire cable. This method allows for a direct and high-speed transfer of video files.
Firstly, ensure that both your camcorder and computer have FireWire ports. If your computer doesn't have a FireWire port, you may need to use an adapter or consider alternative methods such as USB transfer.
Next, connect one end of the FireWire cable to the FireWire port on your camcorder and the other end to the FireWire port on your computer. Make sure both devices are powered on.
Once the connection is established, your computer should recognize the camcorder as an external device. You may need to install any necessary drivers or software that came with your camcorder.
Open your preferred video editing software or file transfer program on your computer. Select the option to import or capture video from an external device. This will vary depending on the software you are using.
Follow the on-screen instructions to select the videos you want to transfer and specify the destination folder on your computer where you want the videos to be saved.
Start the transfer process and wait for the videos to be copied from the camcorder to your computer. The transfer speed will depend on the size of the video files and the capabilities of your FireWire connection.
It's worth noting that FireWire technology has become less common in recent years, with many newer computers and camcorders opting for USB or wireless transfer methods. Therefore, it's important to check the specifications of your devices and consider alternative transfer options if necessary.
