How To Use 3-axis Gimbal Stabilizer ?
To use a 3-axis gimbal stabilizer, first, attach your camera or smartphone securely to the gimbal. Make sure it is balanced properly to ensure smooth operation. Next, power on the gimbal and ensure it is calibrated correctly. Adjust the settings on the gimbal according to your preferences and the type of shot you want to achieve. Hold the gimbal with both hands and keep it steady. Use the joystick or controls on the gimbal to pan, tilt, and roll the camera smoothly. Practice moving the gimbal slowly and smoothly to capture stable footage. Experiment with different angles and movements to create dynamic shots. Remember to keep the gimbal balanced and avoid sudden jerky movements. With practice, you will be able to achieve professional-looking stabilized footage using a 3-axis gimbal stabilizer.
1、 Understanding the Basics of a 3-Axis Gimbal Stabilizer
A 3-axis gimbal stabilizer is a device used to stabilize and control the movement of a camera or other imaging equipment. It consists of three motors that work together to counteract any unwanted movement and keep the camera steady. Here is a step-by-step guide on how to use a 3-axis gimbal stabilizer effectively:
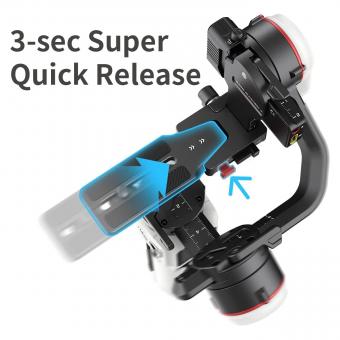
1. Mount the camera: Start by mounting your camera securely onto the gimbal. Make sure it is balanced properly to ensure smooth operation.
2. Power on the gimbal: Turn on the gimbal and wait for it to initialize. Some gimbals may require calibration, so follow the manufacturer's instructions for this step.
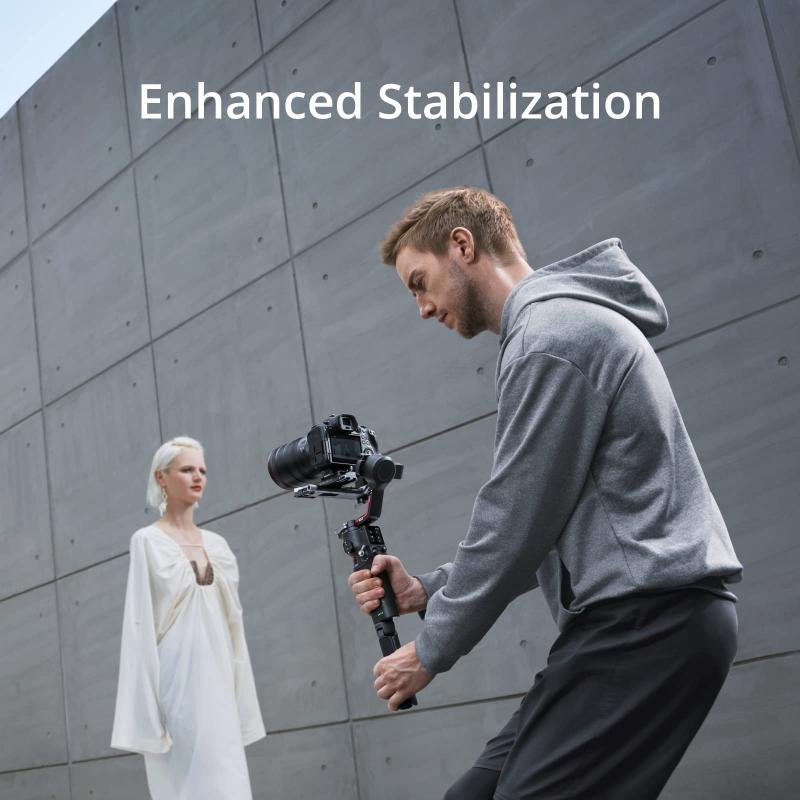
3. Hold the gimbal correctly: Hold the gimbal with both hands, one hand on the handle and the other supporting the bottom. Keep your movements smooth and steady.
4. Adjust the camera angle: Use the controls on the gimbal to adjust the camera angle as desired. Most gimbals have a joystick or control wheel that allows you to pan, tilt, and roll the camera.
5. Start shooting: Once you have the camera angle set, you can start shooting. Move around smoothly and let the gimbal do its job of stabilizing the camera.
6. Experiment with different modes: Many gimbals have different modes such as follow mode, lock mode, and pan mode. Experiment with these modes to achieve different types of shots and movements.
7. Practice and refine your technique: Using a gimbal effectively takes practice. Experiment with different movements and techniques to find what works best for you.
It's important to note that the specific instructions may vary depending on the brand and model of the gimbal you are using. Always refer to the user manual for detailed instructions and safety guidelines.
In recent years, there have been advancements in 3-axis gimbal stabilizers, with features such as smartphone compatibility, wireless control, and advanced stabilization algorithms. These advancements have made gimbals more accessible and user-friendly for both professionals and amateurs alike. Additionally, some gimbals now offer additional features like time-lapse and motion tracking, allowing for even more creative possibilities.
Overall, understanding the basics of a 3-axis gimbal stabilizer and practicing with it will help you achieve smooth and professional-looking footage. So, get out there, experiment, and have fun capturing stunning shots with your gimbal!
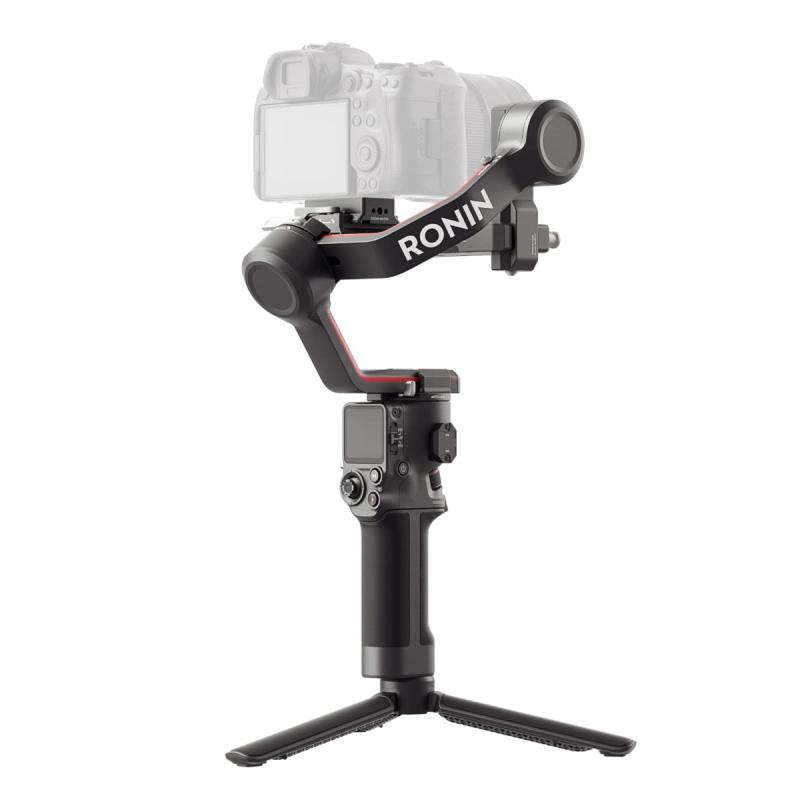
2、 Balancing Your Camera on a 3-Axis Gimbal Stabilizer
To use a 3-axis gimbal stabilizer effectively, you need to follow a few steps to ensure proper balancing and smooth operation. Here's a guide on how to balance your camera on a 3-axis gimbal stabilizer:
1. Mount the camera: Start by mounting your camera securely onto the gimbal. Make sure it is properly attached and tightened to avoid any accidents or damage.
2. Power on the gimbal: Turn on the gimbal and wait for it to initialize. This may take a few seconds, depending on the model.
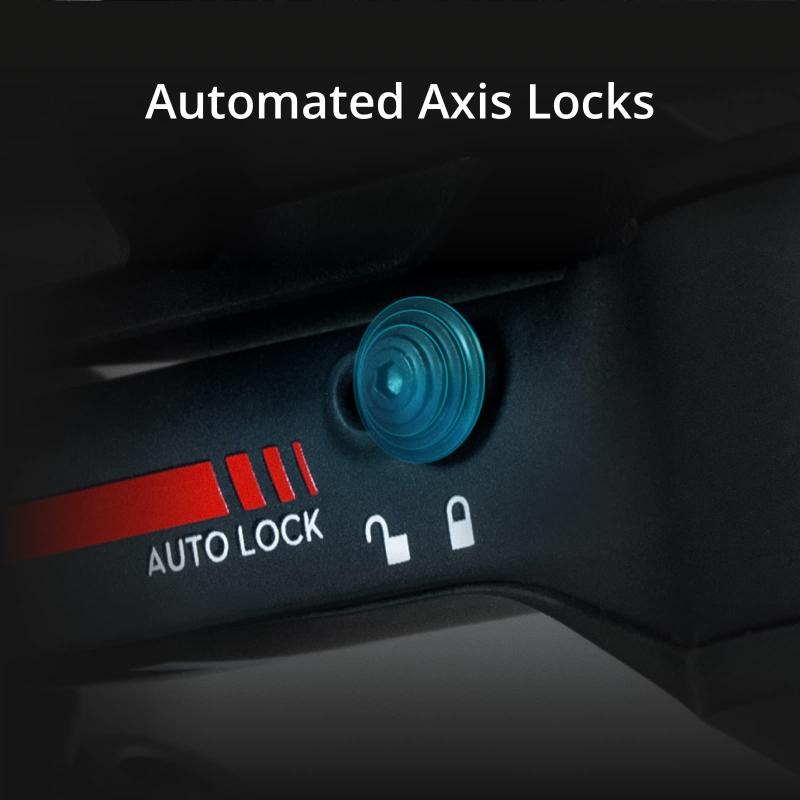
3. Adjust the balance: Most 3-axis gimbals have adjustable arms or plates to balance the camera. Begin by loosening the locking mechanisms and adjusting the arms to find the center of gravity for your camera setup. This step is crucial for optimal stabilization.
4. Fine-tune the balance: Once you have achieved a rough balance, make small adjustments to fine-tune the balance. This may involve sliding the camera forward or backward, adjusting the tilt, or rotating the roll axis. Take your time with this step to ensure the camera is perfectly balanced.
5. Lock the balance: Once you have achieved the desired balance, tighten the locking mechanisms to secure the camera in place. Double-check that everything is secure before moving on.
6. Test the stabilization: With the camera balanced, test the stabilization by moving the gimbal around gently. Ensure that the camera remains level and steady, without any unwanted movements or vibrations.
7. Practice and experiment: Now that your camera is balanced, it's time to practice using the gimbal. Experiment with different movements, angles, and speeds to get the most out of your stabilizer. Remember to keep your movements smooth and controlled for the best results.
As technology advances, new features and functionalities may be added to 3-axis gimbal stabilizers. It's always a good idea to consult the user manual or check for any firmware updates to stay up to date with the latest instructions and improvements.

3、 Adjusting the Stabilizer's Settings for Smooth Footage
To use a 3-axis gimbal stabilizer effectively, it is important to understand how to adjust its settings for smooth footage. Here are some steps to help you get started:
1. Balance the gimbal: Before using the stabilizer, make sure it is properly balanced. This involves adjusting the position of the camera and counterweights to ensure the gimbal remains level and stable during operation. Refer to the manufacturer's instructions for specific guidelines on balancing your particular gimbal model.
2. Power on and calibrate: Once the gimbal is balanced, power it on and allow it to initialize. Some gimbals may require calibration, so follow the instructions provided by the manufacturer to ensure accurate stabilization.
3. Adjust the motor strength: Most gimbals offer adjustable motor strength settings. These settings control the responsiveness and stability of the gimbal. Experiment with different strength levels to find the right balance for your specific shooting needs. Higher strength settings are ideal for fast-paced action shots, while lower settings work well for slower, smoother movements.
4. Fine-tune the follow mode: The follow mode determines how the gimbal responds to your movements. It is typically controlled by a joystick or a dedicated button on the gimbal handle. Experiment with different follow modes to find the one that suits your shooting style. For example, the pan follow mode allows the camera to smoothly follow left and right movements, while the lock mode keeps the camera fixed in one direction.
5. Use additional stabilization features: Many gimbals offer additional features like timelapse, hyperlapse, and object tracking. Familiarize yourself with these features and explore how they can enhance your footage.
In conclusion, using a 3-axis gimbal stabilizer involves balancing the gimbal, adjusting motor strength, fine-tuning follow modes, and utilizing additional stabilization features. By understanding and utilizing these settings effectively, you can achieve smooth and professional-looking footage.
4、 Mastering Pan, Tilt, and Roll Movements with a Gimbal
To use a 3-axis gimbal stabilizer effectively, it is important to understand and master the pan, tilt, and roll movements. Here's a step-by-step guide on how to use a 3-axis gimbal stabilizer:
1. Balance the gimbal: Before using the stabilizer, ensure that it is properly balanced. Adjust the position of the camera and counterweights until the gimbal remains level and stable when powered on.
2. Power on the gimbal: Turn on the gimbal and wait for it to initialize. Make sure the camera is securely mounted and properly connected to the gimbal.
3. Hold the gimbal correctly: Hold the gimbal with both hands, one hand on the handle and the other supporting the bottom. Keep your movements smooth and steady to avoid jerky footage.
4. Pan movement: To achieve smooth panning shots, use your wrist to rotate the handle left or right. Start slowly and gradually increase the speed for more dynamic shots. Remember to keep your movements fluid and avoid sudden stops or changes in direction.
5. Tilt movement: Tilt movements involve tilting the camera up or down. Use your thumb or index finger to control the tilt axis on the gimbal handle. Again, start slowly and increase the tilt speed as needed.
6. Roll movement: The roll movement refers to rotating the camera horizontally. Use your thumb or index finger to control the roll axis on the gimbal handle. This movement can add a cinematic touch to your shots.
7. Practice and experiment: The key to mastering the pan, tilt, and roll movements is practice. Experiment with different speeds, angles, and combinations of movements to create unique and visually appealing shots.
In addition to these steps, it is important to stay updated with the latest techniques and features of your specific gimbal model. Manufacturers often release firmware updates and provide tutorials to enhance the user experience and maximize the capabilities of the gimbal stabilizer.
