How To Use A 10 Stop Nd Filter ?
To use a 10-stop ND filter, follow these steps:
1. Attach the filter holder to your camera lens.
2. Slide the 10-stop ND filter into the filter holder.
3. Set your camera to manual mode.
4. Adjust your camera settings for the desired exposure without the filter.
5. Calculate the new exposure time by multiplying the original shutter speed by 1,000 (since a 10-stop filter reduces the light by a factor of 1,000).
6. Set the new exposure time on your camera.
7. Compose your shot and focus as usual.
8. Attach a remote shutter release or use the camera's self-timer to minimize camera shake.
9. Take the photo using the calculated exposure time.
10. Review the image and make any necessary adjustments to achieve the desired effect.
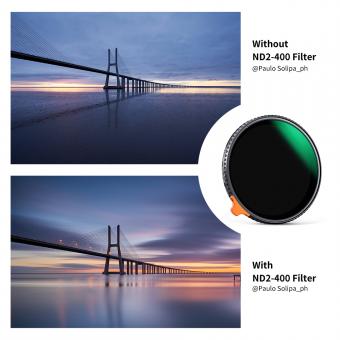
Using a 10-stop ND filter allows you to achieve long exposure effects, such as smoothing water or creating motion blur in daytime scenes.
1、 Understanding the purpose of a 10-stop ND filter
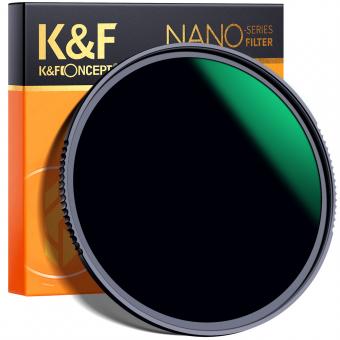
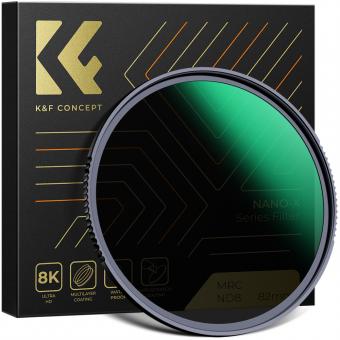
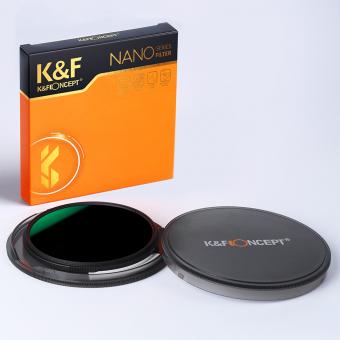
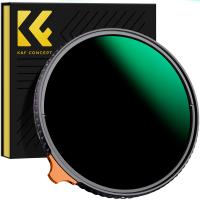
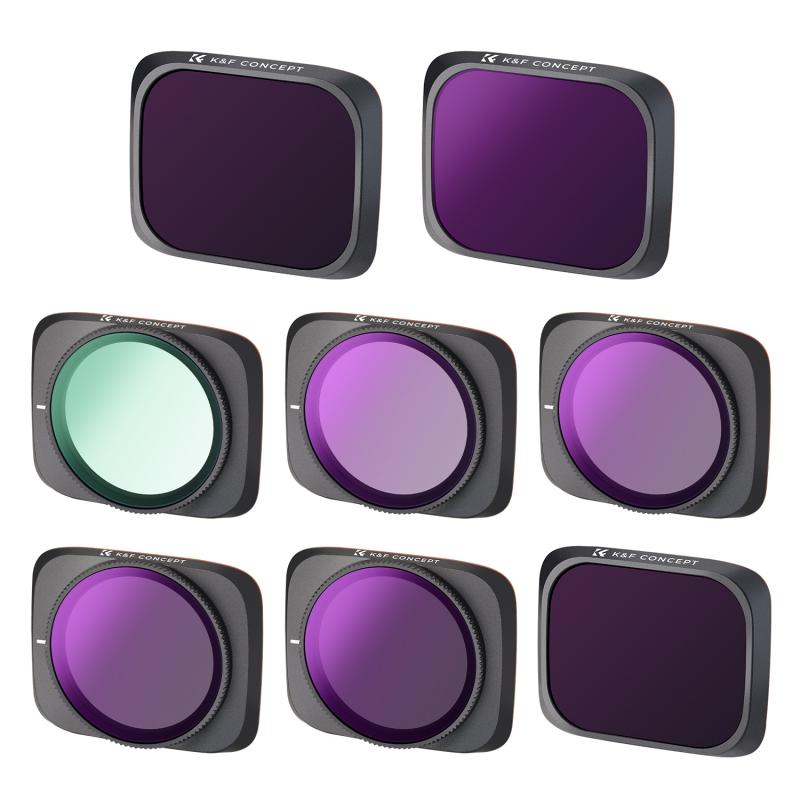
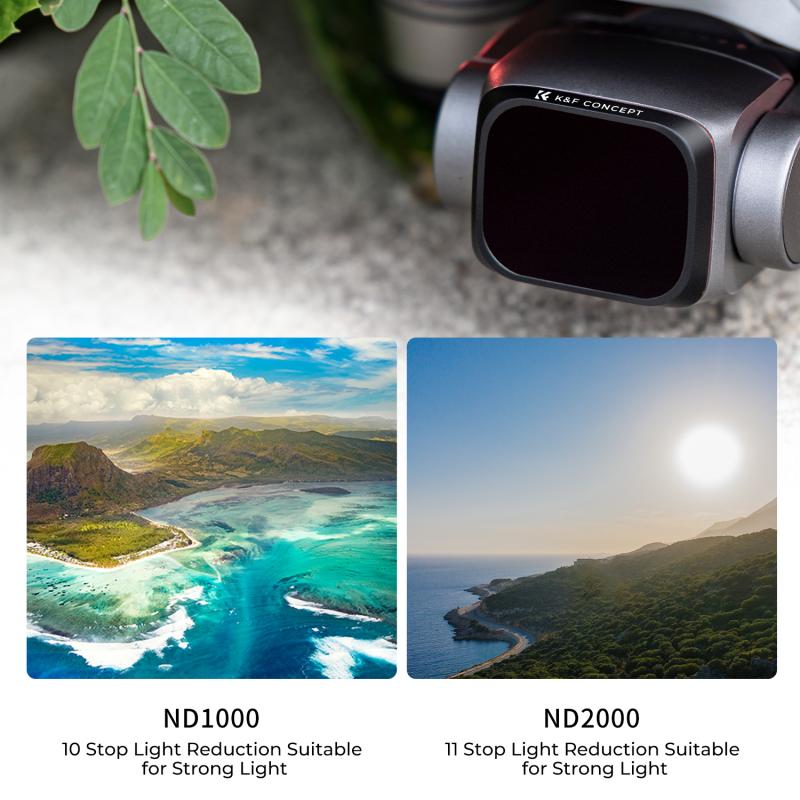
Understanding the purpose of a 10-stop ND filter is essential for photographers looking to enhance their creativity and achieve stunning long exposure shots. ND stands for Neutral Density, and a 10-stop ND filter is a type of filter that reduces the amount of light entering the camera by 10 stops. This means it allows only 1/1000th of the original light to pass through, significantly extending the exposure time.
To use a 10-stop ND filter, follow these steps:
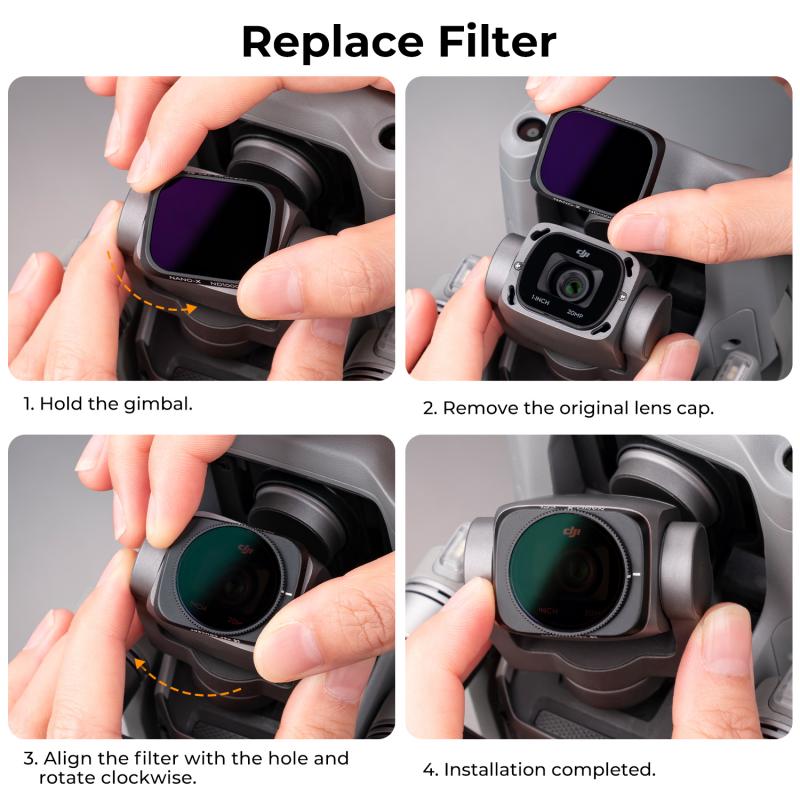
1. Mount the filter: Attach the filter to the front of your camera lens. Ensure it is securely fastened to prevent any light leaks.
2. Set up your shot: Compose your image and adjust the camera settings for the desired exposure without the filter. Take note of the shutter speed, aperture, and ISO settings.
3. Calculate the new exposure time: With the 10-stop ND filter in place, you need to compensate for the reduced light. Use a long exposure calculator or the "Sunny 16" rule to determine the new shutter speed. For example, if your original exposure without the filter was 1/125th of a second, you would need to increase it to approximately 8 seconds with the 10-stop ND filter.
4. Adjust camera settings: Set the calculated shutter speed, keeping the aperture and ISO the same as before. If necessary, switch to Bulb mode or use a remote shutter release to control the exposure time accurately.
5. Capture the shot: Press the shutter button and hold it for the calculated exposure time. Keep the camera steady to avoid any blurring caused by camera shake.
Using a 10-stop ND filter allows photographers to capture long exposure shots even in bright daylight. It is particularly useful for creating smooth water effects, capturing motion blur in clouds, or removing moving objects from a scene. Experiment with different subjects and exposure times to unleash your creativity and achieve stunning results.
It's worth noting that advancements in camera technology, such as high ISO capabilities and in-camera image stabilization, have made it possible to achieve similar effects without using a 10-stop ND filter. However, the filter still offers a unique and artistic approach to long exposure photography, allowing photographers to have more control over their images and achieve a specific aesthetic.
2、 Setting up your camera for long exposure photography
Setting up your camera for long exposure photography with a 10-stop ND filter requires a few key steps to ensure optimal results. Here's a guide on how to use a 10-stop ND filter effectively:
1. Attach the filter: Screw the 10-stop ND filter onto the front of your lens. Ensure it is securely attached to prevent any light leaks.
2. Set up your tripod: Long exposure photography requires stability, so use a sturdy tripod to avoid camera shake. Adjust the height and position of the tripod to frame your shot.
3. Compose your shot: Determine the desired composition and adjust your camera accordingly. Take into account the movement of elements such as water or clouds, as they will be affected by the long exposure.
4. Set your camera to manual mode: Switch your camera to manual mode to have full control over the exposure settings. This allows you to adjust the shutter speed, aperture, and ISO as needed.
5. Adjust the ISO: Set your ISO to the lowest value (e.g., ISO 100) to minimize noise in the image.
6. Calculate the exposure time: With a 10-stop ND filter, you'll need to compensate for the reduced light entering the camera. Use a long exposure calculator or the "Sunny 16" rule to determine the appropriate exposure time.
7. Use a remote shutter release: To avoid camera shake, use a remote shutter release or the camera's built-in timer to trigger the shutter without touching the camera.
8. Focus manually: Switch your lens to manual focus mode and adjust the focus to ensure sharpness. Use live view or focus peaking to assist in achieving accurate focus.
9. Take the shot: Once everything is set up, press the shutter button and let the camera capture the long exposure. Monitor the exposure time and adjust if necessary.
10. Review and adjust: After taking the shot, review the image on your camera's LCD screen. Make any necessary adjustments to exposure settings or composition to achieve the desired result.
Remember, experimentation is key in long exposure photography. Adjusting the exposure time and composition can lead to unique and creative results. Stay open to trying different techniques and perspectives to capture stunning long exposure images.
3、 Calculating the correct exposure time with a 10-stop ND filter
Calculating the correct exposure time with a 10-stop ND filter is essential to achieve the desired effect of long exposure photography. Here's a step-by-step guide on how to use a 10-stop ND filter effectively:
1. Set up your camera on a stable tripod to avoid any camera shake during the long exposure.
2. Compose your shot and focus on the subject before attaching the ND filter. It can be challenging to focus accurately once the filter is in place due to its extreme light reduction.
3. Determine the base exposure without the ND filter by using the camera's light meter or an external light meter. Note down the shutter speed, aperture, and ISO settings.
4. Calculate the exposure time with the ND filter. A 10-stop ND filter reduces the amount of light entering the camera by a factor of 10. To compensate for this, multiply the base exposure time by 1000. For example, if the base exposure without the filter is 1/125th of a second, the new exposure time with the filter would be approximately 8 seconds (1/125 x 1000 = 1/8).
5. Adjust the aperture and ISO settings if necessary to maintain the desired depth of field and image quality.
6. Attach the 10-stop ND filter to the lens carefully, ensuring there are no gaps or light leaks.
7. Set the camera to manual mode and dial in the calculated exposure time. Use a remote shutter release or the camera's self-timer to minimize any camera shake.
8. Take the shot and review the result. Adjust the exposure time or other settings as needed to achieve the desired effect.
It's important to note that the above steps provide a general guideline, and the actual exposure time may vary depending on the lighting conditions and the specific ND filter being used. Experimentation and practice are key to mastering the use of a 10-stop ND filter and achieving stunning long exposure photographs.
4、 Avoiding color casts and maintaining image quality with a 10-stop ND filter
How to Use a 10-Stop ND Filter: Avoiding Color Casts and Maintaining Image Quality
A 10-stop ND (Neutral Density) filter is a powerful tool for long exposure photography, allowing you to capture stunning images with motion blur effects. However, using such a dense filter requires careful attention to avoid color casts and maintain image quality. Here are some tips to help you make the most of your 10-stop ND filter:
1. Choose a high-quality filter: Investing in a good quality filter is crucial to minimize any potential loss of image quality. Look for reputable brands known for their optical performance and color accuracy.
2. Set up your shot: Before attaching the filter, compose your shot and set your desired exposure settings without the filter. This will help you determine the appropriate shutter speed and aperture for the desired effect.
3. Attach the filter: Once your shot is set up, carefully attach the 10-stop ND filter to your lens. Make sure it is securely mounted to avoid any light leaks.
4. Adjust your exposure settings: With the filter in place, you will need to compensate for the reduced light transmission. Start by doubling your shutter speed for each stop of the filter. For example, if your initial exposure without the filter was 1/125s, with a 10-stop ND filter, you would need to use a shutter speed of around 8 seconds.
5. Avoid color casts: One common issue with dense ND filters is the potential for color casts. To minimize this, consider shooting in RAW format, which allows for more flexibility in post-processing. Additionally, using a custom white balance or shooting in manual mode can help maintain accurate colors.
6. Use a remote shutter release: To avoid camera shake during long exposures, use a remote shutter release or the camera's built-in timer. This will ensure sharp images without any unwanted blur.
7. Experiment and practice: Long exposure photography with a 10-stop ND filter requires practice and experimentation. Play around with different shutter speeds and subjects to achieve the desired effect. Remember, each scene may require different exposure settings, so be prepared to adjust accordingly.
By following these tips, you can avoid color casts and maintain image quality when using a 10-stop ND filter. With practice and creativity, you can capture breathtaking long exposure images that truly stand out.


