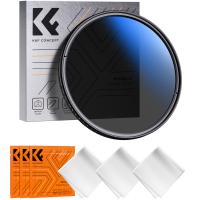
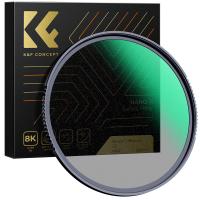
How To Use A Circular Polariser Filter ?
To use a circular polarizer filter, first attach it to the front of your camera lens by screwing it on. Make sure it is securely attached.
Next, look through the viewfinder or use the camera's live view function to compose your shot. Rotate the filter until you achieve the desired effect. Circular polarizers have a rotating outer ring that allows you to adjust the polarization angle.
To enhance the effect of the filter, position yourself at a 90-degree angle to the direction of the light source. This will help reduce glare and reflections, especially when shooting landscapes or water scenes.
Keep in mind that circular polarizers work best in outdoor settings with natural light. They can help deepen the blue sky, reduce reflections on water or glass surfaces, and enhance colors overall.
Remember to remove the filter when you no longer need it, as it can reduce the amount of light entering the lens and potentially affect exposure settings.
1、 Understanding Circular Polarizer Filter Function and Purpose
Understanding Circular Polarizer Filter Function and Purpose
A circular polarizer filter is a valuable tool for photographers and videographers looking to enhance their images and videos. This filter is designed to reduce glare and reflections, improve color saturation, and increase overall image contrast. It achieves this by selectively blocking certain light waves from entering the camera lens.
To use a circular polarizer filter, follow these steps:
1. Attach the filter to your camera lens: Screw the filter onto the front of your lens, ensuring it is securely attached.
2. Adjust the filter orientation: Rotate the filter while looking through the camera's viewfinder or LCD screen. As you rotate the filter, you will notice changes in the level of polarization and the resulting effect on the image.
3. Observe the impact on reflections: When shooting outdoors, a circular polarizer filter can significantly reduce reflections from non-metallic surfaces such as water, glass, and foliage. By rotating the filter, you can control the amount of reflection reduction.
4. Enhance color saturation: A circular polarizer filter can also intensify colors, making them appear more vibrant and saturated. Experiment with the filter's rotation to find the desired level of color enhancement.
5. Increase contrast: By reducing glare and reflections, a circular polarizer filter can help increase the overall contrast in your images. This can be particularly useful when shooting landscapes or scenes with a wide dynamic range.
It is important to note that the effectiveness of a circular polarizer filter can vary depending on factors such as the angle of the light source, the position of the subject, and the type of lens being used. Therefore, it is recommended to experiment with different filter orientations and shooting conditions to achieve the desired results.
In conclusion, a circular polarizer filter is a versatile tool that can greatly enhance your photography and videography. By reducing reflections, intensifying colors, and increasing contrast, this filter allows you to capture stunning images with improved clarity and visual impact.
2、 Mounting a Circular Polarizer Filter on Your Camera Lens
Mounting a Circular Polarizer Filter on Your Camera Lens
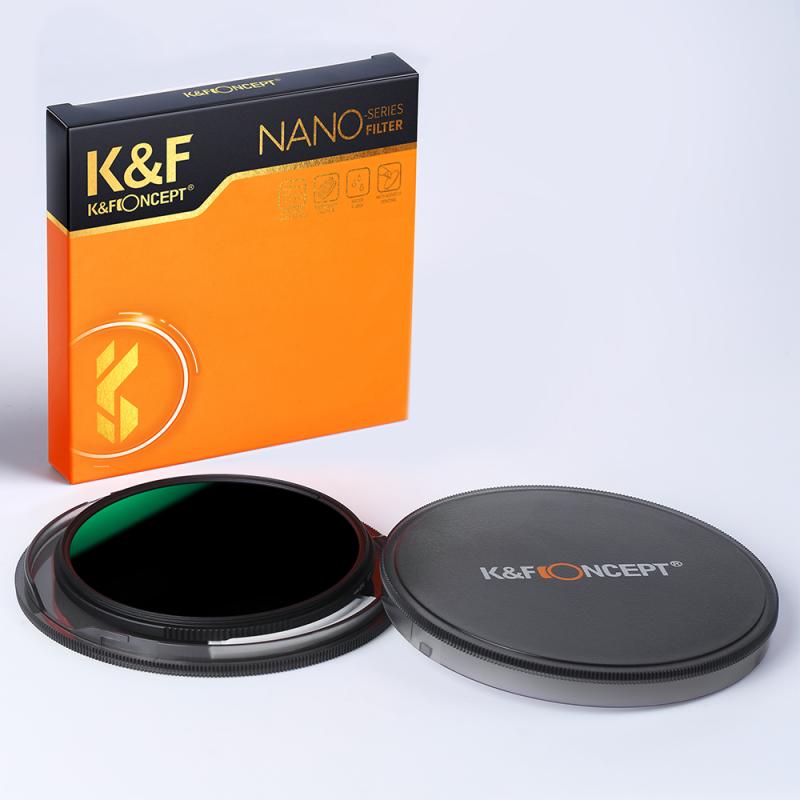
A circular polarizer filter is a valuable tool for photographers looking to enhance their images by reducing glare and increasing color saturation. Here is a step-by-step guide on how to use a circular polarizer filter effectively:
1. Choose the correct filter size: Circular polarizer filters come in various sizes, so ensure you select one that matches the diameter of your camera lens.
2. Attach the filter to your lens: Screw the filter onto the front of your camera lens, ensuring it is securely fastened. Make sure the filter's polarizing ring is easily accessible.
3. Adjust the polarizing ring: Rotate the polarizing ring on the filter to achieve the desired effect. This ring controls the amount of polarization applied to the scene. Experiment with different angles to find the optimal position for your shot.
4. Observe the changes in the viewfinder: As you rotate the polarizing ring, you will notice the effect it has on the scene. Glare and reflections will be reduced, and colors will become more vibrant and saturated.
5. Fine-tune the effect: Pay attention to the details in your composition and adjust the polarizing ring accordingly. Keep in mind that the effect may vary depending on the angle of the light source and the position of the camera.
6. Be mindful of potential drawbacks: While circular polarizer filters offer numerous benefits, they can also reduce the amount of light entering the lens. This may require longer exposure times or higher ISO settings in low-light situations.
7. Experiment and practice: Like any photography technique, using a circular polarizer filter requires practice. Experiment with different subjects and lighting conditions to fully understand its capabilities and limitations.
In conclusion, mounting a circular polarizer filter on your camera lens can significantly enhance your photographs by reducing glare and increasing color saturation. By following these steps and experimenting with different settings, you can effectively utilize this valuable tool to capture stunning images.
3、 Adjusting the Polarizer Filter for Desired Effect
Adjusting the Polarizer Filter for Desired Effect
A circular polarizer filter is a valuable tool for photographers looking to enhance their images by reducing glare and increasing color saturation. Here's a step-by-step guide on how to use a circular polarizer filter effectively:
1. Attach the Filter: Screw the circular polarizer filter onto the front of your camera lens. Ensure it is securely attached and aligned correctly.
2. Identify the Source of Reflection: Look for areas in your frame where unwanted reflections or glare are present. This could be on water, glass, or any other reflective surface.
3. Rotate the Filter: Once you've identified the source of reflection, rotate the filter slowly while looking through the camera's viewfinder or LCD screen. Observe the changes in the reflection and adjust the filter until the desired effect is achieved.
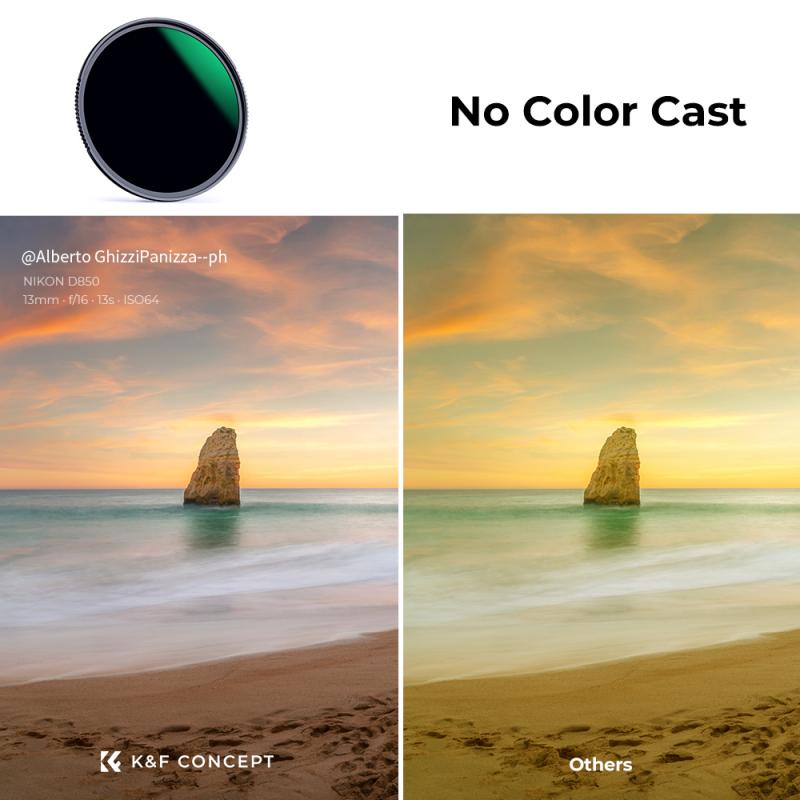
4. Enhance Color Saturation: A circular polarizer filter can also intensify colors, particularly in landscapes. To do this, rotate the filter until you notice an increase in color saturation. Be cautious not to overdo it, as this can result in unnatural-looking images.
5. Experiment with Angles: The effectiveness of a circular polarizer filter varies depending on the angle of the light source. Experiment with different angles by rotating the filter to find the most optimal position for reducing glare and enhancing colors.
6. Be Mindful of the Sky: When using a circular polarizer filter, keep in mind that it can have a significant impact on the appearance of the sky. Rotating the filter can darken the sky, making clouds more prominent and colors more vibrant. This effect can be particularly useful in landscape photography.
7. Remove the Filter When Not Needed: It's important to note that a circular polarizer filter can reduce the amount of light entering the lens, resulting in slower shutter speeds. Therefore, it's advisable to remove the filter when shooting in low-light conditions or when a faster shutter speed is required.
In conclusion, a circular polarizer filter is a versatile tool that can significantly enhance your photographs by reducing glare and increasing color saturation. By following these steps and experimenting with different angles, you can achieve the desired effect and capture stunning images.
4、 Minimizing Glare and Reflections with a Circular Polarizer Filter
Minimizing Glare and Reflections with a Circular Polarizer Filter
A circular polarizer filter is a valuable tool for photographers looking to minimize glare and reflections in their images. It is particularly useful when shooting landscapes, water bodies, or any scene with shiny surfaces. Here's how to use a circular polarizer filter effectively:
1. Attach the Filter: Screw the circular polarizer filter onto the front of your camera lens. Ensure it is securely attached and aligned correctly.
2. Adjust the Polarization: Look through the viewfinder or use the camera's live view to see the effect of the filter. Rotate the outer ring of the filter to adjust the polarization. As you rotate, you will notice the glare and reflections reducing or disappearing altogether.
3. Find the Optimal Angle: Experiment with different angles of rotation to find the optimal position for your shot. The effect of the filter is most pronounced when shooting at a 90-degree angle to the light source. Keep in mind that the filter's effect may vary depending on the angle of the light hitting the subject.
4. Enhance Colors and Contrast: In addition to reducing glare, a circular polarizer filter can also enhance colors and contrast in your images. By reducing scattered light, the filter helps saturate colors and make them appear more vibrant. This can be particularly beneficial when photographing landscapes or scenes with a lot of foliage.
5. Be Mindful of Potential Drawbacks: While circular polarizer filters are incredibly useful, they do have some limitations. They can reduce the amount of light entering the camera, which may require longer exposure times or higher ISO settings. Additionally, using a polarizer on wide-angle lenses may result in uneven polarization across the frame, leading to an unnatural-looking sky.
In conclusion, a circular polarizer filter is an essential tool for photographers looking to minimize glare and reflections in their images. By following these steps and experimenting with different angles, you can effectively use a circular polarizer filter to enhance your photographs and create stunning, glare-free images.
