How To Use A Digital Slr Camera ?
To use a digital SLR camera, first, insert a fully charged battery and a memory card. Turn on the camera by flipping the power switch. Adjust the mode dial to select the desired shooting mode, such as auto, manual, or aperture priority. Use the viewfinder or the LCD screen to compose your shot. Press the shutter button halfway to focus, and fully press it to take the photo. Use the camera's menu system to adjust settings like ISO, white balance, and exposure compensation. Experiment with different lenses, focal lengths, and shooting techniques to enhance your photography skills. Remember to review and transfer your photos to a computer for further editing or sharing.
1、 Exposure Control: Mastering aperture, shutter speed, and ISO settings.
Exposure Control: Mastering aperture, shutter speed, and ISO settings.
Using a digital SLR camera can be an exciting and rewarding experience, but it can also be overwhelming for beginners. One of the most important aspects of photography is understanding exposure control, which involves mastering aperture, shutter speed, and ISO settings. These three elements work together to determine the amount of light that enters the camera and ultimately affects the exposure of your image.
Aperture refers to the size of the opening in the lens through which light passes. It is measured in f-stops, with a lower number indicating a larger opening and vice versa. A wider aperture (lower f-stop) allows more light to enter the camera, resulting in a shallower depth of field and a blurred background. On the other hand, a narrower aperture (higher f-stop) lets in less light, resulting in a larger depth of field and a sharper background. Understanding how aperture affects depth of field is crucial for controlling the focus and background of your images.
Shutter speed, on the other hand, refers to the length of time the camera's shutter remains open. It is measured in fractions of a second, such as 1/1000 or 1/30. A faster shutter speed freezes motion, while a slower shutter speed allows for motion blur. For example, a fast shutter speed is ideal for capturing sports or fast-moving subjects, while a slow shutter speed can create a sense of motion in a waterfall or a moving car. Experimenting with different shutter speeds will help you capture the desired effect in your photographs.
ISO determines the camera's sensitivity to light. A lower ISO setting (e.g., 100) is less sensitive to light and is ideal for shooting in bright conditions, while a higher ISO setting (e.g., 1600) is more sensitive to light and is suitable for low-light situations. However, higher ISO settings can introduce digital noise or graininess to your images, so it's important to find the right balance between ISO and image quality.
To use a digital SLR camera effectively, it's essential to understand how these three elements work together. Experimenting with different combinations of aperture, shutter speed, and ISO settings will allow you to achieve the desired exposure and creative effects in your photographs. Additionally, modern digital SLR cameras often offer automatic modes that can assist beginners in capturing well-exposed images. However, learning to manually control these settings will give you more creative control and allow you to capture images in challenging lighting conditions.
In conclusion, mastering exposure control is crucial for using a digital SLR camera effectively. Understanding how aperture, shutter speed, and ISO settings work together will enable you to capture well-exposed images and unleash your creativity. With practice and experimentation, you'll be able to confidently control these settings and capture stunning photographs.
2、 Focusing Techniques: Utilizing autofocus and manual focus for sharp images.
Focusing Techniques: Utilizing autofocus and manual focus for sharp images.
When it comes to using a digital SLR camera, one of the most important aspects to master is focusing. A sharp and well-focused image can make a significant difference in the overall quality of your photographs. There are two primary focusing techniques that you can utilize: autofocus and manual focus.
Autofocus is a feature that comes built-in with most digital SLR cameras. It uses sensors to detect contrast and sharpness in the scene and automatically adjusts the focus accordingly. To use autofocus, simply half-press the shutter button to activate the focus sensors. The camera will then lock onto the subject and adjust the focus automatically. This is a quick and convenient way to ensure that your subject is in focus, especially when shooting fast-moving subjects or in situations where you need to capture a moment quickly.
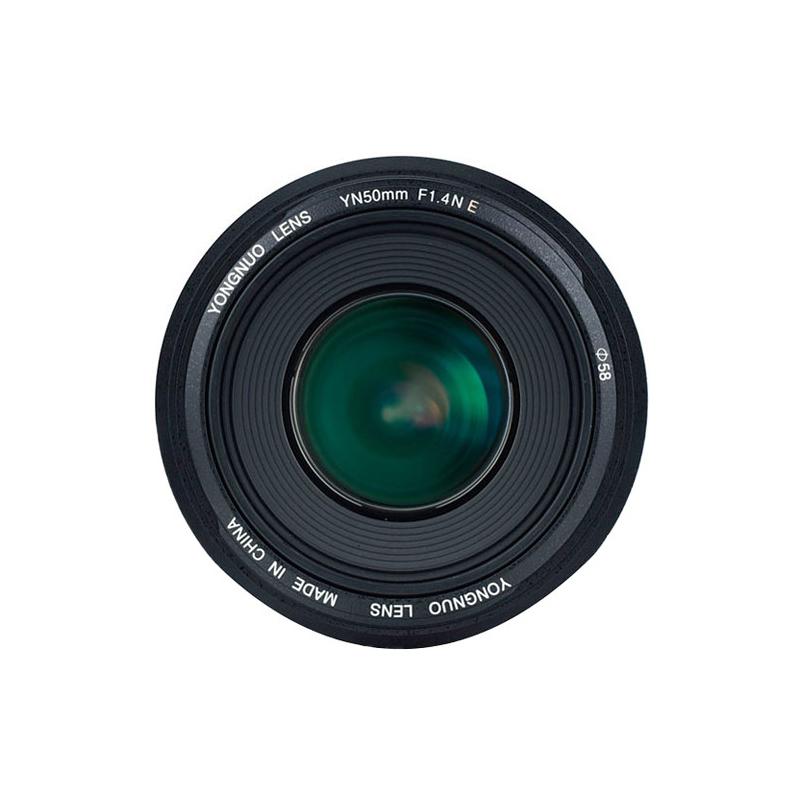
On the other hand, manual focus gives you complete control over the focus of your image. This technique requires you to manually adjust the focus ring on your lens until the subject appears sharp in the viewfinder or on the camera's LCD screen. Manual focus can be particularly useful in situations where the autofocus may struggle, such as low-light conditions or when shooting subjects with low contrast.
In recent years, autofocus technology has advanced significantly, with many cameras now offering advanced autofocus systems that can track subjects with remarkable accuracy. These systems utilize sophisticated algorithms and multiple focus points to ensure that your subject remains sharp, even when it is moving. Some cameras even offer eye-tracking autofocus, which can detect and focus on a subject's eyes, resulting in stunning portraits with tack-sharp focus on the subject's face.
While autofocus has become incredibly reliable, there are still situations where manual focus can be advantageous. For example, when shooting landscapes or macro photography, manual focus allows you to precisely control the focus point and ensure that the desired area is sharp. Additionally, manual focus can be useful when shooting through obstacles, such as fences or windows, where autofocus may be confused by the foreground elements.
In conclusion, mastering focusing techniques is essential for capturing sharp and well-focused images with your digital SLR camera. Utilizing autofocus can be convenient and reliable in most situations, especially with the advancements in autofocus technology. However, manual focus still has its place, offering precise control and flexibility in certain shooting scenarios. Experiment with both techniques to determine which one works best for your specific needs and shooting style.
3、 Composition and Framing: Creating visually appealing photographs through composition.
Composition and Framing: Creating visually appealing photographs through composition.
When it comes to using a digital SLR camera, understanding composition and framing is essential for creating visually appealing photographs. Composition refers to the arrangement of elements within the frame, while framing involves selecting what to include and exclude in the photograph.
To begin, consider the rule of thirds. Imagine dividing the frame into a grid of nine equal parts by drawing two horizontal and two vertical lines. Place the main subject or points of interest along these lines or at their intersections. This technique helps create balance and visual interest in the photograph.
Another important aspect of composition is leading lines. These are lines within the frame that guide the viewer's eye towards the main subject. Examples of leading lines can be roads, fences, or even natural elements like rivers or tree branches. Utilizing leading lines can add depth and a sense of movement to your photographs.
Additionally, consider the concept of negative space. Negative space refers to the empty areas surrounding the main subject. By incorporating negative space, you can create a sense of simplicity and emphasize the subject's importance.
Furthermore, be mindful of the background. A cluttered or distracting background can take away from the main subject. Look for clean and uncluttered backgrounds that complement the subject and enhance the overall composition.
Lastly, don't be afraid to experiment with different angles and perspectives. Get low to the ground or find a higher vantage point to add a unique and fresh perspective to your photographs.
In today's digital age, it is also worth mentioning the importance of post-processing. With the advancements in editing software, photographers now have the ability to enhance their compositions further. Adjusting exposure, contrast, and colors can help bring out the best in your photographs.
In conclusion, mastering composition and framing is crucial for creating visually appealing photographs with a digital SLR camera. By understanding and applying techniques such as the rule of thirds, leading lines, negative space, and considering the background, you can elevate your photography skills and capture stunning images. Remember to also embrace the possibilities of post-processing to enhance your compositions further.
4、 White Balance and Color Correction: Adjusting color temperature for accurate representation.
White Balance and Color Correction: Adjusting color temperature for accurate representation.
One of the key features of a digital SLR camera is the ability to adjust the white balance and color temperature settings. White balance refers to the camera's ability to accurately represent colors under different lighting conditions. Color temperature, on the other hand, refers to the warmth or coolness of the light source.
To use a digital SLR camera effectively, it is important to understand how to adjust the white balance and color temperature settings. This ensures that the colors in your photographs are represented accurately and true to life.
Most digital SLR cameras offer several white balance presets, such as daylight, cloudy, tungsten, fluorescent, and flash. These presets are designed to compensate for different lighting conditions and adjust the color temperature accordingly. For example, if you are shooting outdoors on a sunny day, selecting the daylight preset will ensure that the colors appear natural and vibrant.
In addition to the presets, many cameras also offer a custom white balance option. This allows you to manually set the white balance by using a white or gray card as a reference point. By taking a photo of the card under the same lighting conditions as your subject, you can ensure accurate color representation.
Color correction is another important aspect of using a digital SLR camera. It involves adjusting the colors in post-processing to achieve the desired look. This can be done using software such as Adobe Lightroom or Photoshop.
In recent years, there has been a growing trend towards shooting in RAW format rather than JPEG. RAW files contain unprocessed data from the camera's sensor, allowing for greater flexibility in color correction during post-processing. This gives photographers more control over the final look of their images.
In conclusion, understanding how to adjust white balance and color temperature settings is crucial for accurate color representation in digital SLR photography. By utilizing the presets and custom white balance options, as well as exploring color correction in post-processing, photographers can achieve stunning and true-to-life colors in their images.
