How To Use A Digital Trail Camera ?
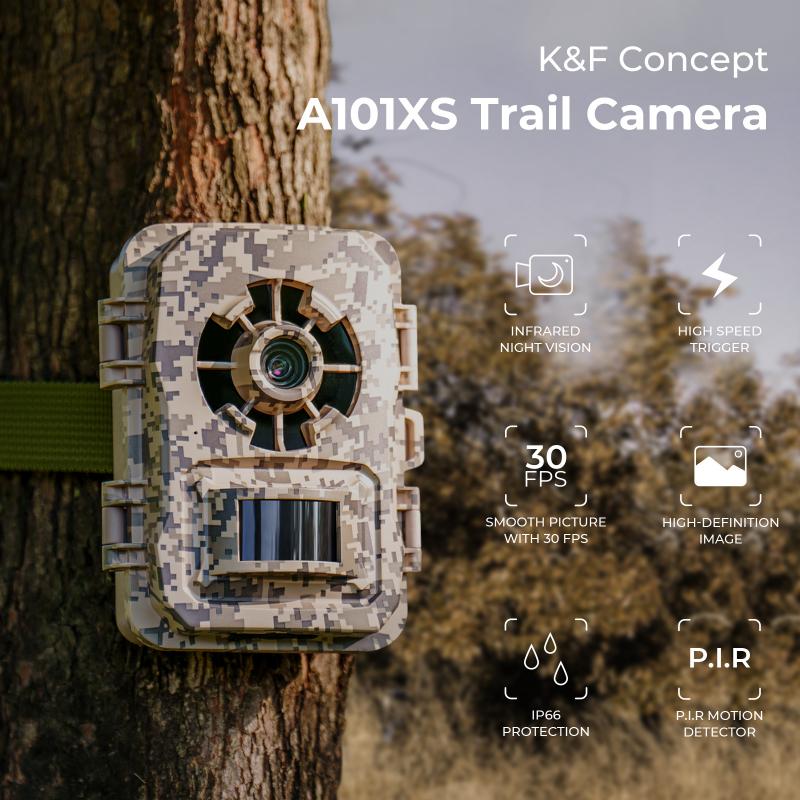
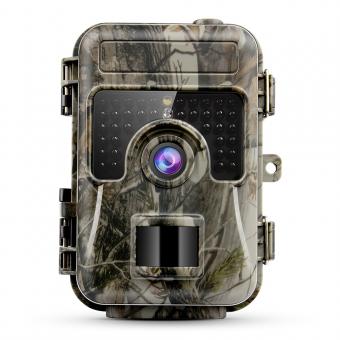
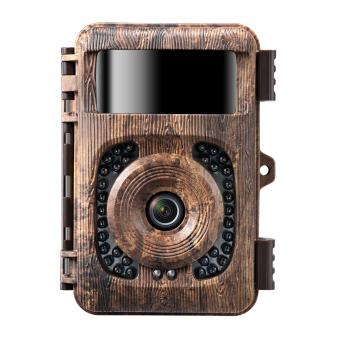
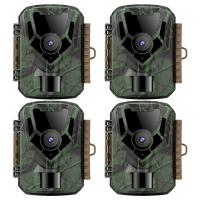
To use a digital trail camera, first, choose a location where you want to capture images or videos of wildlife or other outdoor activities. Then, mount the camera on a tree or post using the provided strap or mount. Next, insert batteries and a memory card into the camera. Turn on the camera and set the date and time. Adjust the camera settings, such as resolution, sensitivity, and trigger speed, according to your preferences. Finally, aim the camera at the desired area and wait for it to capture images or videos. Check the camera periodically to see if it needs new batteries or a new memory card. Download the images or videos to your computer or mobile device to view and share them.
1、 Setting up the camera
Setting up the camera is the first step in using a digital trail camera. The camera should be placed in an area where wildlife is likely to pass by, such as near a watering hole or a game trail. It is important to ensure that the camera is securely mounted and aimed in the right direction. The camera should be set to the appropriate mode, such as photo or video, and the resolution should be adjusted to suit the user's needs.
Once the camera is set up, it is important to check it regularly to ensure that it is functioning properly. This can be done by reviewing the photos or videos captured by the camera. If the camera is not capturing any images, it may need to be moved to a different location or adjusted to a different angle.
The latest point of view on using a digital trail camera is to take advantage of the camera's advanced features, such as motion detection and time-lapse photography. Motion detection allows the camera to capture images only when there is movement in the frame, which can save battery life and reduce the number of false triggers. Time-lapse photography allows the camera to capture images at set intervals, which can be useful for monitoring changes in the environment over time.
Overall, using a digital trail camera requires careful planning and attention to detail. By setting up the camera properly and taking advantage of its advanced features, users can capture stunning images of wildlife and gain valuable insights into the natural world.

2、 Choosing the right location
Choosing the right location is crucial when it comes to using a digital trail camera. The first step is to identify the area where you want to monitor wildlife activity. Look for areas with high animal traffic, such as game trails, water sources, and feeding areas. It is also important to consider the direction of the sun and wind, as these factors can affect the quality of your images.
Once you have identified the location, it is time to set up your camera. Make sure to choose a sturdy and secure mounting location, such as a tree or post. Position the camera at a height of about 3-4 feet, facing the area where you expect the animals to pass. Adjust the angle of the camera to capture the entire area, and make sure it is level.
Before leaving the camera, it is important to test it to ensure that it is working properly. Check the battery level, memory card, and settings. Most digital trail cameras have a motion sensor that triggers the camera to take a photo or video when an animal passes by. Adjust the sensitivity of the sensor to avoid false triggers, such as moving branches or leaves.
In recent years, there has been a growing trend towards using digital trail cameras for conservation purposes. Researchers and conservationists are using these cameras to monitor wildlife populations, track migration patterns, and study animal behavior. By choosing the right location and setting up your camera properly, you can contribute to these efforts and help protect our natural world.
3、 Adjusting camera settings
How to use a digital trail camera:
1. Choose the right location: Before setting up your digital trail camera, it is important to choose the right location. Look for areas where animals are likely to pass through, such as game trails, water sources, or feeding areas.
2. Mount the camera: Once you have found the right location, mount the camera securely using the provided straps or screws. Make sure the camera is level and facing the right direction.
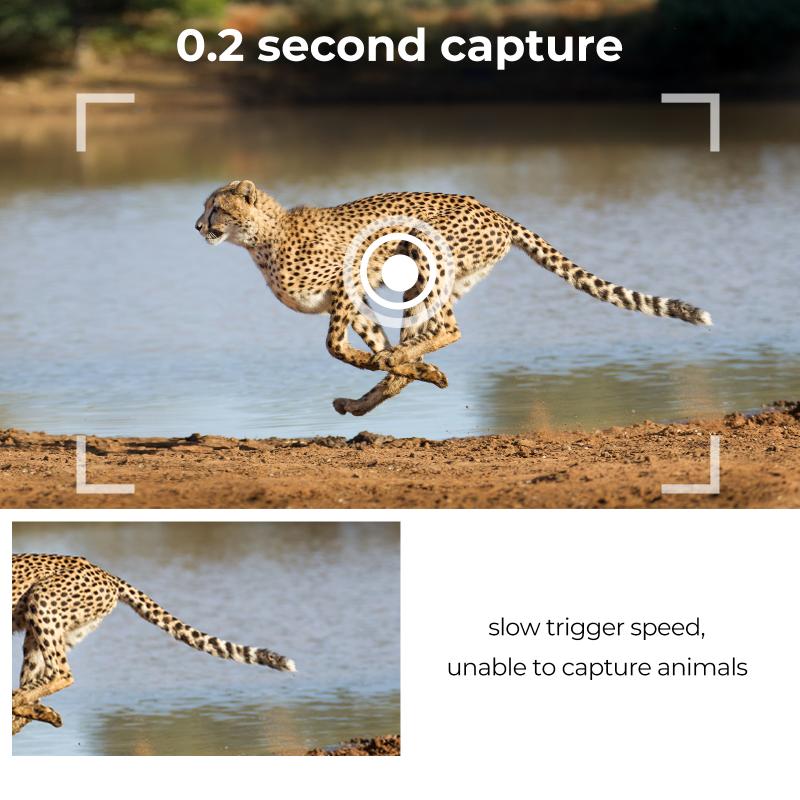
3. Adjust camera settings: Most digital trail cameras come with a variety of settings that can be adjusted to suit your needs. These settings may include resolution, trigger speed, and sensitivity. Adjust these settings based on the type of animals you are trying to capture and the environment you are in.
4. Test the camera: Before leaving the camera in place, test it to make sure it is working properly. Walk in front of the camera to trigger it and check the photos or videos to ensure they are clear and in focus.
5. Retrieve the camera: After a few days or weeks, retrieve the camera and review the photos or videos. Use this information to adjust your camera settings and choose a new location if necessary.
Adjusting camera settings:
One of the most important aspects of using a digital trail camera is adjusting the camera settings. The latest trail cameras come with a variety of settings that can be customized to suit your needs. For example, you can adjust the resolution to capture higher quality photos or videos, or adjust the trigger speed to capture animals in motion.
It is also important to adjust the sensitivity of the camera to avoid capturing false triggers, such as leaves blowing in the wind. Some cameras also come with advanced features such as time-lapse mode or burst mode, which can be used to capture a series of photos over a set period of time.
Overall, adjusting the camera settings is crucial to capturing high-quality photos and videos of wildlife. By taking the time to customize your camera settings, you can increase your chances of capturing the perfect shot.
4、 Retrieving and reviewing images
How to use a digital trail camera:
1. Choose the right location: Before setting up your trail camera, you need to choose the right location. Look for areas where animals are likely to pass through, such as game trails, water sources, or feeding areas.
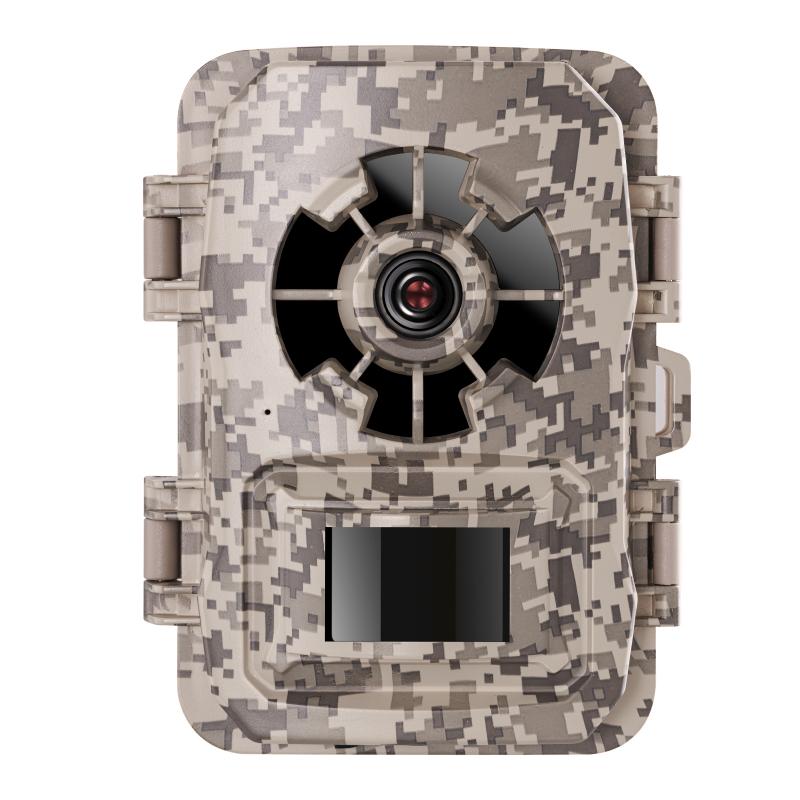
2. Set up the camera: Once you have chosen the location, it's time to set up the camera. Follow the manufacturer's instructions to mount the camera securely and adjust the settings, such as the trigger speed, detection range, and image resolution.
3. Test the camera: Before leaving the camera unattended, test it to make sure it's working properly. Walk in front of the camera to trigger it and check the images or videos to ensure they are clear and in focus.
4. Leave the camera in place: Once you have tested the camera, leave it in place for several days or weeks to capture images of wildlife passing through the area.
5. Retrieve and review images: After the camera has been in place for a while, it's time to retrieve the images. Remove the memory card from the camera and insert it into your computer or a card reader. Review the images or videos to see what wildlife has been captured on camera.
Retrieving and reviewing images is an essential part of using a digital trail camera. It allows you to see what wildlife is in the area, how often they pass through, and what time of day they are most active. This information can be used to plan hunting or wildlife photography trips, or to monitor the health and behavior of local wildlife populations.
In recent years, digital trail cameras have become more advanced, with features such as wireless connectivity, high-definition video, and advanced motion detection. Some cameras even use artificial intelligence to identify and track specific animals, making it easier to monitor their movements and behavior. As technology continues to evolve, digital trail cameras are likely to become even more sophisticated and useful for wildlife enthusiasts and researchers alike.
