How To Use A Gimbal ?
To use a gimbal, first, attach your camera or smartphone securely to the gimbal mount. Make sure it is balanced and centered. Next, power on the gimbal and ensure it is properly calibrated. Hold the gimbal handle firmly with both hands and keep it steady. Use the joystick or control buttons on the gimbal handle to control the movement of the camera. You can pan left or right, tilt up or down, and roll the camera sideways. Experiment with different movements and angles to capture smooth and stable footage. Remember to move slowly and smoothly to avoid jerky motions. Practice using the gimbal and adjust the settings as needed to achieve the desired results.
1、 Balancing the gimbal for optimal stabilization
How to use a gimbal: Balancing the gimbal for optimal stabilization
Using a gimbal is a great way to achieve smooth and stable footage while capturing videos or photos. However, to ensure optimal stabilization, it is crucial to properly balance the gimbal. Here's a step-by-step guide on how to balance a gimbal effectively:
1. Mount the camera: Start by mounting your camera securely onto the gimbal. Make sure it is tightly fastened to prevent any movement or wobbling during operation.
2. Adjust the tilt axis: Begin by adjusting the tilt axis, which controls the up and down movement of the camera. Loosen the tilt axis knob and move the camera until it is perfectly balanced. Tighten the knob once the camera stays level on its own.
3. Balance the roll axis: The roll axis controls the side-to-side movement of the camera. Loosen the roll axis knob and adjust the camera until it remains level when tilted to either side. Once balanced, tighten the knob to secure the position.
4. Fine-tune the pan axis: The pan axis controls the horizontal movement of the camera. Loosen the pan axis knob and rotate the camera until it stays level when panning left or right. Tighten the knob to lock the position.
5. Check for stability: Once you have balanced all three axes, power on the gimbal and check for stability. The camera should remain steady and level, even when you move or shake the gimbal.
It is important to note that different gimbals may have slight variations in the balancing process. Therefore, it is always recommended to refer to the manufacturer's instructions for your specific gimbal model.
In recent years, gimbals have become more advanced, with features like auto-balancing and motorized adjustments. These advancements have made the balancing process easier and more efficient. Some gimbals even come with smartphone apps that provide real-time feedback and assistance in achieving optimal stabilization.
Remember, a well-balanced gimbal is the key to smooth and professional-looking footage. So, take your time to balance it correctly before you start shooting.
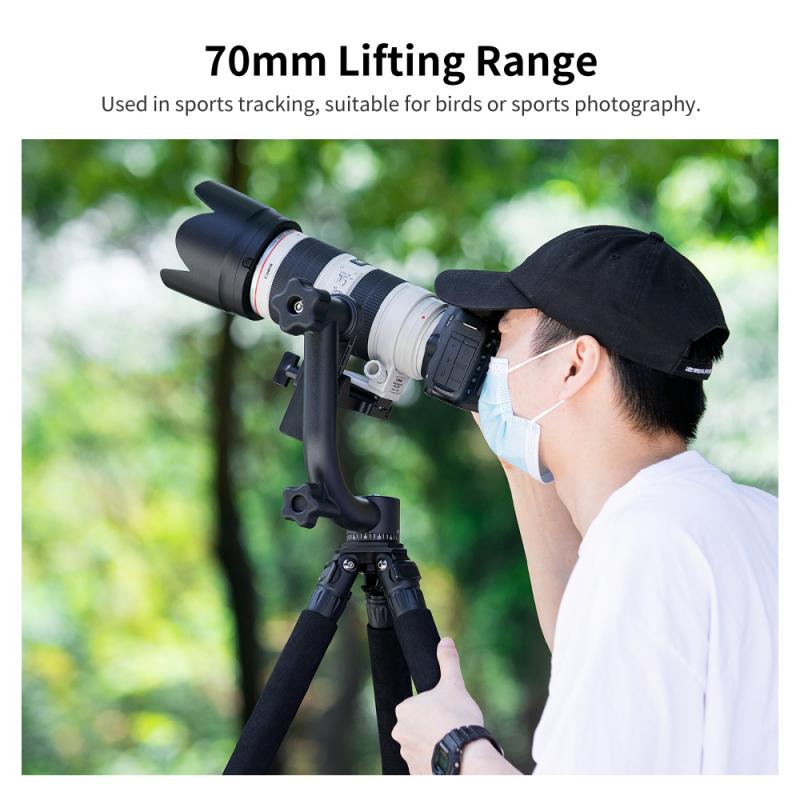
2、 Mounting and securing the camera on the gimbal
Mounting and securing the camera on a gimbal is a crucial step in ensuring smooth and stable footage. Here's a step-by-step guide on how to use a gimbal effectively:
1. Choose the right gimbal: There are various gimbals available in the market, so select one that is compatible with your camera's weight and size. Ensure that the gimbal has the necessary features and stabilization capabilities for your shooting needs.
2. Balance the gimbal: Before mounting the camera, it's essential to balance the gimbal properly. Start by adjusting the roll axis, followed by the pitch and yaw axes. This ensures that the gimbal remains stable during operation.
3. Attach the camera: Once the gimbal is balanced, carefully mount your camera onto the gimbal's camera plate. Make sure it is securely fastened to prevent any accidental falls or movements.
4. Connect the cables: Depending on your camera model, you may need to connect various cables, such as HDMI or USB, to the gimbal. This allows you to control the camera settings or transfer footage while it is mounted on the gimbal.
5. Power on the gimbal: Turn on the gimbal and ensure that it is properly calibrated. Most gimbals have a calibration process that involves keeping the camera steady in different positions. Follow the manufacturer's instructions for calibration.
6. Adjust the gimbal settings: Depending on your shooting requirements, you may need to adjust the gimbal's settings. This includes adjusting the motor strength, responsiveness, and other parameters to achieve the desired stabilization.
7. Test and practice: Once everything is set up, it's time to test the gimbal. Practice moving the gimbal smoothly and experiment with different shots and angles to get comfortable with its operation.
It's worth noting that the latest gimbals often come with advanced features like follow focus, object tracking, and smartphone integration. Familiarize yourself with the specific features of your gimbal to make the most of its capabilities.
Remember, practice makes perfect when it comes to using a gimbal. Experiment with different movements and techniques to achieve professional-looking, stabilized footage.
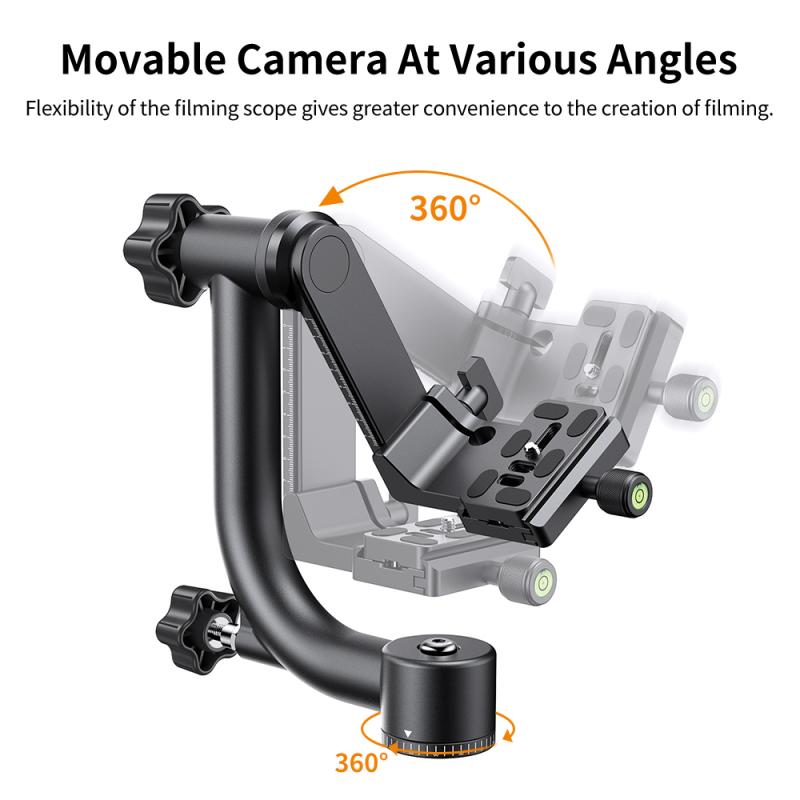
3、 Adjusting the gimbal's settings for desired motion control
How to use a gimbal: Adjusting the gimbal's settings for desired motion control
Using a gimbal is a great way to achieve smooth and stable footage while capturing videos or photos. To make the most out of your gimbal, it is important to understand how to adjust its settings for desired motion control.
1. Balance the gimbal: Before using the gimbal, it is crucial to properly balance it. This involves adjusting the different axes (pan, tilt, and roll) so that the camera remains level and stable. Most gimbals have a quick-release plate or mounting system that allows for easy balancing.
2. Adjust the motor strength: Gimbals come with different motor strength settings to accommodate various camera setups. It is important to adjust the motor strength according to the weight of your camera and lens combination. This ensures that the gimbal can handle the load and provides smooth movement.
3. Set the follow mode: Gimbals usually have different follow modes, such as pan follow, tilt follow, and full follow. These modes determine how the gimbal responds to your movements. Experiment with different follow modes to find the one that suits your shooting style and desired motion control.
4. Adjust the speed and sensitivity: Most gimbals allow you to adjust the speed and sensitivity of the motors. This allows for more precise control over the camera movements. Higher sensitivity settings make the gimbal more responsive to your movements, while lower settings provide smoother and slower motion.
5. Utilize additional features: Many gimbals come with additional features like time-lapse, hyper-lapse, and object tracking. Familiarize yourself with these features and learn how to use them effectively to enhance your footage.
The latest point of view on using a gimbal is the integration of advanced technologies like artificial intelligence and smartphone apps. Some gimbals now offer AI-powered features that automatically track subjects or perform complex camera movements. Additionally, smartphone apps allow for remote control and customization of gimbal settings, making it easier than ever to achieve desired motion control.
In conclusion, adjusting the gimbal's settings for desired motion control is essential to get the best results. By properly balancing the gimbal, adjusting motor strength, setting follow modes, and fine-tuning speed and sensitivity, you can achieve smooth and professional-looking footage. Don't forget to explore additional features and take advantage of the latest advancements in gimbal technology for even more creative possibilities.

4、 Holding and maneuvering the gimbal for smooth shots
Holding and maneuvering the gimbal for smooth shots is essential to capturing professional-looking footage. Here's a step-by-step guide on how to use a gimbal effectively:
1. Balance the gimbal: Before turning on the gimbal, make sure it is properly balanced. Adjust the position of the camera until it stays level and doesn't tilt in any direction. This step is crucial for achieving stable shots.
2. Power on the gimbal: Once balanced, turn on the gimbal and wait for it to initialize. Different gimbals may have different power-on procedures, so refer to the user manual for specific instructions.
3. Hold the gimbal correctly: Grip the gimbal with both hands, one hand on the handle and the other supporting the bottom. Keep your arms relaxed and close to your body to minimize shaking. This grip allows for better control and stability.
4. Start walking smoothly: Begin walking slowly and smoothly, keeping your movements fluid. The gimbal's motors will compensate for any jerky motions, resulting in steady footage. Practice walking with the gimbal to develop a steady gait.
5. Experiment with different modes: Most gimbals offer various modes like follow, pan, and lock. These modes allow you to control the gimbal's movement and adapt to different shooting scenarios. Familiarize yourself with these modes and experiment to find the best settings for your shots.
6. Utilize the latest features: Depending on the gimbal model, there may be additional features like object tracking, time-lapse, or hyper-lapse. Stay updated with the latest firmware and explore these features to enhance your footage.
Remember, practice makes perfect. Spend time honing your gimbal skills to achieve smooth and professional shots. Additionally, keep an eye on the latest advancements in gimbal technology as new features and improvements are constantly being introduced.
