How To Use A Mic For Youtube Videos ?
To use a microphone for YouTube videos, first, connect the microphone to your computer or recording device using the appropriate cables. Make sure the microphone is properly plugged in and recognized by your device. Next, adjust the microphone settings on your computer or recording software to ensure it is the selected input device. Test the microphone by recording a sample video or audio clip and listen back to check the sound quality. Position the microphone close to your mouth to capture clear and crisp audio. Consider using a pop filter to reduce plosive sounds and a microphone stand or boom arm for stability. Finally, monitor the audio levels during recording to avoid distortion or clipping. Experiment with different microphone techniques and settings to find the best setup for your YouTube videos.
1、 Choosing the right microphone for YouTube video recording
Choosing the right microphone for YouTube video recording is crucial to ensure high-quality audio that captivates your audience. With the increasing popularity of YouTube, it's important to stand out from the crowd by delivering professional-sounding content. Here's a guide on how to use a microphone for YouTube videos:
1. Determine your needs: Consider the type of videos you create and the environment you film in. Are you recording in a controlled studio or on-the-go? This will help you decide between a USB or XLR microphone.
2. USB microphones: These are plug-and-play devices that connect directly to your computer. They are user-friendly and great for beginners. USB microphones like the Blue Yeti or Audio-Technica ATR2100x offer excellent sound quality and versatility.
3. XLR microphones: These require an audio interface or mixer to connect to your computer. XLR microphones, such as the Shure SM7B or Rode NT1, offer professional-grade audio and are ideal for studio setups.
4. Consider additional equipment: Pop filters, shock mounts, and boom arms can enhance your audio quality and reduce unwanted noise.
5. Positioning the microphone: Place the microphone at a suitable distance from your mouth to avoid plosive sounds and ensure clear audio. Experiment with different positions to find the best sound.
6. Test and adjust: Before recording, test your microphone levels and make adjustments as needed. Use audio editing software to fine-tune your audio during post-production.
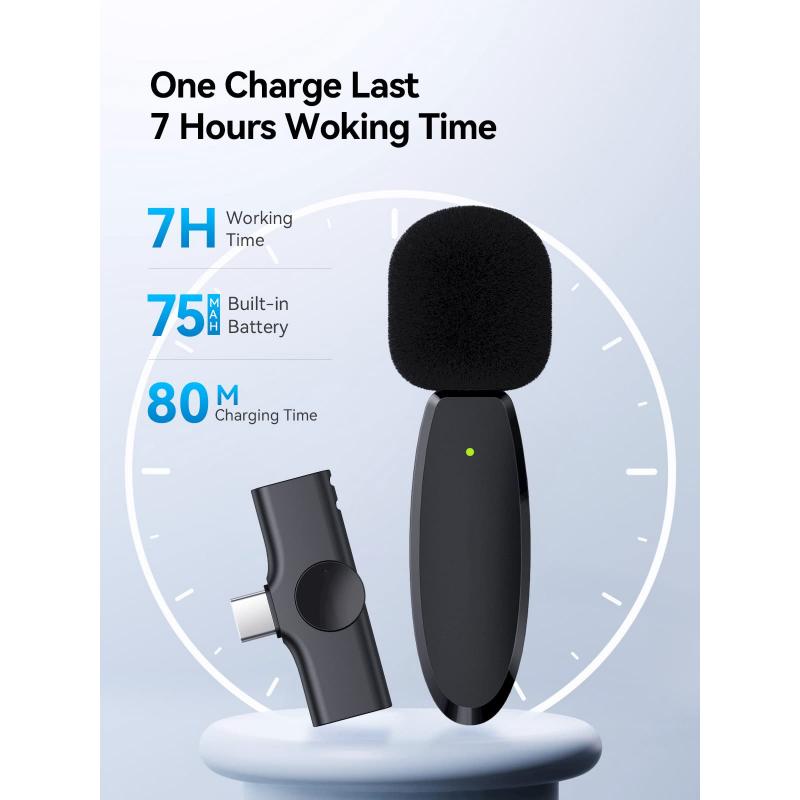
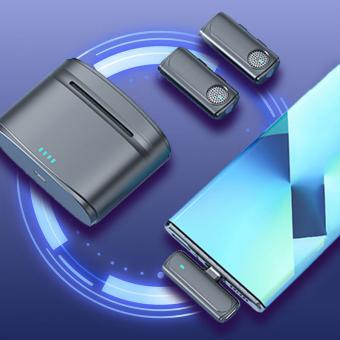
7. Stay up-to-date: Keep an eye on the latest microphone technology and trends. New advancements, such as wireless microphones or compact shotgun microphones, may offer improved convenience and audio quality for your YouTube videos.
Remember, audio quality is just as important as video quality when it comes to creating engaging YouTube content. By choosing the right microphone and following these tips, you'll be well on your way to producing professional-sounding videos that captivate your audience.
2、 Setting up and connecting the microphone to your recording device
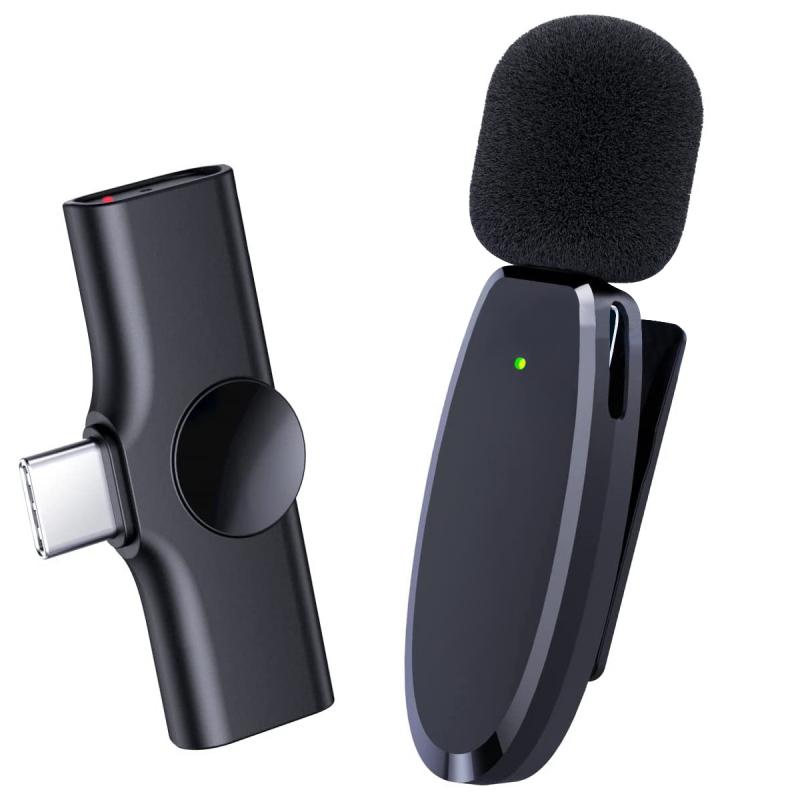
To use a microphone for YouTube videos, the first step is to set up and connect the microphone to your recording device. Here's a step-by-step guide on how to do it:
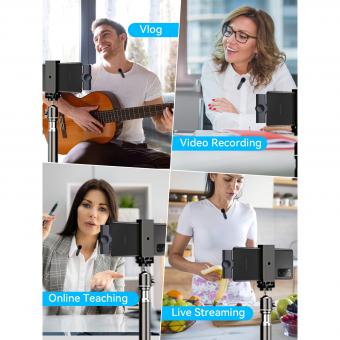
1. Choose the right microphone: There are various types of microphones available, such as USB microphones, XLR microphones, and lavalier microphones. Select the one that suits your needs and budget.
2. Position the microphone: Place the microphone in a suitable position, depending on the type of microphone you have chosen. For USB and XLR microphones, position them on a desk stand or attach them to a boom arm. Lavalier microphones can be clipped onto your clothing.
3. Connect the microphone: If you're using a USB microphone, simply plug it into an available USB port on your computer. For XLR microphones, you'll need an audio interface or a mixer to connect the microphone to your recording device. Connect the XLR cable from the microphone to the audio interface or mixer.
4. Adjust the microphone settings: Open your recording software or YouTube video editor and access the audio settings. Make sure the microphone is selected as the input device and adjust the input volume as needed. Test the microphone by speaking into it and monitoring the audio levels.
5. Test and adjust audio quality: Record a short test video and listen back to ensure the audio quality is clear and balanced. If necessary, make adjustments to the microphone position, volume levels, or audio settings to achieve the desired sound.
Remember to consider the latest point of view when setting up your microphone for YouTube videos. Stay updated with the latest microphone technology and software advancements to ensure the best audio quality for your content.
3、 Adjusting microphone settings for optimal audio quality
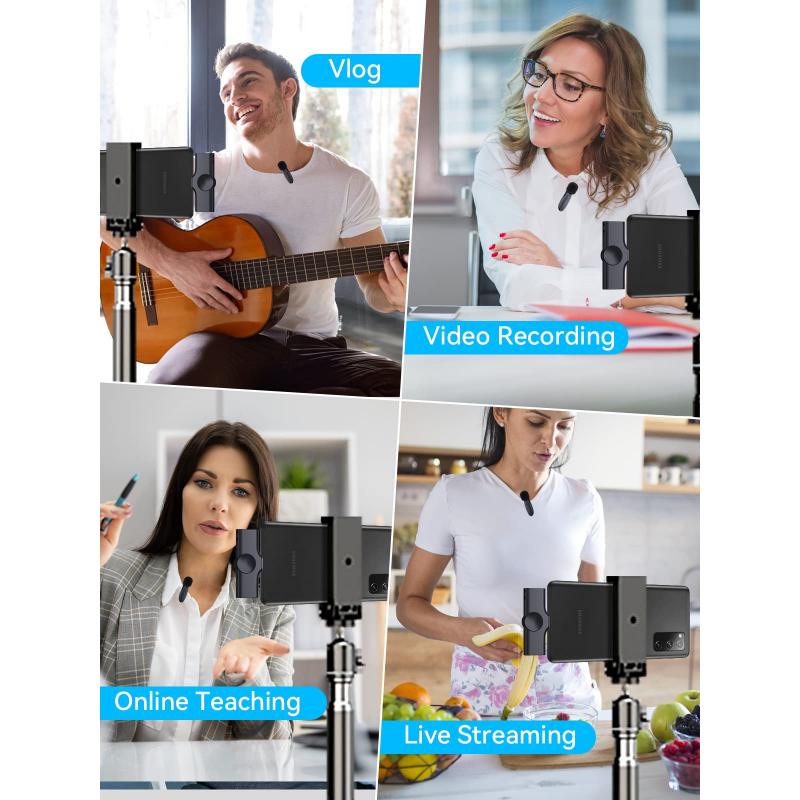
Adjusting microphone settings for optimal audio quality is crucial when it comes to creating YouTube videos. A high-quality microphone can significantly enhance the overall production value of your content and ensure that your audience can hear you clearly. Here's a step-by-step guide on how to use a microphone for YouTube videos:
1. Choose the right microphone: There are various types of microphones available, such as USB microphones, shotgun microphones, and lavalier microphones. Select the one that suits your needs and budget.
2. Position the microphone correctly: Place the microphone close to your mouth, but not too close to avoid plosive sounds. Experiment with different positions to find the best sound quality.
3. Connect the microphone: If you're using a USB microphone, simply plug it into your computer's USB port. For other types of microphones, you may need an audio interface or an adapter to connect it to your recording device.
4. Adjust microphone levels: Open your computer's audio settings and locate the microphone input. Increase or decrease the input level until your voice sounds clear and balanced. Avoid setting the levels too high to prevent distortion.
5. Use a pop filter: Attach a pop filter to your microphone to minimize plosive sounds caused by strong puffs of air. This will result in cleaner audio.
6. Test and monitor audio: Before recording, do a quick test to ensure that the microphone is working properly. Use headphones to monitor the audio while recording to catch any issues in real-time.
7. Edit and enhance audio: After recording, use audio editing software to fine-tune your audio. This includes removing background noise, adjusting volume levels, and adding any necessary effects.
Remember, technology is constantly evolving, and new advancements in microphone technology may arise. Stay updated with the latest trends and equipment to ensure that you're using the best microphone for your YouTube videos.
4、 Positioning the microphone for clear and balanced sound capture
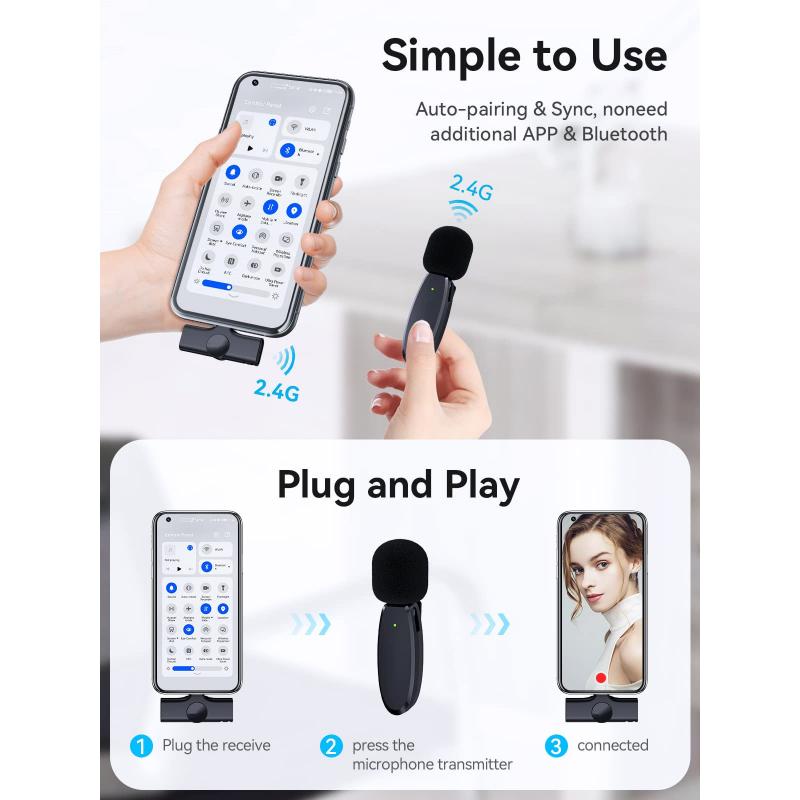
Positioning the microphone for clear and balanced sound capture is crucial when recording YouTube videos. A well-placed microphone can greatly enhance the audio quality of your videos and make them more professional and engaging for your viewers. Here's a step-by-step guide on how to use a microphone for YouTube videos:
1. Choose the right microphone: There are various types of microphones available, such as condenser, dynamic, and lavalier. Select the one that suits your needs and budget.
2. Connect the microphone: Depending on the type of microphone, you may need to connect it to your camera, computer, or audio interface using the appropriate cables.
3. Find the optimal position: Position the microphone close to your mouth, but not too close to avoid plosive sounds. Experiment with different distances and angles to find the sweet spot that captures your voice clearly and accurately.
4. Minimize background noise: Place the microphone away from noisy equipment, fans, or other sources of unwanted noise. Consider using a pop filter to reduce plosive sounds and a shock mount to minimize vibrations.
5. Monitor your audio: Use headphones to monitor the audio while recording. This allows you to catch any issues or distortions in real-time and make adjustments accordingly.
6. Adjust the microphone settings: Depending on your recording device, you may need to adjust the microphone's gain or volume levels. Aim for a balanced sound that is neither too soft nor too loud.
7. Test and fine-tune: Before starting your actual recording, do a test run and listen back to the audio. Make any necessary adjustments to ensure the sound is clear, balanced, and free from any unwanted noise.
In the latest point of view, it's worth mentioning that advancements in technology have led to the development of USB microphones, which offer convenience and ease of use. These microphones can be directly connected to your computer without the need for additional audio interfaces or cables. Additionally, many microphones now come with built-in features like noise cancellation and gain control, making it easier to achieve high-quality audio recordings.
Remember, the quality of your audio is just as important as the visual content in your YouTube videos. By following these steps and experimenting with different microphone positions, you can ensure that your viewers have an enjoyable and immersive audio experience.
