How To Use A Microphone For Youtube Videos ?
To use a microphone for YouTube videos, first, connect the microphone to your computer or camera using the appropriate cable. Make sure the microphone is properly plugged in and recognized by your device. Adjust the microphone settings on your computer or camera to ensure it is the selected audio input source. Test the microphone by recording a short sample video and play it back to check the audio quality. Position the microphone close to your mouth or the subject you want to capture sound from to ensure clear and crisp audio. Monitor the audio levels while recording to avoid distortion or clipping. Finally, edit your video using video editing software and adjust the audio levels if necessary.
1、 Microphone Types and Their Features for YouTube Videos
Microphone Types and Their Features for YouTube Videos
Using a microphone for YouTube videos is essential to ensure high-quality audio and engage your audience effectively. There are various microphone types available, each with its own features and benefits. Here is a guide to help you choose the right microphone for your YouTube videos.
1. USB Microphones: USB microphones are popular among YouTubers due to their simplicity and ease of use. They connect directly to your computer via USB and offer decent audio quality. USB microphones are plug-and-play, requiring no additional equipment or software.
2. Condenser Microphones: Condenser microphones are highly sensitive and capture sound with great detail. They are ideal for studio setups and indoor recording. Condenser microphones require phantom power, which can be provided by an audio interface or mixer.
3. Shotgun Microphones: Shotgun microphones are highly directional and capture sound from a specific direction. They are commonly used for outdoor recording or vlogging. Shotgun microphones are great for reducing background noise and focusing on the subject.
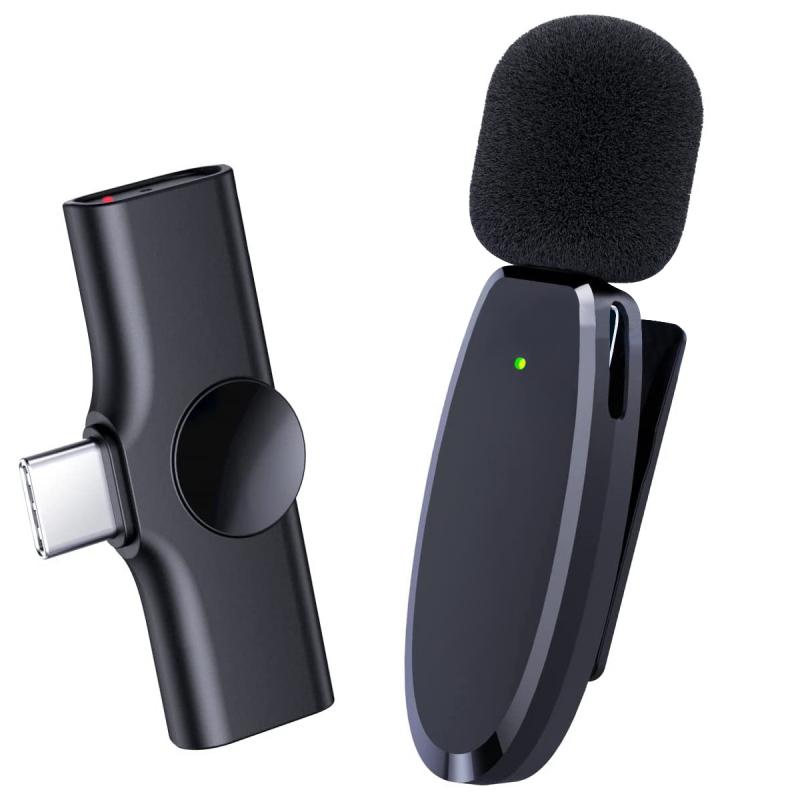
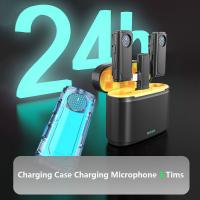
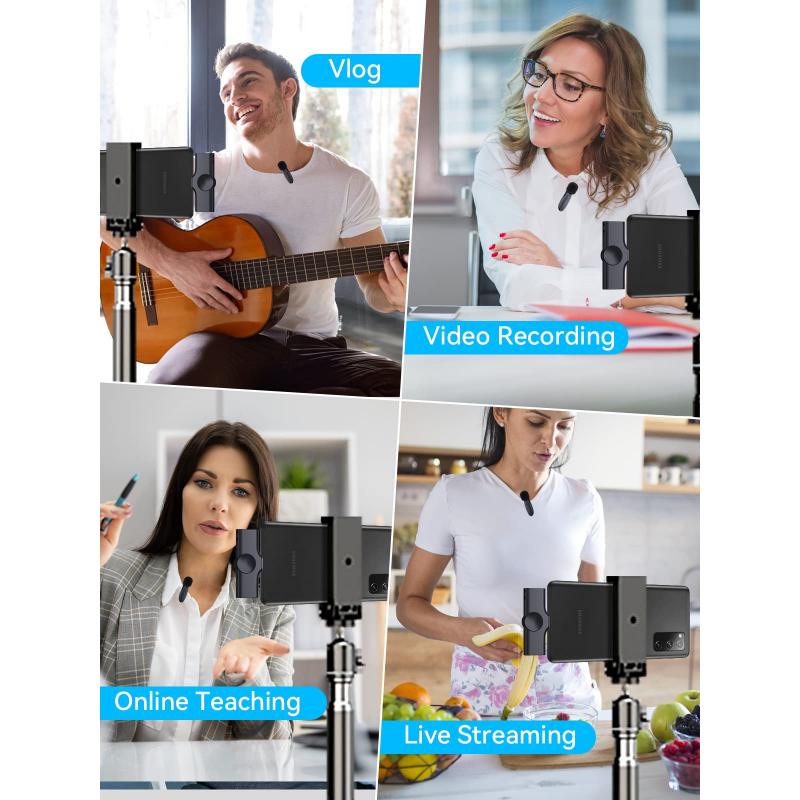
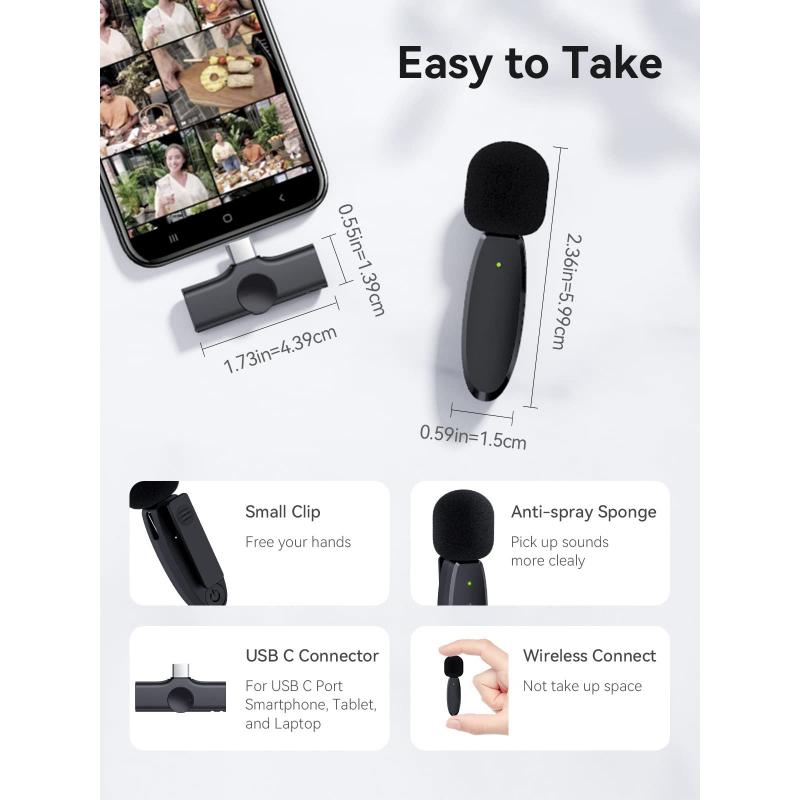
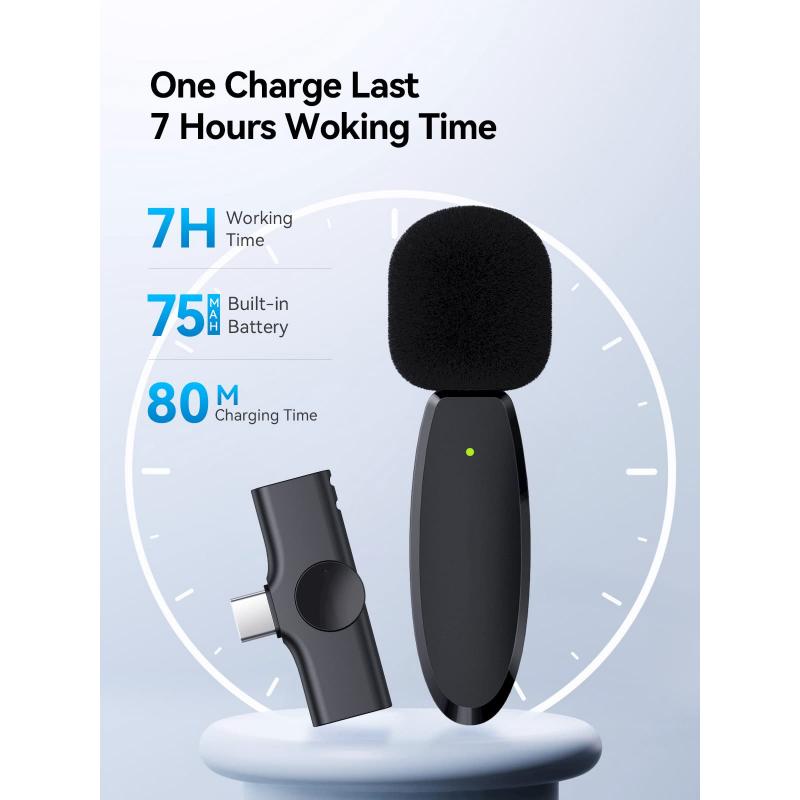
4. Lavalier Microphones: Lavalier microphones, also known as lapel microphones, are small and discreet. They are commonly used in interviews or situations where hands-free operation is required. Lavalier microphones can be wired or wireless, offering flexibility in movement.
5. Dynamic Microphones: Dynamic microphones are durable and can handle high sound pressure levels. They are commonly used in live performances or situations where there is a lot of background noise. Dynamic microphones are less sensitive than condenser microphones but offer excellent sound quality.
When choosing a microphone for YouTube videos, consider factors such as your recording environment, budget, and intended use. It's also important to research and read reviews to find the best microphone that suits your needs.
In the latest point of view, with the rise of remote content creation and podcasting, USB microphones have become increasingly popular due to their convenience and affordability. Many USB microphones now offer professional-grade audio quality, making them a viable option for YouTube videos. Additionally, wireless lavalier microphones have gained popularity as they provide freedom of movement and are ideal for vlogging or on-the-go recording.
Remember, regardless of the microphone type you choose, it's crucial to test and adjust audio levels to ensure optimal sound quality. Experiment with microphone placement and consider using pop filters or windshields to reduce unwanted noise. Ultimately, finding the right microphone for your YouTube videos will greatly enhance the overall production value and viewer experience.
2、 Setting Up and Positioning a Microphone for YouTube Videos
Setting Up and Positioning a Microphone for YouTube Videos
Using a microphone for YouTube videos is essential to ensure high-quality audio and engage your audience effectively. Here's a step-by-step guide on how to set up and position a microphone for your YouTube videos:
1. Choose the right microphone: There are various types of microphones available, such as USB microphones, shotgun microphones, and lavalier microphones. Consider your recording environment, budget, and the type of content you create to select the most suitable microphone.
2. Connect the microphone: If you're using a USB microphone, simply plug it into your computer's USB port. For other types of microphones, you may need an audio interface or a mixer to connect it to your computer.
3. Adjust microphone settings: Open your computer's audio settings and ensure that the microphone is selected as the input device. Adjust the microphone's volume level to avoid distortion or background noise.
4. Position the microphone: Proper microphone placement is crucial for capturing clear and balanced audio. For voiceovers or sit-down videos, position the microphone about 6-12 inches away from your mouth, slightly off to the side to minimize plosive sounds. If you're recording action or vlog-style videos, consider using a shotgun microphone mounted on your camera or a lavalier microphone clipped to your clothing.
5. Test and monitor audio: Before recording, do a quick audio test to ensure the microphone is working correctly. Use headphones to monitor the audio while recording to catch any issues or unwanted background noise.
6. Edit and enhance audio: After recording, use audio editing software to clean up the audio, remove background noise, and enhance the overall sound quality. This step is crucial to deliver professional-sounding audio to your viewers.
In the latest point of view, it's worth mentioning that advancements in technology have made microphones more accessible and user-friendly. USB microphones, in particular, have gained popularity due to their simplicity and plug-and-play functionality. Additionally, wireless microphones have become more affordable and convenient for creators who need mobility during their recordings.
Remember, investing in a good quality microphone and spending time on proper setup and positioning will significantly improve the audio quality of your YouTube videos. Clear and crisp audio enhances the viewer's experience and helps to establish a professional image for your channel.
3、 Adjusting Microphone Settings for Optimal Audio Quality on YouTube
Adjusting Microphone Settings for Optimal Audio Quality on YouTube
Using a microphone for YouTube videos is essential to ensure clear and professional audio quality. Whether you're a vlogger, gamer, or content creator, having good audio can greatly enhance the viewer's experience. Here are some tips on how to use a microphone for YouTube videos and adjust the settings for optimal audio quality.
1. Choose the right microphone: There are various types of microphones available, such as USB microphones, shotgun microphones, and lavalier microphones. Consider your recording environment and the type of content you create to determine which microphone suits your needs best.
2. Position the microphone correctly: Proper microphone placement is crucial for capturing clear audio. Position the microphone close to your mouth, but not too close to avoid plosive sounds. Experiment with different distances and angles to find the sweet spot that captures your voice accurately.
3. Adjust microphone gain: The gain control on your microphone or audio interface determines the input level. Set the gain to an appropriate level to avoid distortion or background noise. It's better to have a slightly lower gain and boost the volume in post-production if needed.
4. Use a pop filter: A pop filter is a screen that helps reduce plosive sounds caused by air hitting the microphone. It is especially useful when recording vocals or speaking close to the microphone. Place the pop filter between your mouth and the microphone for best results.
5. Monitor your audio: Use headphones to monitor your audio while recording. This allows you to catch any issues or unwanted background noise in real-time. Adjust the microphone position or settings if necessary to achieve the desired audio quality.
6. Edit and enhance audio in post-production: After recording, use audio editing software to fine-tune your audio. This includes removing background noise, adjusting volume levels, and adding effects if desired. There are many free and paid software options available for this purpose.
In conclusion, using a microphone for YouTube videos is crucial for achieving optimal audio quality. By choosing the right microphone, adjusting settings, and editing in post-production, you can ensure that your viewers have a pleasant and immersive audio experience. Stay updated with the latest advancements in microphone technology and techniques to continually improve your audio quality.
4、 Techniques for Speaking and Recording with a Microphone for YouTube
Techniques for Speaking and Recording with a Microphone for YouTube
Using a microphone for YouTube videos is essential to ensure high-quality audio and engage your audience effectively. Here are some techniques to help you make the most out of your microphone setup:
1. Choose the right microphone: There are various types of microphones available, such as USB, condenser, and dynamic microphones. USB microphones are popular for their ease of use, while condenser microphones offer better audio quality. Dynamic microphones are ideal for recording in noisy environments. Consider your specific needs and budget before selecting a microphone.
2. Position the microphone correctly: Proper microphone placement is crucial for capturing clear and balanced audio. Position the microphone at a comfortable distance from your mouth, typically around 6-12 inches. Experiment with different angles and distances to find the sweet spot that captures your voice accurately.
3. Use a pop filter: A pop filter is a screen placed in front of the microphone to reduce plosive sounds (such as "p" and "b" sounds) that can cause distortion. It helps to maintain a consistent audio level and prevents harsh bursts of air from reaching the microphone.
4. Adjust microphone settings: Depending on your microphone and recording software, you may need to adjust the gain, volume, and other settings to achieve optimal audio levels. Avoid setting the gain too high, as it can introduce unwanted background noise or distortion.
5. Minimize background noise: Find a quiet location for recording to minimize background noise. Consider using soundproofing techniques like acoustic panels or blankets to reduce echo and external disturbances.
6. Monitor your audio: Use headphones to monitor your audio while recording. This allows you to catch any issues or inconsistencies in real-time and make necessary adjustments.
7. Edit and enhance audio in post-production: After recording, use audio editing software to enhance your audio quality further. This can include removing background noise, adjusting levels, and adding effects if desired.
Remember, technology and techniques for recording audio are constantly evolving. Stay updated with the latest advancements and experiment with different setups to find what works best for your specific needs and style.
