How To Use A Microscope To See Cells ?
To use a microscope to see cells, start by preparing a microscope slide with a sample containing cells. Place a drop of the sample on the slide and cover it with a coverslip. Adjust the focus and lighting on the microscope to get a clear image. Begin with the lowest magnification objective lens and gradually increase the magnification to observe the cells in more detail. Move the slide around to explore different areas and adjust the focus as needed. Take note of the cell structures and any specific features you observe. It is also important to handle the microscope and slides with care to avoid damage and contamination.
1、 Microscope Basics: Understanding the Parts and Functionality
Microscope Basics: Understanding the Parts and Functionality
Microscopes are essential tools in the field of biology, allowing scientists to observe and study cells in detail. To use a microscope effectively, it is important to understand its parts and functionality. Here is a step-by-step guide on how to use a microscope to see cells:
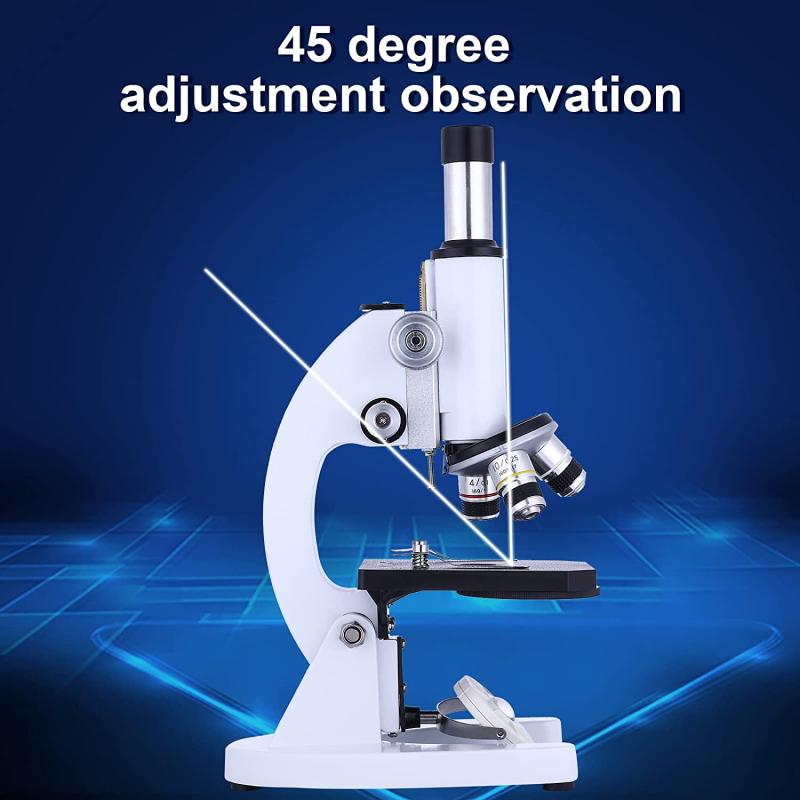
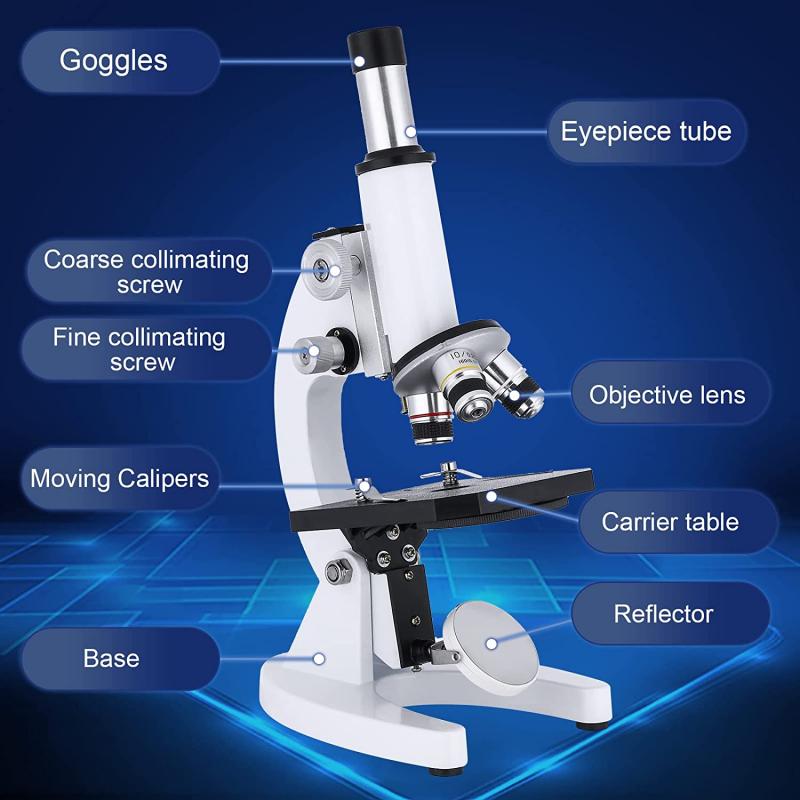
1. Familiarize yourself with the microscope's parts: A typical compound microscope consists of an eyepiece, objective lenses, a stage, a light source, and focus knobs. Understanding the purpose of each part is crucial for proper usage.
2. Prepare your sample: Obtain a thin slice of the specimen you wish to observe. This can be a plant leaf, animal tissue, or any other biological material. Ensure the sample is thin enough for light to pass through.
3. Place the sample on the microscope stage: Gently place the prepared sample on the stage and secure it using stage clips if available. Position the sample in a way that the area of interest is directly under the objective lens.
4. Adjust the light source: Illuminate the sample by adjusting the light source. In modern microscopes, this is often an LED light. Adjust the intensity of the light to achieve optimal visibility.
5. Start with the lowest magnification: Begin with the lowest magnification objective lens. This allows you to locate and focus on the sample easily. Use the coarse focus knob to bring the sample into rough focus.
6. Refine the focus: Once the sample is roughly in focus, use the fine focus knob to sharpen the image. Slowly turn the knob until the cells come into clear view. Adjust the stage height if necessary.
7. Increase magnification: If desired, switch to higher magnification objective lenses to observe the cells in greater detail. Remember to refocus each time you change the objective lens.
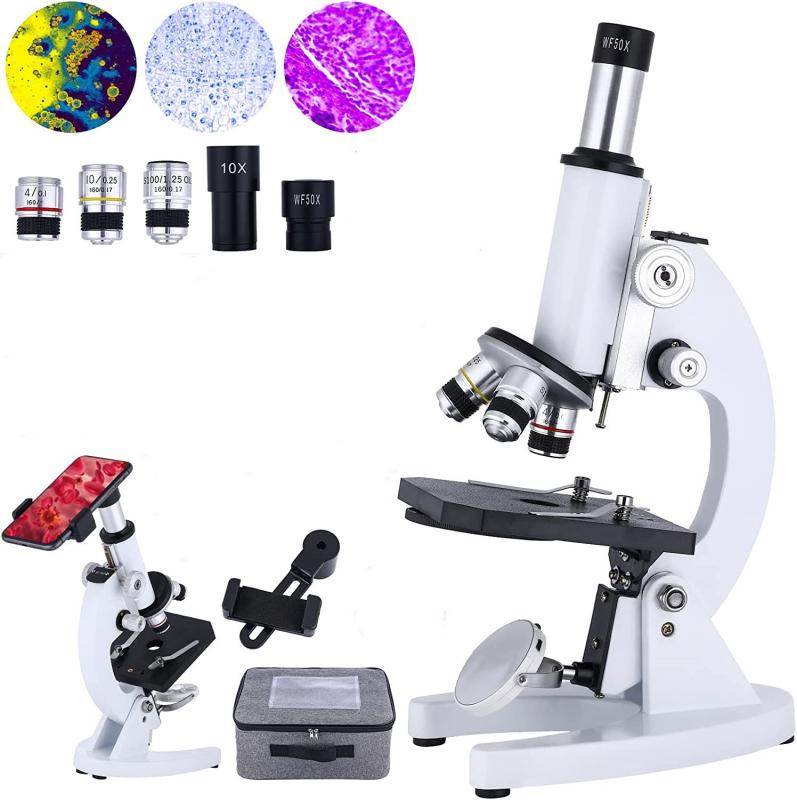
8. Observe and record: Take your time to observe the cells and note any important features or structures. You can use a camera attachment or smartphone adapter to capture images or videos for future reference.
It is worth mentioning that advancements in microscopy techniques, such as confocal microscopy and super-resolution microscopy, have revolutionized cell imaging. These techniques allow for even higher resolution and three-dimensional visualization of cells, providing researchers with unprecedented insights into cellular structures and processes.
In conclusion, understanding the parts and functionality of a microscope is crucial for effectively observing cells. By following the steps outlined above, you can use a microscope to explore the intricate world of cells and contribute to our understanding of life at the microscopic level.
2、 Sample Preparation: Preparing Cells for Microscopic Observation
To use a microscope to see cells, it is essential to properly prepare the sample for microscopic observation. This process, known as sample preparation, ensures that the cells are visible and can be accurately studied under the microscope. Here is a step-by-step guide on how to prepare cells for microscopic observation:
1. Cell Culture: If you are working with live cells, they need to be cultured and grown in a suitable medium. This allows the cells to multiply and form a monolayer or a suspension, depending on the cell type.
2. Fixation: Fixation is necessary to preserve the cells and prevent any changes or degradation during the observation process. Common fixatives include formaldehyde or methanol. The fixative is added to the cells and left for a specific period to ensure proper fixation.
3. Staining: Staining is used to enhance the visibility of cells and their structures. Different stains can be used depending on the specific cellular components of interest. For example, fluorescent dyes can be used to label specific proteins or organelles.
4. Mounting: Once the cells are fixed and stained, they need to be mounted onto a slide for observation. A mounting medium, such as glycerol or mounting media with antifade properties, is used to prevent the cells from drying out and to provide a clear background for observation.
5. Microscopic Observation: Place the prepared slide onto the microscope stage and adjust the focus and magnification settings accordingly. Start with a low magnification objective to locate the cells and then switch to higher magnifications to observe finer details.
It is important to note that advancements in microscopy techniques, such as confocal microscopy and super-resolution microscopy, have revolutionized cell imaging. These techniques allow for higher resolution and three-dimensional imaging, providing researchers with a more detailed understanding of cellular structures and processes.
3、 Adjusting Magnification and Focus for Clear Cell Visualization
To use a microscope to see cells, it is important to follow a few key steps. The first step is to ensure that the microscope is set up correctly. Start by placing the microscope on a stable surface and plugging it in. Next, turn on the light source and adjust the intensity to a comfortable level.
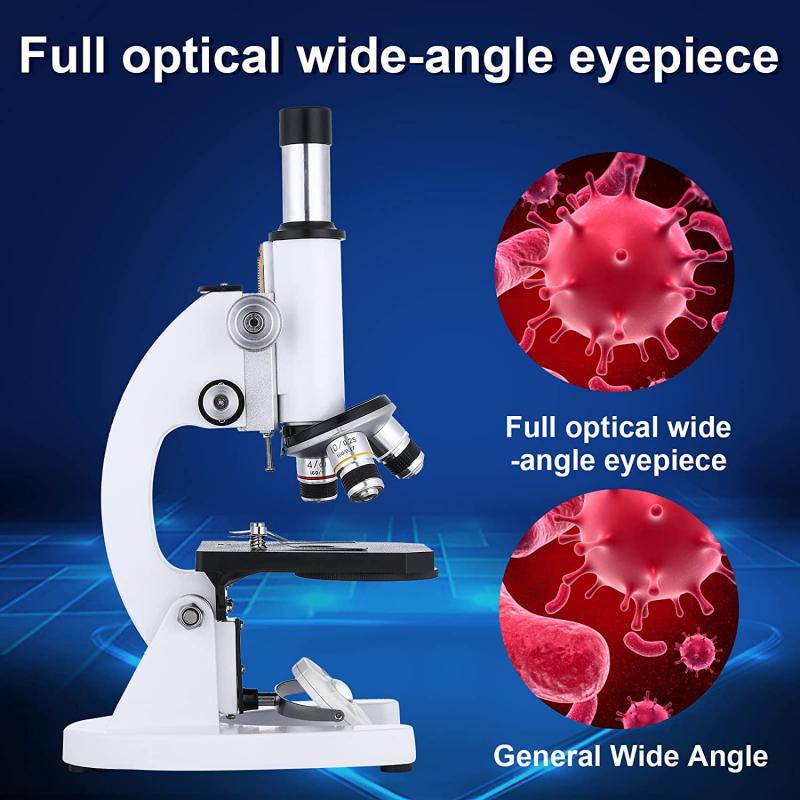
Once the microscope is set up, it is important to adjust the magnification and focus for clear cell visualization. Begin by placing a prepared slide containing the cells onto the stage of the microscope. Use the coarse adjustment knob to bring the slide into focus at the lowest magnification objective lens. Once the cells are visible, switch to a higher magnification objective lens to get a closer look at the cells.
To adjust the focus, use the fine adjustment knob to sharpen the image. It is important to make small, gradual adjustments to avoid losing focus. Additionally, adjusting the diaphragm can help control the amount of light entering the microscope, which can improve visibility.
In recent years, advancements in microscopy techniques have allowed for even clearer visualization of cells. Techniques such as confocal microscopy and super-resolution microscopy have revolutionized cell imaging by providing higher resolution and three-dimensional imaging capabilities. These techniques use laser scanning and fluorescent labeling to enhance cell visualization.
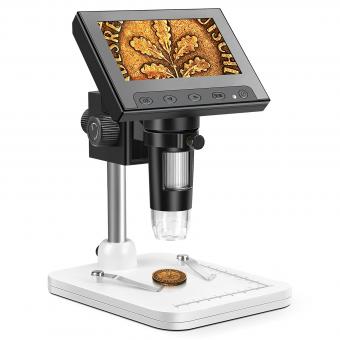
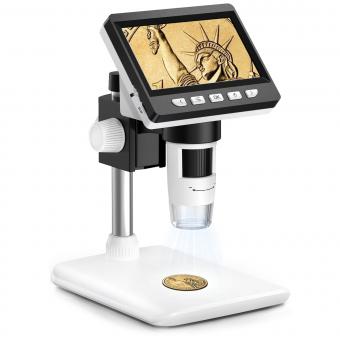
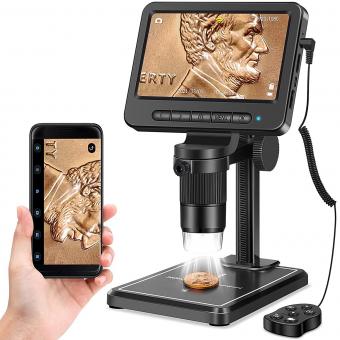
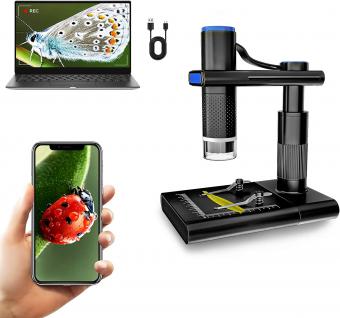
Furthermore, the development of digital microscopy has allowed for the capture and analysis of high-resolution images. Digital microscopes can be connected to a computer, enabling researchers to store, analyze, and share images easily. This has greatly facilitated research and collaboration in the field of cell biology.
In conclusion, using a microscope to see cells involves setting up the microscope correctly and adjusting the magnification and focus. Recent advancements in microscopy techniques have further improved cell visualization, allowing for higher resolution and three-dimensional imaging. Additionally, digital microscopy has enhanced image capture and analysis capabilities, promoting research and collaboration in the field of cell biology.
4、 Brightfield Microscopy: Illuminating Cells for Observation
Brightfield microscopy is a widely used technique to observe cells and other biological specimens. To use a microscope for cell observation, follow these steps:
1. Prepare the sample: Collect the cells of interest and prepare a thin, transparent sample. This can be achieved by placing a drop of the cell suspension on a glass slide and covering it with a coverslip.
2. Set up the microscope: Place the prepared slide on the stage of the microscope and secure it with the stage clips. Adjust the focus knobs to bring the slide into focus at the lowest magnification objective lens.
3. Adjust the light source: Brightfield microscopy relies on transmitted light passing through the sample. Adjust the light intensity using the condenser and diaphragm controls to optimize the contrast and brightness of the image.
4. Select the appropriate objective lens: Start with a low magnification objective lens (e.g., 10x) to locate the cells and then switch to higher magnifications (e.g., 40x or 100x) for detailed observation.
5. Focus and observe: Use the coarse and fine focus knobs to bring the cells into sharp focus. Move the slide around to explore different areas and observe the cells in detail. Take note of their shape, size, and any observable structures or organelles.
6. Capture images: If desired, use a camera attachment or digital microscope to capture images or videos of the observed cells for further analysis or documentation.
It is important to note that while brightfield microscopy provides valuable information about cell morphology, it lacks contrast for transparent or unstained samples. To enhance contrast, various staining techniques can be employed, such as using dyes or fluorescent markers. Additionally, advancements in microscopy techniques, such as phase contrast or differential interference contrast microscopy, offer improved visualization of cells without the need for staining.
















There are no comments for this blog.